Giter Club home page Giter Club logo

wokwi-elements's Introduction

Wokwi Elements

Web Components for Arduino and various electronic parts.

NPM Version Gitpod ready-to-code

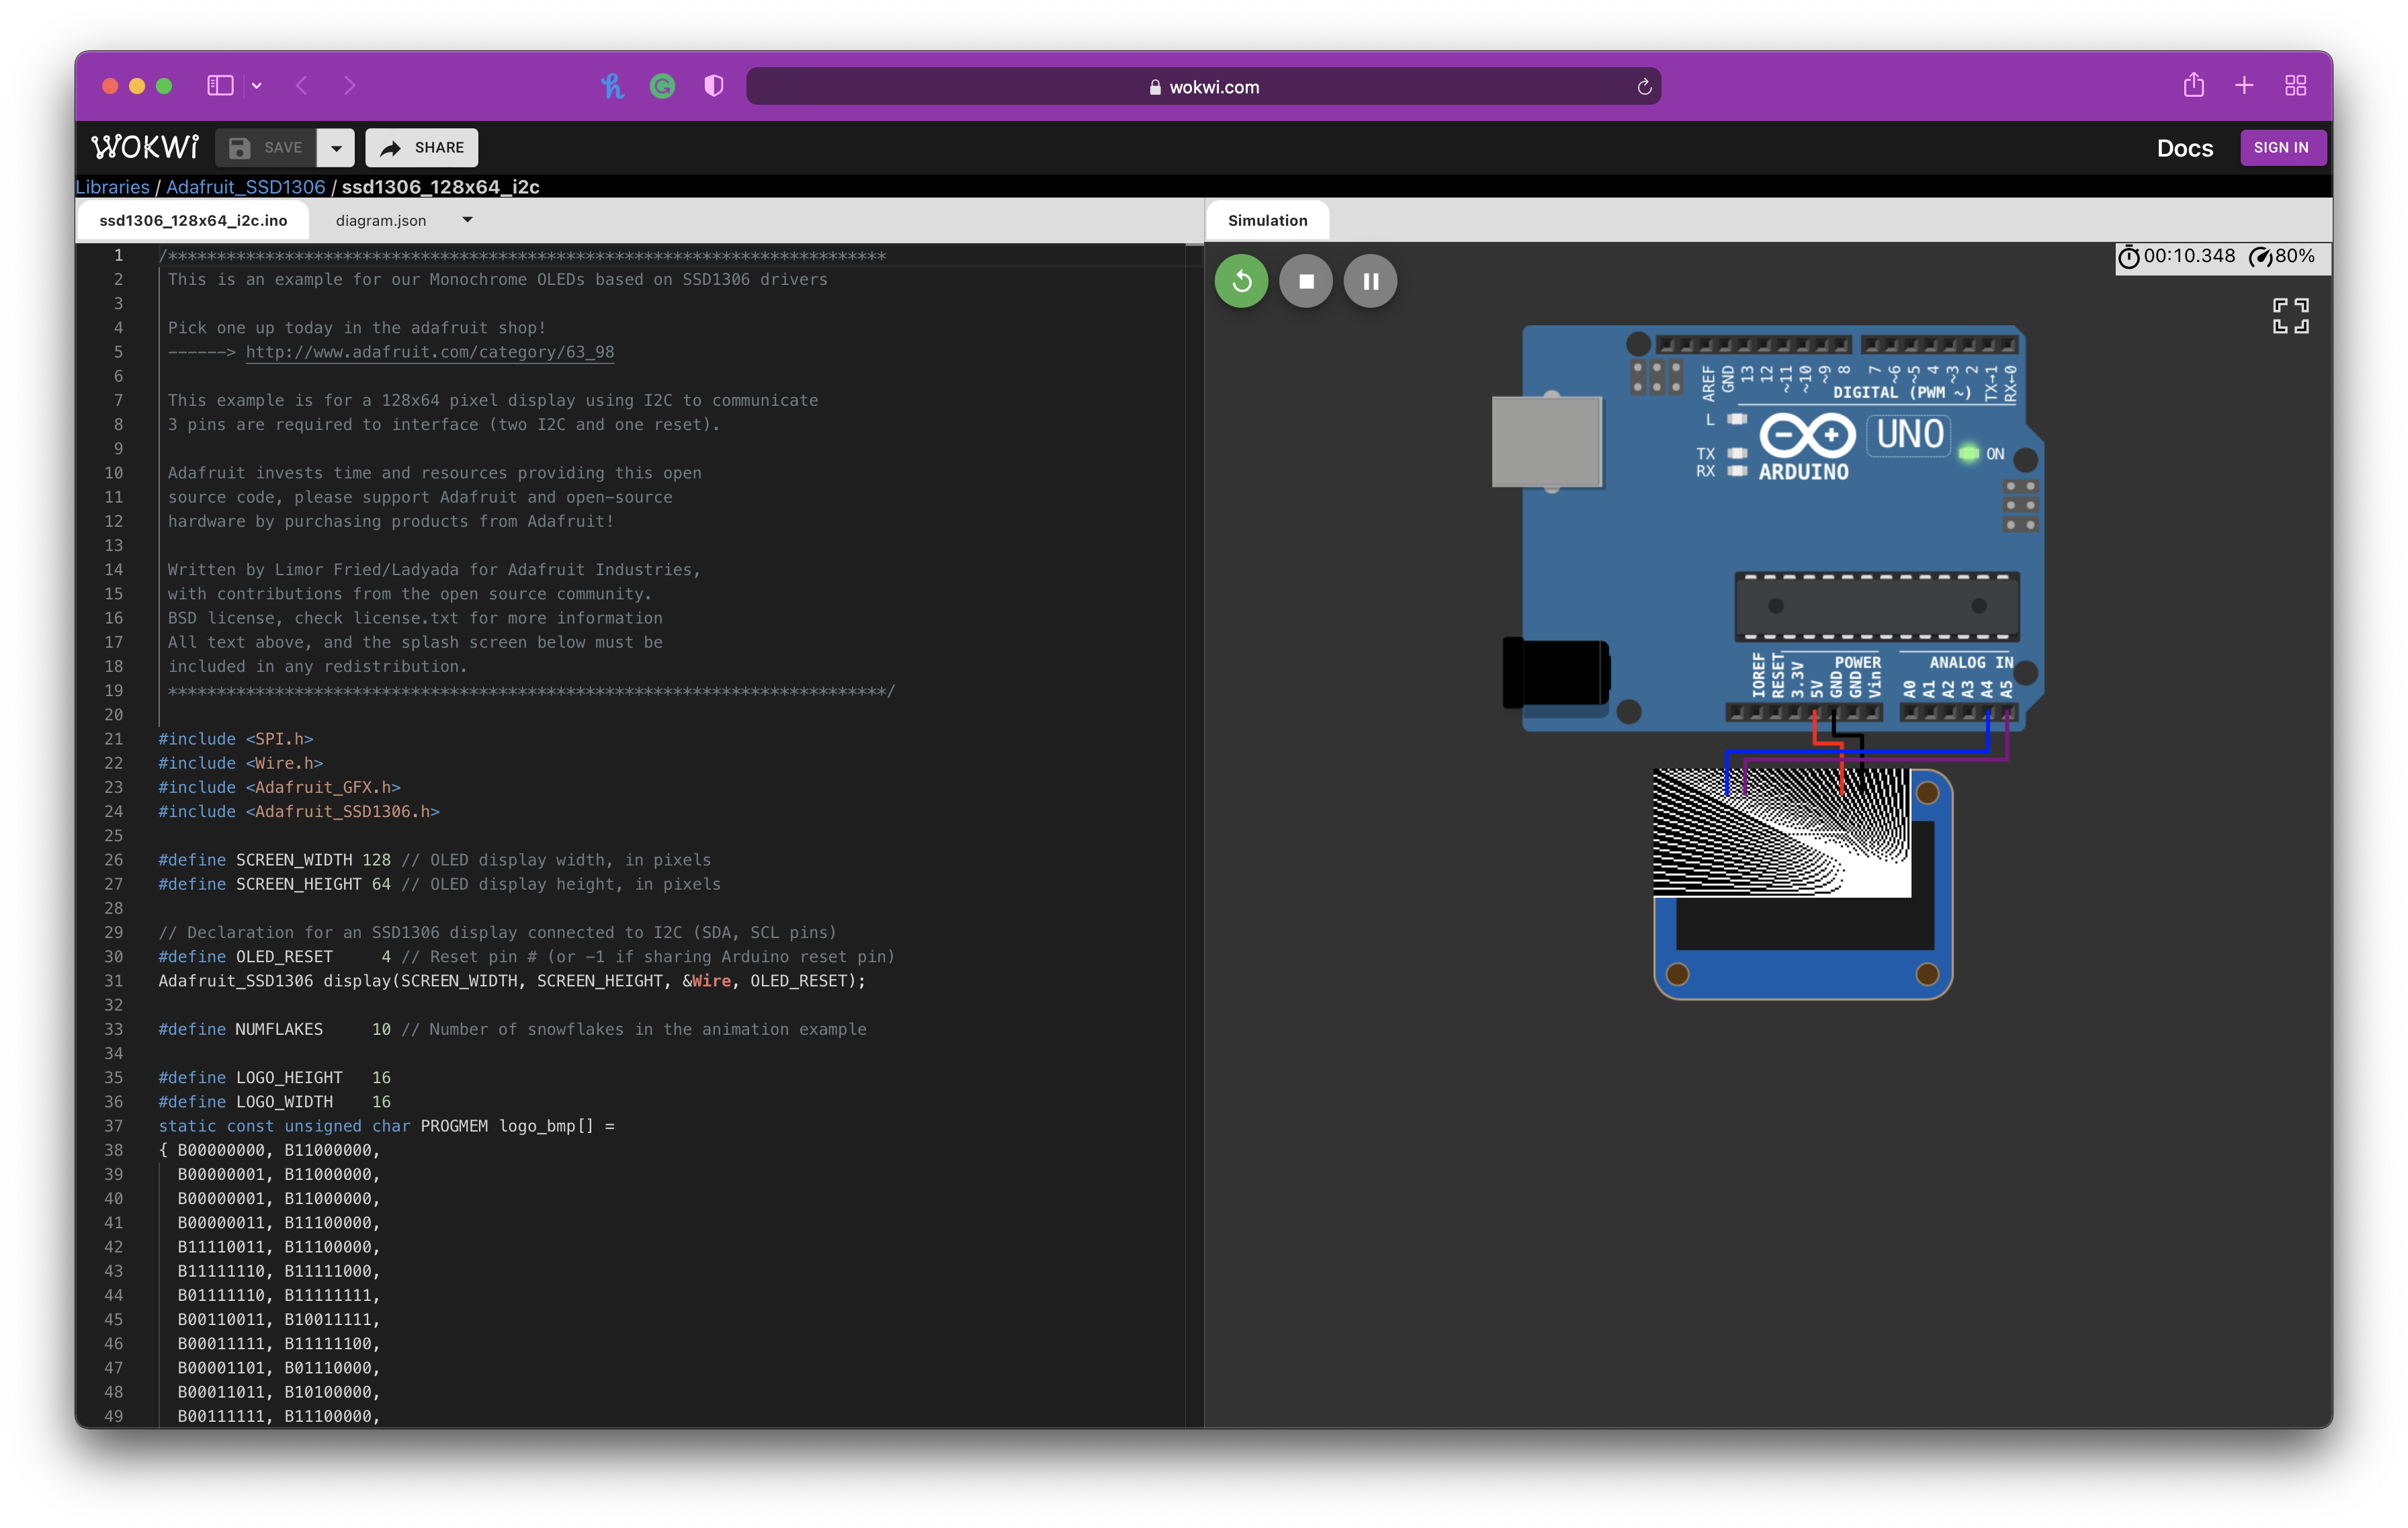
Check out the component catalog.

Note: these elements only provide the presentation and display of the represented hardware. They do not provide the functional simulation code of the hardware. That is dependant on the application (simulator) that you wish to use these with, and thus up to you to create.

Using Wokwi Elements

You can install the package with npm and then import it into your code:

import '@wokwi/elements';

Alternatively, you can load the Wokwi Elements bundle from unpkg's CDN:

<script src="https://unpkg.com/@wokwi/[email protected]/dist/wokwi-elements.bundle.js"></script>

Replace 0.48.3 with the latest version number. You can find a list of all the versions in the releases page.

Local development

To prepare for local development, clone this repo, and then install the dependencies:

npm install

Then start storybook:

npm run storybook

This will open a local dev server at http://localhost:6006, where you can interact with the elements and see your changes live, similar to https://elements.wokwi.com.

Creating a new element

The easiest way to create a new element is to run the generator:

npm run new-element --name demo

This will generate a new element called demo. It will also create a storybook file, so you will be able to see the new element in storybook (see the "Local development" section above).

Note: updates the docstrings in the code will not be reflected in Storybook's Docs tab unless you restart Storybook, or run the following command manually and refresh the page:

npm run analyze-components

Check out the Contributing Guide for more details.

Learn how to create elements

Video tutorial

The Membrane keypad element live-coding tutorial walks through the complete process behind creating an element: research, drawing, and writing the code / stories.

Blog posts

License

Wokwi Elements are released under the MIT license.

wokwi-elements's People

Contributors

ajtak avatar arcostasi avatar arduino12 avatar ariellae avatar bonnyr avatar dependabot[bot] avatar duranda avatar gfeun avatar gilf avatar guy-michael avatar julianrendell avatar karinchechik avatar lironhazan avatar matititam avatar spinkelben avatar sutaburosu avatar takuma-watanabe avatar urish avatar yepher avatar yoavw avatar

Stargazers

 avatar  avatar  avatar  avatar  avatar  avatar  avatar  avatar  avatar  avatar  avatar  avatar  avatar  avatar  avatar  avatar  avatar  avatar  avatar  avatar  avatar  avatar  avatar  avatar  avatar  avatar  avatar  avatar  avatar  avatar  avatar  avatar  avatar  avatar  avatar  avatar  avatar  avatar  avatar  avatar  avatar  avatar  avatar  avatar  avatar  avatar  avatar  avatar  avatar  avatar  avatar  avatar  avatar  avatar  avatar  avatar  avatar  avatar  avatar  avatar  avatar  avatar  avatar  avatar  avatar  avatar  avatar  avatar  avatar  avatar  avatar  avatar  avatar  avatar  avatar  avatar  avatar  avatar  avatar  avatar  avatar  avatar  avatar  avatar  avatar  avatar  avatar  avatar  avatar  avatar  avatar  avatar  avatar  avatar  avatar  avatar  avatar  avatar  avatar  avatar

Watchers

 avatar  avatar  avatar  avatar  avatar  avatar  avatar  avatar

wokwi-elements's Issues

The color brown

The HTML code for "Brown" is #A52A2A according to this reference: https://www.w3schools.com/colors/colors_names.asp

That is indeed brown, unless it is a small band on a resistor or a thin wire, then it looks more like a eggplant (aubergine) color.
After I mentioned this, the resistor band color was changed from 'brown' to '#8b4513' in commit: 1aaedde

At Wikipedia Electronic color code they use the code '#964B00' in the table. However, most of my resistors have a darker brown.
Wikipedia uses that same value also in the page List of colors (compact).
But then they use #88540B in the page List of colors: A–F.

I suppose that no one knows what brown is. Perhaps Wokwi can tune the colors here and there for a better look.

The brown wire is not brown enough.
Can the bands on the resistors be a little wider ? A gray band is not well visible.
The yellow and white resistor bands are too bright.
The gold is too dim when compared to yellow, orange and white bands.
The red resistor band might be slightly too bright, making it go in the direction of orange. Red paint in real life is not that red.

The colors of my monitor are decent, but not color accurate.

Add Servo Motor Element

The servo motor element should resemble a hobby servo motor, from top view. It should provide an angle attribute that controls the rotation angle of the servo attachment. Ideally, we'd support different kind of attachments: one horn, two horns and four horns (cross-shaped). It will also be nice to be able to customize the servo's body color (black/blue are common options), and the color of the horns (black/yellow/white are common).

Different kind of servo horns can be found in this page.

The potentiometer is not keyboard accessible

The potentiometer should be able to receive input focus and react to keyboard input, implementing the ARIA slider role:

https://developer.mozilla.org/en-US/docs/Web/Accessibility/ARIA/ARIA_Techniques/Using_the_slider_role

This means we should respond to Left, Right, Up, Down, Page Up, and Page Down keys.
In addition, we could also support Home and End keys, similar to how <input type="range"> to these events in chrome: setting the value to the start or end of the range.

You can check tinker with the current version of the potentiometer here: https://elements.wokwi.com/?path=/story/potentiometer--potentiometer

LCD 1602 Element

I'm having fun in my spare time with your avr8js and wokwi elements, amazing project you are doing!
Most of the tests I did was through shared codes, at the moment I'm trying to do some tests with the lcd1602, but I haven't found any sample code for the controller and I'm having trouble getting it to work.
When you have time, could you help me with lcd1602 on my playground project with Electron? Thanks!

feature request - LED light to match the lit color

image

When I set the LED colour to Blue/Green/White/Red --> The LED light colour also automatically changes to the body colour of the LED.

If I set the LED colour to Lime, for example, the body colour will change but not the colour of the light.
Is there any reason for this or can it be made to glow in the same colour as the body colour of the LED (automatically, instead of "lightColor": "orange")?

ky-040: the hit boxes can be difficult to press

This works great when zoomed in, but the "hit boxes" on the arrows make it a little difficult to use at regular zoom levels.

Is it possible to have the whole top-left and bottom-left of the encoder respond to clicks/touches. the current method of needing to touch within the boundary of the curvy arrows requires a very steady hand.

Incorrect LED brightness

Setting LED brightness can result in opacity > 1.0 for the LED light element, for instance:

  • Brightness of 1 results in opacity level of 1.73
  • Brightness of 0.75 results in opacity level of 1.37
  • Brightness of 0.5 results in opacity level of 1.01

Generate minified distribution bundle

Currently we publish both ESM and CommonJS versions to npm.

This means that any users of this library need some additional compilation step - it can't be consumed as-is by the browser.

The purpose of adding a minified distribution bundle is to allow this library to be loaded directly into the browser, without the need of any special setup or third-party dependency. Once we publish this bundle, users will be able to consume it through services such as unpkg.

Project structure change suggestion

  1. Have an "elements" dedicated folder
  2. Have a dedicated folder for each element and its story: e.g.
    /elements/potentiometer
    /potentiometer.ts
    /potentiometer.story.ts
  3. Have an ability to pack each element separately (including the lit abstraction who creates the customElement in runtime I assume?)
  4. Utils should export each function for sake of tree shaking
  5. Utils will be located under "utils" folder
  6. type.d files will be located directly under root (as it is today)

Implement a JoyStick

Requested by wokwi/wokwi-features#40 and also on discord.

Reference: https://www.adafruit.com/product/512

Open points:

  • The real joystick also has a button inside it (Select), it's not obvious which user interaction would enable that. Perhaps double click/tap to select?
  • Event names: we need to fire an event when the joystick moves with coordinates. I believe that -1.0 to 1.0 range of the axes would be a good choice. Ideally, we'll also have an event that fires when Select is pressed / released, but this depends on how we implement Select.

Low LED brightness levels are indistinguishable

It's impossible to tell the difference between low brightness (<25%) / off states of the LED. In reality, LEDs start emitting some light at their center even with very low currents. For lower brightness levels, we should reduce the glow, but keep the core of the LED bright.

Using elements with VuePress

Hello @urish

I am facing a problem building a VuePress project using wokwi-elements.

I get an error in the build saying "window is not defined"

The error happens just by doing
import '@wokwi/elements';

even if I am not using any elements.

Any idea how I can work around this?
Thank you

Support setting LED brightness

Currently, LEDs are either on or off (controlled by their value property). We need a way to control the brightness as well

HX711 Load Cell Amplifier

HX711 24-Bit Analog-to-Digital Converter (ADC) for reading load cells/weight scales.

A load cell or a Strain Gauge is basically a Transducer which generates an electrical signal whose magnitude is proportional to the force applied. The various load cell types include Pneumatic, Hydraulic, and strain gauge.

The load cells or Strain gauges can be used in different automation projects. The load cells can be used for the precise weight measurement if properly calibrated. The load cells are commonly used in industrial processes where the weight of certain products is measured. The load cells can be used in automatic bag filling machines. The load cells or strain gauges can be used in infinitely different ways.

HX711 has different gain values which are selectable 32, 64 and 128. Any of the mentioned gains can be selected and used in the programming.

Technical Specifications

  • Operating voltage 4.8-5.5V DC
  • Operating current: 1.6mA
  • Operating temperature: -20 to 85°C
  • SPI Interface
  • Dimensions: 29 x 17 x 4mm (without pins)

Pinouts

HX711-module-pinout

Documents

Library

Code

#include "HX711.h"

const int LOADCELL_DOUT_PIN = 2;
const int LOADCELL_SCK_PIN = 3;

HX711 scale;

void setup() {
  Serial.begin(9600);
  scale.begin(LOADCELL_DOUT_PIN, LOADCELL_SCK_PIN);
}

void loop() {
  if (scale.is_ready()) {
    long reading = scale.read();
    Serial.print("HX711 reading: ");
    Serial.println(reading);
  } else {
    Serial.println("HX711 not found.");
  }
  delay(1000);
}

wokwi-elements color palette

Suggestion:
Let's have a color palette with predefined colors as css variables?
This way we'll achieve both code reusability and unified color theme

Add Arduino Nano Element

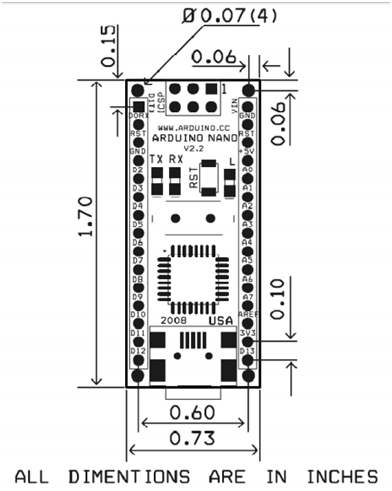
The board needs to include at least the male pin headers, the Mini-USB connector, 4 LEDs (TX, RX, Power, L), the microcontroller itself, and the ICSP programmer pins (can be seen on the right side of the board). Nice to have elements: reset button (which should also emit reset-press/reset-release events, similar to the pushbutton element.

As a reference, check out the implementation of the Arduino Uno Element. You can reuse most of the part, especially the pattern for drawing the pin headers, USB/power jacks, LEDs, and the ICSP programmer pins.

Reference images:

Arduino Nano

License: CC0

Arduino Nano

License: CC-BY-SA

Mechanical drawings:
Ardunio Nano Machanical Drawing

Arduino Naon Mechanical Drawing

Rotary dialer emits two `dial` events per digit

You can see the issue in this GIF:

rotary-dialer

One event is emitted when the target digit hits the finger stop, and another one when the dialing animation finishes.

I suggest to change the behavior as follows:

  • emit a dial event when the digit hits the finger stop (as it does now)
  • emit a dial-end event when the animation finishes
  • optionally emit a new dial-start event when dialing animation start

This way, it would be analogous to keyboard/mouseevent, where you have a triplet of keydown/keypress/keyup or mousedown/click/mouseup events.

Add Arduino Mega 2560 Element

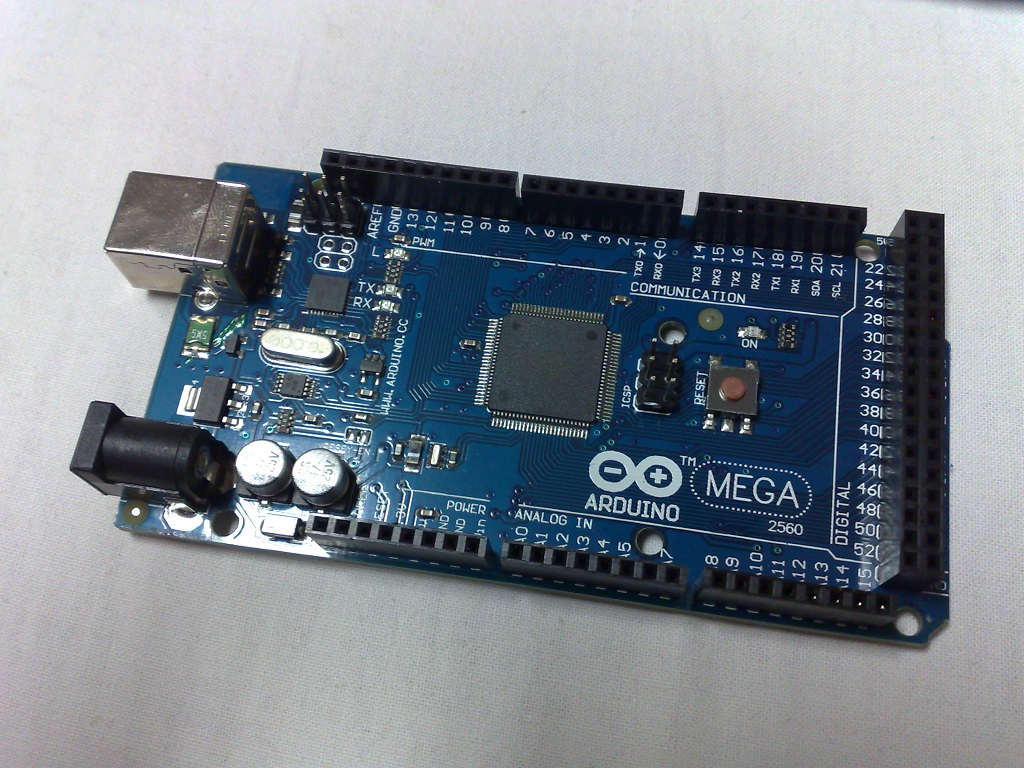
The board needs to include at least the female pin headers, the USB connector, the power jack, 4 LEDs (L, RX/TX, Power), the microcontroller itself, and the ICSP programmer pins (2x3 male pin headers, can be seen in the 2nd reference image, on top-left side of the board). Nice to have elements: reset button, crystal oscillator.

As a reference, check out the implementation of the Arduino Uno Element. You can reuse most of the part, especially the pattern for drawing the pin headers, USB/power jacks, LEDs, and the ICSP programmer pins.

Reference images:

Arduino Mega License: CC-BY

Arduino Mega License: CC-BY-SA

Arduino Mega Mechanical Drawing

License: Public domain

FC-28 Soil Moisture Sensor

FC-28 Soil Moisture Sensor is a simple breakout for measuring the moisture in soil and similar materials. The soil moisture sensor is pretty straight forward to use. The two large exposed pads function as probes for the sensor, together acting as a variable resistor. The more water that is in the soil means the better the conductivity between the pads will be and will result in a lower resistance, and a higher AOUT.

fc-28-moisture-sensor

The FC-28 module has both digital and analog outputs. The analog output AO of the FC-28 gives a direct analog value of sensor readings, because it is the value of voltage drop across the probe. So analog output value returns a voltage value proportional to the resistance of the soil. That is, value will be high when the soil is dry and the value decreases as it gets wet.

The FC-28 module has a threshold adjust potentiometer for the digital output to preset the required threshold value. The sensor value will be compared with this threshold value by the LM393 comparator. When the sensor value is above the set threshold value the digital output DO will switch to a HIGH state (+5V). That is if the soil is less moisture then the voltage across the probe becomes high and that switches digital output to high state. The output LED is just inverse to the digital output if DO is High then the LED turns OFF. An ON DO LED indicates that the resistance is low than the threshold that is the the soil moisture is higher than threshold.


Technical Specifications

  • Operating voltage 3.3V-5V
  • Power indicators: (red) and digital switching output indicator (green)
  • Comparator Chip : LM393

Pinouts

  • VCC: .3.3V-5V
  • GND: 0V Ground Reference
  • DO: digital output (0 or 1)
  • AO: Analog output (0 – VCC)

Documents

Code

To connect the sensor in the analog mode, we will need to use the analog output of the sensor. When taking the analog output from the soil moisture sensor FC-28, the sensor gives us the value from 0-1023. The moisture is measured in percentage, so we will map these values from 0 -100 and then we will show these values on the serial monitor.

const int sensorPin = A0;

void setup() {
  Serial.begin(9600);
  pinMode(sensorPin, INPUT);
}

void loop() {
  int analogValue = analogRead(sensorPin);
  int moisture = map(analogValue, 0, 1023, 0, 100);

  Serial.print("Moisture in soil: ");
  Serial.println(moisture);
  delay(1000);
}

Photoresistor (LDR) sensor module Pop-up

  • Clicking on Photoresistor (LDR) is showing as NTC Temperature Sensor (analog);
  • The value is not being returned correctly when hiding and returning again in the popup.

Export react typings

Currently, using wokwi elements within a React TypeScript projects results in errors such as:

Property 'wokwi-led' does not exist on type 'JSX.IntrinsicElements'.

Ideally, we'd export proper typings that will let the TypeScript compiler know about our elements, so that they can be consumed in a JSX context.

Minimum font size makes text labels very big.

In the Firefox browser I have set the minimum font size to 10.
This is the result:
1
Everything is normal when I turn off the minimum font size:
2
But I don't want to turn it off. I always set a minimum font size.

Add `pinInfo` getter to elements

The pinInfo property will allow apps that use the elements to determine which pins they have, and what are the on-screen locations of these pins, relative to the origin of the element. The pinInfo getter will return an array of ElementPin objects. The proposed structure of these object is:

type PinSignalInfo =
  | {
      type: 'i2c';
      signal: 'SDA' | 'SCL';
      bus?: number;
    }
  | {
      type: 'spi';
      signal: 'SCK' | 'MOSI' | 'MISO' | 'SS';
      bus?: number;
    }
  | {
      type: 'usart';
      signal: 'RX' | 'TX';
      bus?: number;
    }
  | {
      type: 'power';
      signal: 'GND' | 'VCC';
      voltage?: number;
    }
  | {
      type: 'pwm';
    }
  | {
      type: 'analog';
      channel?: number;
    };

interface ElementPin {
  /**
   * A name that uniquely identifies the pin, e.g. `GND` or `VCC`.
   * Pins that are connected internally must have the same name prefix, followed by a single dot,
   * and a unique suffix (e.g. `GND.1` and `GND.2`).
   */
  name: string;

  /** The x-coordinate of the pin, relative to the element's origin */
  x: number;

  /** The y-coordinate of the pin, relative to the element's origin */
  y: number;

  /** The signals for this pin. Leave empty for generic pins without a designated signals. **/
  signals: PinSignalInfo[];

  /**
   * Optional pin description
   */
  description?: string;
}

Simulation rendering in Safari

Firefox rendering of resistors:
firefoxrender

Safari (11.1.2) rendering of resistors:
safarirender

Related to: wokwi/wokwi-features#89

Additional information: The latest and obsolete Internet Explorer in Windows 10 does not render the circuit simulation and the PaleMoon browser shows a grey screen for the circuit simulation part. Every other browser in Windows 10, linux and Android seems to be okay.

Length attribute for slide potentiometer and config windows

It would be nice to be able to change the length of a slide potentiometer so the user can change the travel way. This could be done via the JSON config for now, in the long run maybe there could be a small hovering window with parameters for such attributes. This window could be open for as long as the simulation is NOT running.

Cheers <3

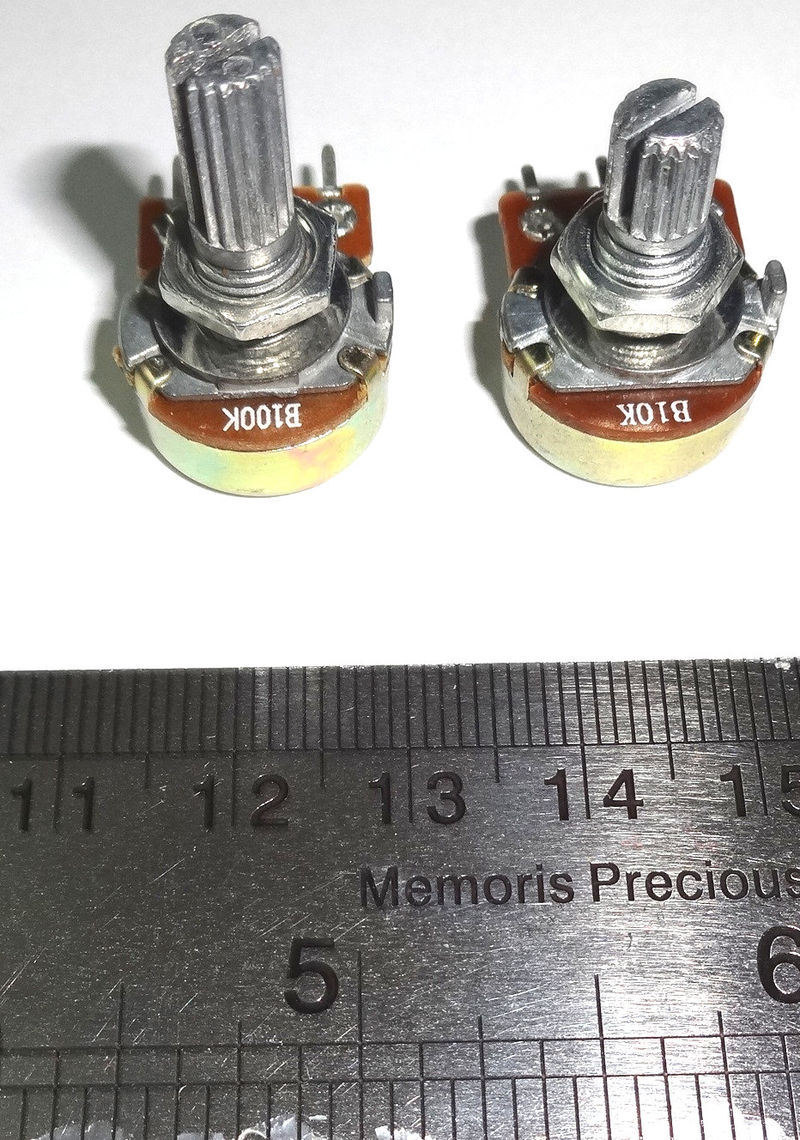
Add potentiometer element

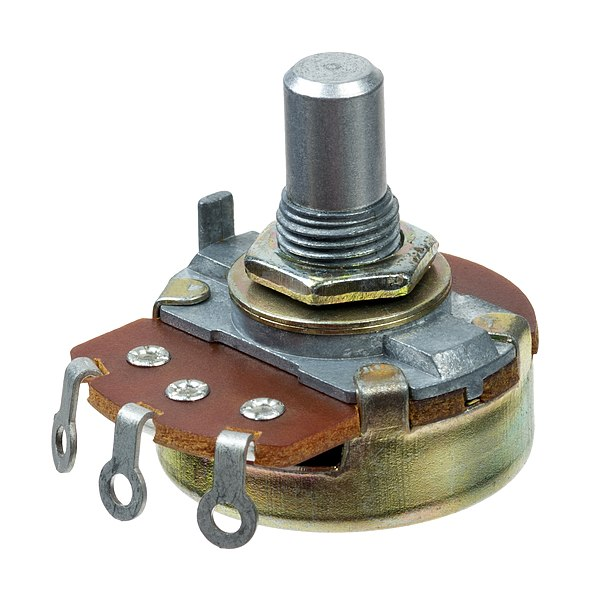
The potentiometer is an input element, with a knob that the user can rotate. Rotating the knob should emit an event reflecting the new value. The starting value, as well as min/max values can be provided by the users as attributes (we can use 0/100 as the default min/max values). Ideally, the attributes/events of this component will behave like <input type="range">.

Special considerations to take into account: Mobile support, keyboard support (accessibility).

Reference images:

image

image
Licence: CC-BY 3.0

Recommend Projects

  • React photo React

    A declarative, efficient, and flexible JavaScript library for building user interfaces.

  • Vue.js photo Vue.js

    🖖 Vue.js is a progressive, incrementally-adoptable JavaScript framework for building UI on the web.

  • Typescript photo Typescript

    TypeScript is a superset of JavaScript that compiles to clean JavaScript output.

  • TensorFlow photo TensorFlow

    An Open Source Machine Learning Framework for Everyone

  • Django photo Django

    The Web framework for perfectionists with deadlines.

  • D3 photo D3

    Bring data to life with SVG, Canvas and HTML. 📊📈🎉

Recommend Topics

  • javascript

    JavaScript (JS) is a lightweight interpreted programming language with first-class functions.

  • web

    Some thing interesting about web. New door for the world.

  • server

    A server is a program made to process requests and deliver data to clients.

  • Machine learning

    Machine learning is a way of modeling and interpreting data that allows a piece of software to respond intelligently.

  • Game

    Some thing interesting about game, make everyone happy.

Recommend Org

  • Facebook photo Facebook

    We are working to build community through open source technology. NB: members must have two-factor auth.

  • Microsoft photo Microsoft

    Open source projects and samples from Microsoft.

  • Google photo Google

    Google ❤️ Open Source for everyone.

  • D3 photo D3

    Data-Driven Documents codes.