This projects presents you with a feature-complete Spring Boot API built with Java. You can test your API locally using terminal commands. Additionally, you can use a live client application, the "WHATABYTE Dashboard", as a testing harness to simulate production conditions and live user interactions.

The sleek web player from Spotify inspired the design of the live demo application.
For simplicity, the API stores data in-memory and not in an external database. However, you can connect its data service to any database of your liking.
You can read Java and Spring Boot CRUD API Tutorial to learn how to build this API.
For security, you should limit API access by following these business rules:
-
Anyone can read data.
-
Only authenticated users with a
menu-adminrole can create, update, or delete menu items. Themenu-adminrole will bundle the necessary permissions to execute these write operations.
You can learn more about how to secure this API by reading Java and Spring Boot API Authorization Tutorial.
Clone the project in a directory called menu-api and checkout its build-api branch:
git clone [email protected]:auth0-blog/menu-api-spring-boot-java.git \
menu-api \
--branch build-api
Make the project folder your current directory:
cd menu-apiThen, install the project dependencies using Gradle:
./gradlew --refresh-dependenciesFinally, open the application.properties file in src/main/resources and add:
server.port=7000Run the project by executing the following command:
./gradlew bootRunYou can use a demo application, the WHATABYTE Dashboard, to interact with your Menu API like any user would. The demo application lets you enable and disable its authentication features.
Since you have not yet implemented authorization in your API to protect your endpoints, you'll use the demo client without any authentication features, which allows you to perform read and write operations on your Menu API as an anonymous user.
Head to https://dashboard.whatabyte.app to open the demo client. If this is your first time using this client application, the Auth0 Demo Settings view will open up.
Under the "Auth0 Demo Settings" view, ensure that the Enable Authentication Features option is off:

You should have a form with one field labeled API Server Base URL under its API Configuration section. The value of this field corresponds to your Spring Boot server base URL, in this case, http://localhost:7000.
If you are using any other base URL for your server, change the value of the form field.
Now, click the Save button to load the demo client application:

Locate the navigation bar on the left side of the page. Then, click on the Menu tab. Three menu items from your server's store should load up:
On the "Menu Items" page, click on the Add Item button on the top-right corner. The "Add Menu Item" page should load up with a pre-populated form:

Click on the Save button to add a "Spring Salad" item to your menu.
Once the request-response cycle is complete between the client and the server, the client application loads the "Menu Items" page again. The menu grid now features four items, which includes the "Spring Salad":

Now, try updating the property of an item. Click on the "Tea" item to load its item page:
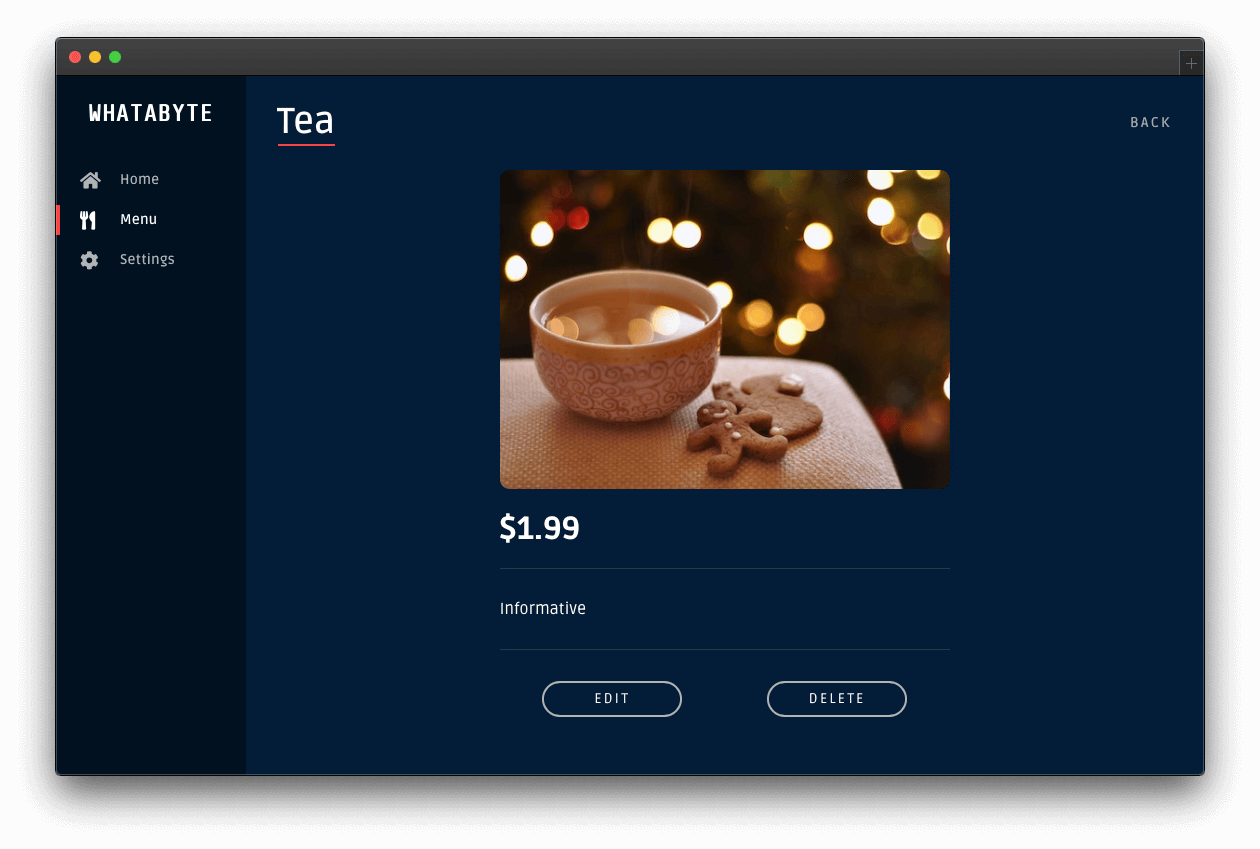
You'll notice two buttons at the bottom: Edit and Delete.
Click the Edit button and modify the form that loads up:
- Change the Name value from "Tea" to "Ginger Tea".
- Change the Description value from "Informative" to "Energizing".
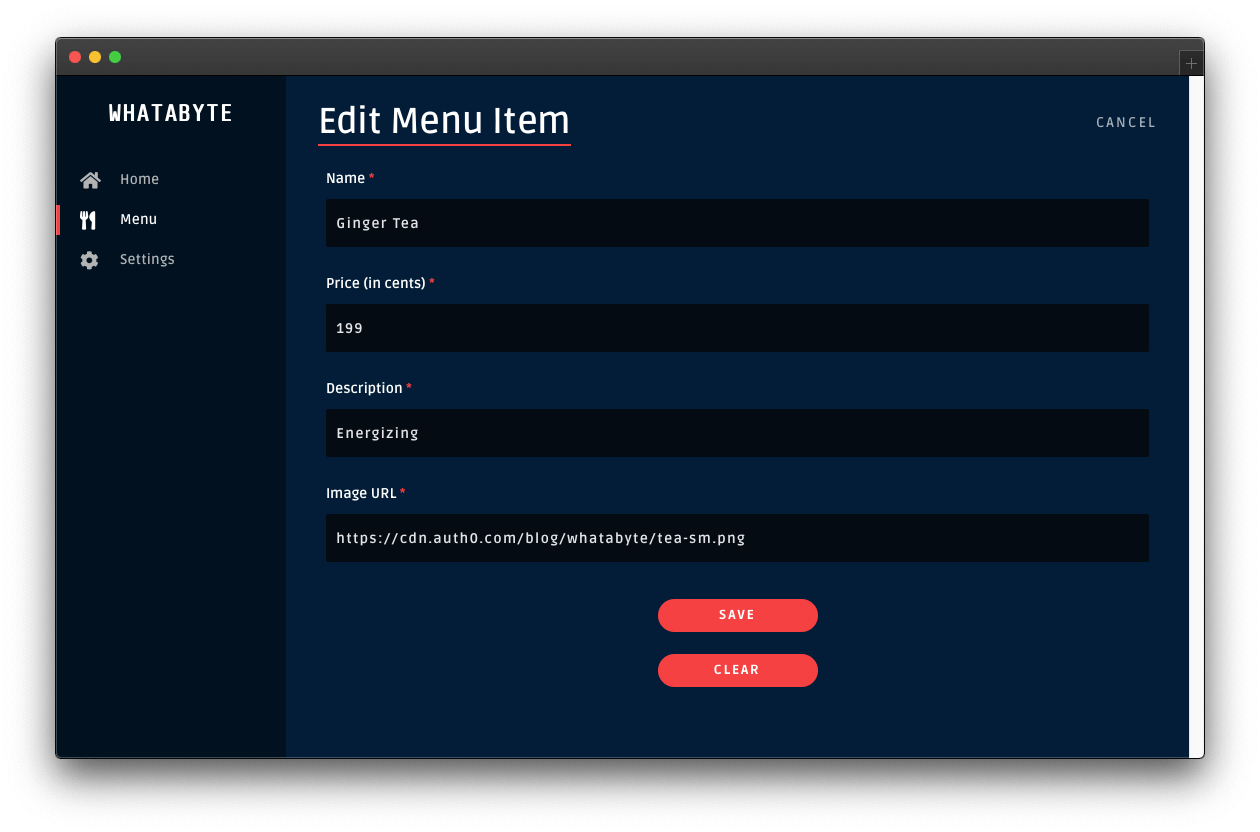
Then, click the Save button. Once the request-response cycle completes again, you'll see four items in the menu grid. However, the "Tea" item will show its new name and description:

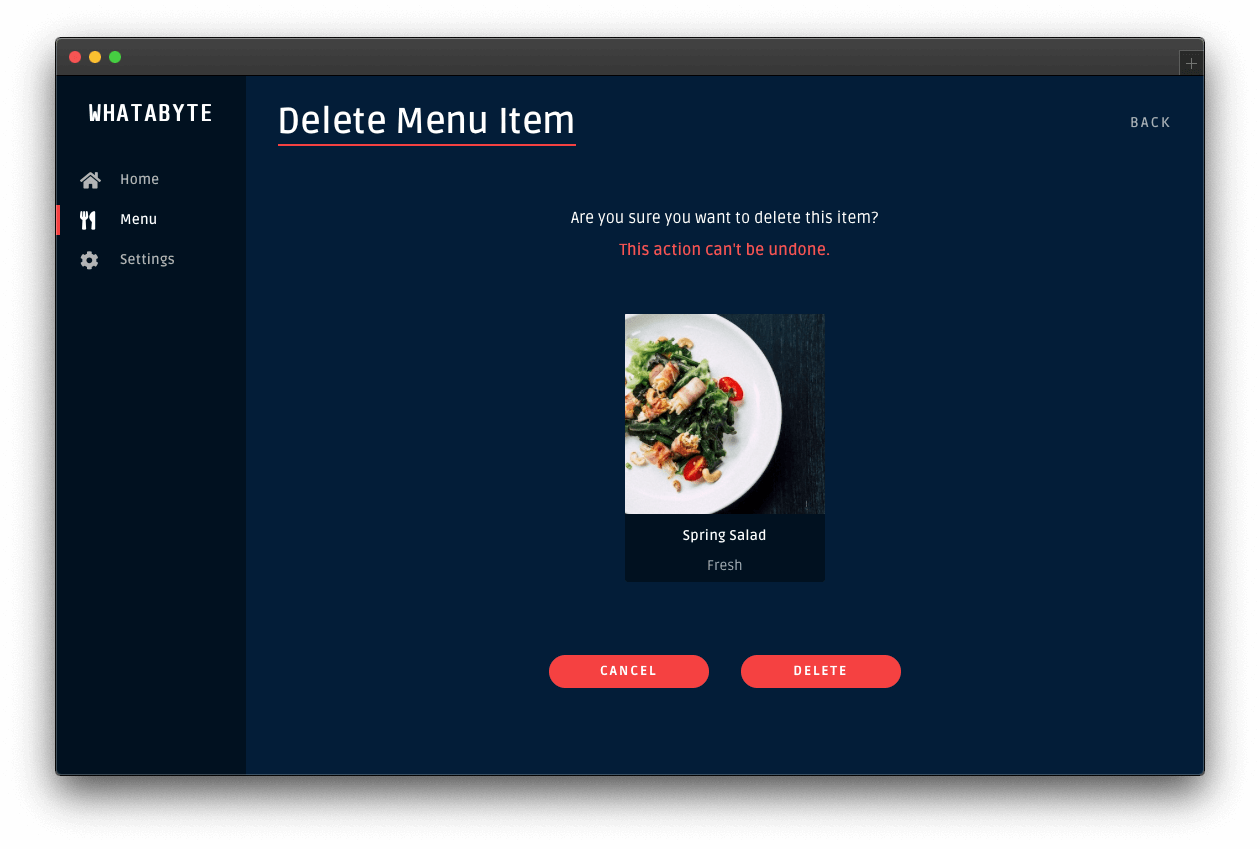
Click on any item on the menu grid, such as the "Spring Salad". On the item page, click its Delete button. You'll load up the "Delete Menu Item" page, asking you to confirm if you what to delete the item:
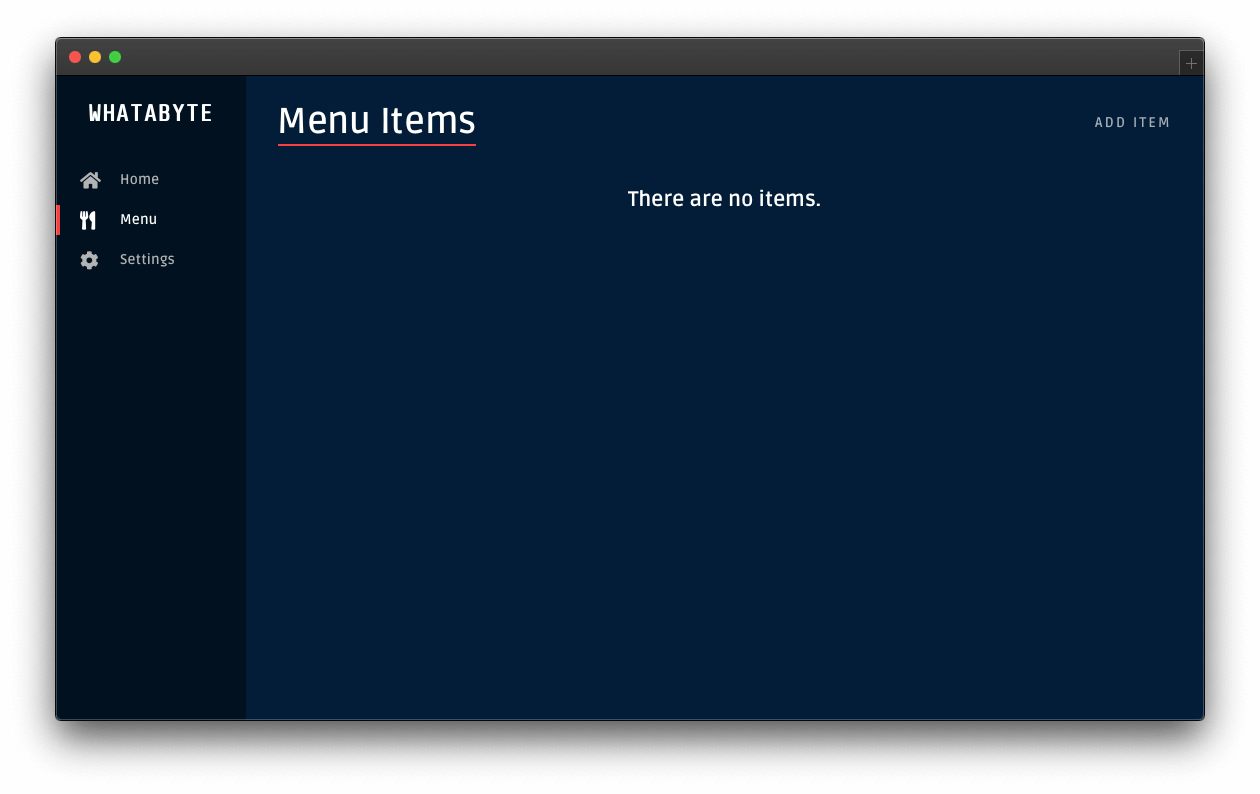
Click the Delete button to confirm the operation. After the request-response cycle completes, the menu grid loads up without that particular item:

You can protect this API against unauthorized access by using Auth0.
Auth0 is a flexible, drop-in solution to add authentication and authorization services to your applications. Your team and organization can avoid the cost, time, and risk that comes with building your solution to authenticate and authorize users. Auth0 offers tons of guidance and SDKs for you to get started and integrate Auth0 in your stack easily.
As it is, anyone could use the client application to perform write operations. Someone could delete all the menu items:
To prevent such a data catastrophe from happening, you need to secure your write endpoints by implementing authorization on the API layer. Once your Menu API has authorization in place, you can enable the authentication features of the demo client to improve the UX of the end-users.
You can follow Java and Spring Boot API Authorization Tutorial to implement authorization in your API. You'll require users to log in to perform write operations on the API. Additionally, you'll further increase your API's security by requiring users to have a set of permissions (defined through a role) to perform any write operation.
