日本 (日本語) (Japanese)
The purpose of this guide is to walk through the process of creating a simple Ruby on Rails app that accesses a user's data in Office 365 or Outlook.com. The source code in this repository is what you should end up with if you follow the steps outlined here.
This guide assumes:
- That you already have Ruby on Rails installed and working on your development machine.
- That you have an Office 365 tenant, with access to an account in that tenant OR an Outlook.com developer preview account.
Let's dive right in! From your command line, change your directory to a directory where you want to create your new Ruby on Rails app. Run the following command to create an app called o365-tutorial (Note: feel free to change the name to whatever you want. For the purposes of this guide I will assume the name of the app is o365-tutorial.):
rails new o365-tutorial
If you're familiar with Ruby on Rails, this is nothing new for you. If you're new to it, you'll notice that command creates an o365-tutorial sub-directory, which contains a number of files and directories. Most of these aren't important for our purposes, so don't worry too much about them.
On the command line, change your directory to the o365-tutorial sub-directory. Let's take a quick detour to verify that the app was created successfully. Run the following command:
rails server
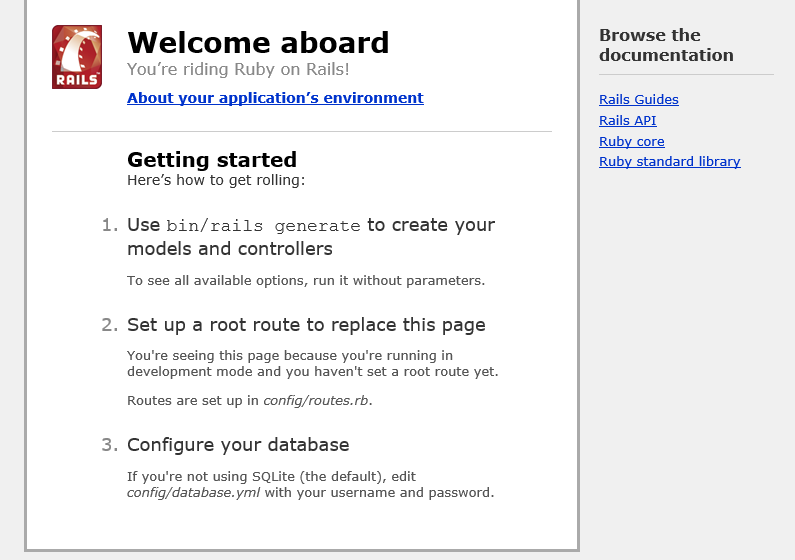
Open a browser and navigate to http://localhost:3000. You should see the default Ruby on Rails welcome page.
Now that we've confirmed that Ruby on Rails is working, we're ready to do some real work.
Our app will be very simple. When a user visits the site, they will see a link to log in and view their email. Clicking that link will take them to the Azure login page where they can login with their Office 365 or Outlook.com account and grant access to our app. Finally, they will be redirected back to our app, which will display a list of the most recent email in the user's inbox.
Let's begin by replacing the default welcome page with a page of our own. To do that, we'll modify the application controller, located in the .\o365-tutorial\app\controllers\application_controller.rb file. Open this file in your favorite text editor. Let's define a home action that renders a very simple bit of HTML, as shown in the following listing:
class ApplicationController < ActionController::Base
  # Prevent CSRF attacks by raising an exception.
  # For APIs, you may want to use :null_session instead.
  protect_from_forgery with: :exception

  def home
    # Display the login link.
    render html: '<a href="#">Log in and view my email</a>'.html_safe
  end
end
As you can see, our home page will be very simple. For now, the link doesn't do anything, but we'll fix that soon. First we need to tell Rails to invoke this action. To do that, we need to define a route. Open the .\o365-tutorial\config\routes.rb file, and set the default route (or "root") to the home action we just defined.
Rails.application.routes.draw do
  root 'application#home'
end
Save your changes. Now browsing to http://localhost:3000 should look like:
Our goal in this section is to make the link on our home page initiate the OAuth2 Authorization Code Grant flow with Azure AD. To make things easier, we'll use the oauth2 gem to handle our OAuth requests. We'll also use the activerecord-session_store gem to store our sessions in a database. Open the ./o365-tutorial/GemFile and add the following lines anywhere in that file:
gem 'oauth2'
gem 'activerecord-session_store'
Save the file and run the following command (restart the rails server afterwards):
bundle install
Now let's configure the app to use the activerecord-session_store gem for session storage. The reason for this is that the default cookie store is limited to 4KB of data, which isn't enough for us to store the tokens we'll get back from Azure.
Open the .\o365-tutorial\config\initializers\session_store.rb file. Replace the text :cookie_store with :active_record_store.
On the command line, enter the following commands to generate the session database.
rails generate active_record:session_migration
rails db:migrate
Because of the nature of the OAuth2 flow, it makes sense to create a controller to handle the redirects from Azure. Run the following command to generate a controller named Auth:
rails generate controller Auth
Open the .\o365-tutorial\app\helpers\auth_helper.rb file. We'll start here by defining a function to generate the login URL.
module AuthHelper

  # App's client ID. Register the app in Application Registration Portal to get this value.
  CLIENT_ID = '<YOUR APP ID HERE>'
  # App's client secret. Register the app in Application Registration Portal to get this value.
  CLIENT_SECRET = '<YOUR APP PASSWORD HERE>'

  # Scopes required by the app
  SCOPES = [ 'openid',
             'https://outlook.office.com/mail.read' ]

  REDIRECT_URI = 'http://localhost:3000/authorize' # Temporary!

  # Generates the login URL for the app.
  def get_login_url
    client = OAuth2::Client.new(CLIENT_ID,
                                CLIENT_SECRET,
                                :site => 'https://login.microsoftonline.com',
                                :authorize_url => '/common/oauth2/v2.0/authorize',
                                :token_url => '/common/oauth2/v2.0/token')

    login_url = client.auth_code.authorize_url(:redirect_uri => REDIRECT_URI, :scope => SCOPES.join(' '))
  end
end
The first thing we do here is define our client ID and secret, and the permission scopes our app requires. We also define a redirect URI as a hard-coded value. We'll improve on that in a bit, but it will serve our purpose for now. Now we need to generate values for the client ID and secret.
Head over to https://apps.dev.microsoft.com to quickly get a client ID and secret. Using the sign in buttons, sign in with either your Microsoft account (Outlook.com), or your work or school account (Office 365).

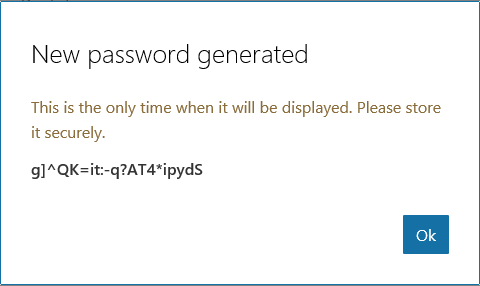
Once you're signed in, click the Add an app button. Enter o365-tutorial for the name and click Create application. After the app is created, locate the Application Secrets section, and click the Generate New Password button. Copy the password now and save it to a safe place. Once you've copied the password, click Ok.
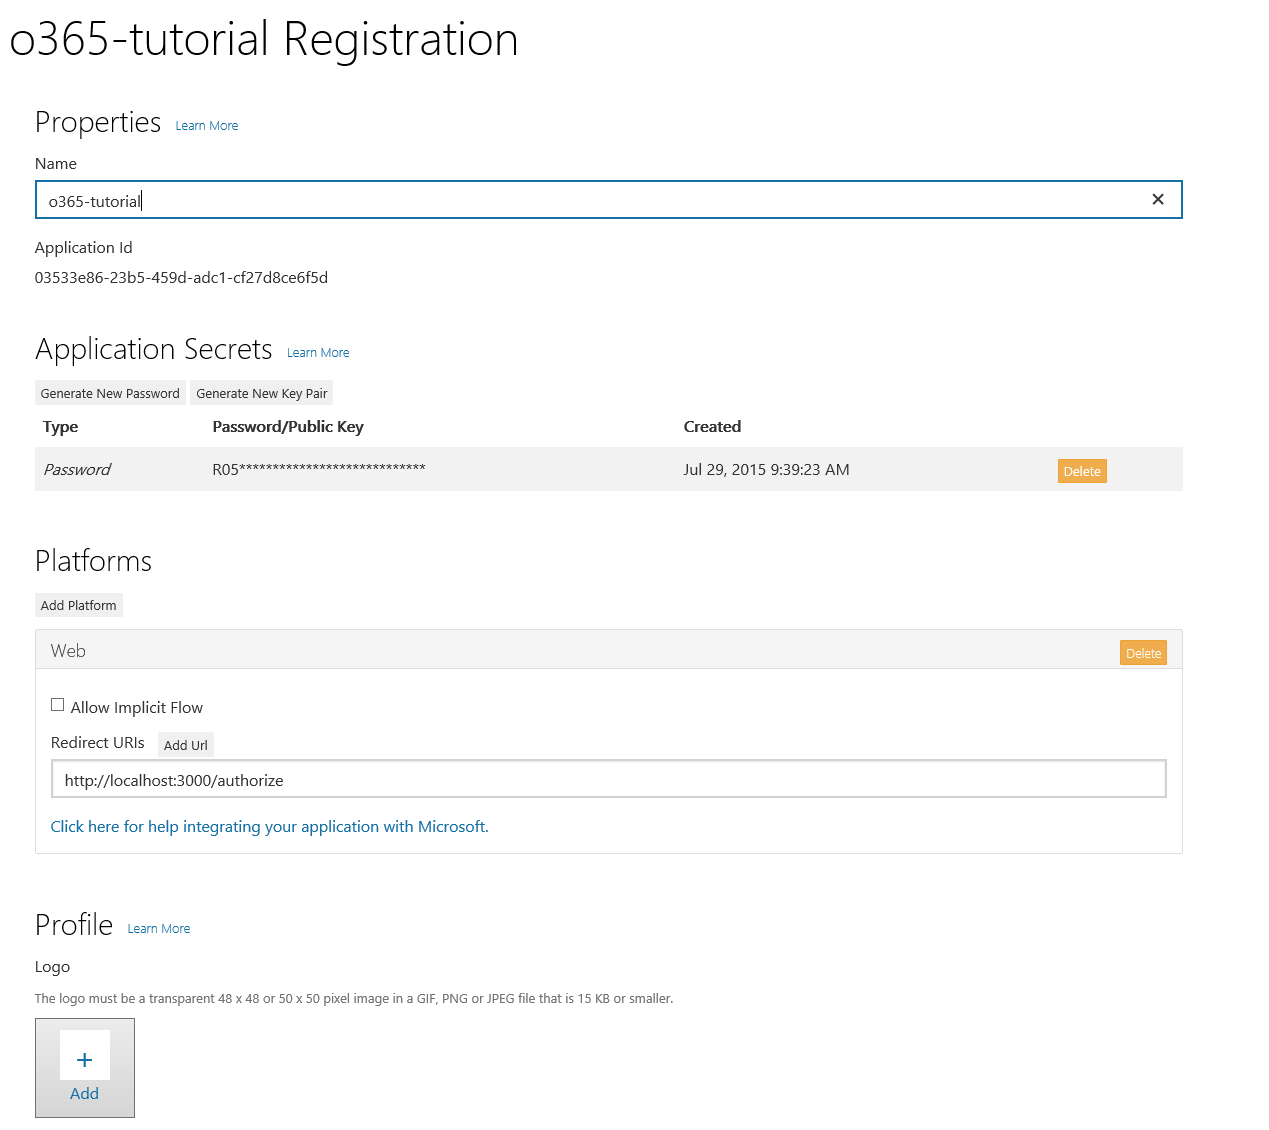
Locate the Platforms section, and click Add Platform. Choose Web, then enter http://localhost:3000/authorize under Redirect URIs. Click Save to complete the registration. Copy the Application Id and save it along with the password you copied earlier. We'll need those values soon.
Here's what the details of your app registration should look like when you are done.
Once this is complete you should have a client ID and a secret. Replace the <YOUR APP ID HERE> and <YOUR APP PASSWORD HERE> placeholders with these values and save your changes.
Now that we have actual values in the get_login_url function, let's put it to work. Modify the home action in the ApplicationController to use this method to fill in the link. You'll need to include the AuthHelper module to gain access to this function.
class ApplicationController < ActionController::Base
  # Prevent CSRF attacks by raising an exception.
  # For APIs, you may want to use :null_session instead.
  protect_from_forgery with: :exception
  include AuthHelper

  def home
    # Display the login link.
    login_url = get_login_url
    render html: "<a href='#{login_url}'>Log in and view my email</a>".html_safe
  end
end
Save your changes and browse to http://localhost:3000. If you hover over the link, it should look like:
https://login.microsoftonline.com/common/oauth2/v2.0/authorize?client_id=<SOME GUID>&redirect_uri=http%3A%2F%2Flocalhost%3A3000%2Fauthorize&response_type=code&scope=openid+https%3A%2F%2Foutlook.office.com%2Fmail.read
The <SOME GUID> portion should match your client ID. Click on the link and you should be presented with a sign in page:
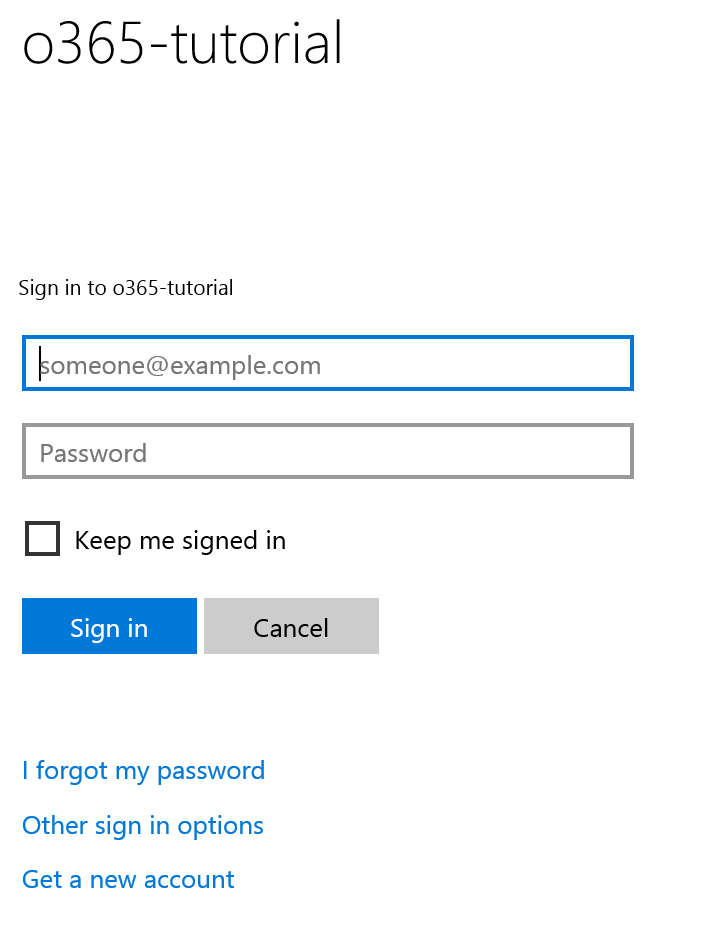
Sign in with your Office 365 account. Your browser should redirect to back to our app, and you should see a lovely error:
No route matches [GET] "/authorize"
If you scroll down on Rails' error page, you can see the request parameters, which include the authorization code.
Parameters:
    {"code"=>"M2ff0cb19-ec9d-db94-c5ab-4c634e319315"}
The reason we're seeing the error is because we haven't implemented a route to handle the /authorize path we hard-coded as our redirect URI. However, Rails has shown us that we're getting the authorization code back in the request, so we're on the right track! Let's fix that error now.
First, let's add a route for the /authorize path to routes.rb.
Rails.application.routes.draw do
  root 'application#home'
  get 'authorize' => 'auth#gettoken'
end
The added line tells Rails that when a GET request comes in for /authorize, invoke the gettoken action on the auth controller. So to make this work, we need to implement that action. Open the .\o365-tutorial\app\controllers\auth_controller.rb file and define the gettoken action.
class AuthController < ApplicationController

  def gettoken
    render text: params[:code]
  end
end
Let's make one last refinement before we try this new code. Now that we have a route for the redirect URI, we can remove the hard-coded constant in auth_helper.rb, and instead use the Rails name for the route: authorize_url.
module AuthHelper

  # App's client ID. Register the app in Application Registration Portal to get this value.
  CLIENT_ID = '<YOUR APP ID HERE>'
  # App's client secret. Register the app in Application Registration Portal to get this value.
  CLIENT_SECRET = '<YOUR APP PASSWORD HERE>'

  # Scopes required by the app
  SCOPES = [ 'openid',
             'https://outlook.office.com/mail.read' ]

  # Generates the login URL for the app.
  def get_login_url
    client = OAuth2::Client.new(CLIENT_ID,
                                CLIENT_SECRET,
                                :site => "https://login.microsoftonline.com",
                                :authorize_url => "/common/oauth2/v2.0/authorize",
                                :token_url => "/common/oauth2/v2.0/token")

    login_url = client.auth_code.authorize_url(:redirect_uri => authorize_url, :scope => SCOPES.join(' '))
  end
end
Refresh your browser (or repeat the sign-in process). Now instead of a Rails error page, you should see the value of the authorization code printed on the screen. We're getting closer, but that's still not very useful. Let's actually do something with that code.
Let's add another helper function to auth_helper.rb called get_token_from_code.
# Exchanges an authorization code for a token
def get_token_from_code(auth_code)
  client = OAuth2::Client.new(CLIENT_ID,
                              CLIENT_SECRET,
                              :site => 'https://login.microsoftonline.com',
                              :authorize_url => '/common/oauth2/v2.0/authorize',
                              :token_url => '/common/oauth2/v2.0/token')

  token = client.auth_code.get_token(auth_code,
                                     :redirect_uri => authorize_url,
                                     :scope => SCOPES.join(' '))
endOur first use of the access token will be to get the user's email address from the Outlook API. You'll see why we want this soon.
Add a new function get_user_email to auth_helper.rb.
# Gets the user's email from the /Me endpoint
def get_user_email(access_token)
  conn = Faraday.new(:url => 'https://outlook.office.com') do |faraday|
    # Outputs to the console
    faraday.response :logger
    # Uses the default Net::HTTP adapter
    faraday.adapter  Faraday.default_adapter
  end

  response = conn.get do |request|
    # Get user's info from /Me
    request.url 'api/v2.0/Me'
    request.headers['Authorization'] = "Bearer #{access_token}"
    request.headers['Accept'] = 'application/json'
  end

  email = JSON.parse(response.body)['EmailAddress']
end
Let's make sure that works. Modify the gettoken action in the auth_controller.rb file to use these helper functions and display the return values.
class AuthController < ApplicationController

  def gettoken
    token = get_token_from_code params[:code]
    email = get_user_email token.token
    render text: "Email: #{email}, TOKEN: #{token.token}"
  end
end
If you save your changes and go through the sign-in process again, you should now see the user's email followed by a long string of seemingly nonsensical characters. If everything's gone according to plan, that should be an access token.
Now let's change our code to store the token and email in a session cookie instead of displaying them.
def gettoken
  token = get_token_from_code params[:code]
  session[:azure_token] = token.to_hash
  session[:user_email] = get_user_email token.token
  render text: "Access token saved in session cookie."
endAccess tokens returned from Azure are valid for an hour. If you use the token after it has expired, the API calls will return 401 errors. You could ask the user to sign in again, but the better option is to refresh the token silently.
In order to do that, the app must request the offline_access scope. Add this scope to the SCOPES array in auth_helper.rb:
# Scopes required by the app
SCOPES = [ 'openid',
           'offline_access',
           'https://outlook.office.com/mail.read' ]
This will cause the token response from Azure to include a refresh token. Now let's add a helper method in auth_helper.rb to retrieve the cached token, check if it is expired, and refresh it if so.
# Gets the current access token
def get_access_token
  # Get the current token hash from session
  token_hash = session[:azure_token]

  client = OAuth2::Client.new(CLIENT_ID,
                              CLIENT_SECRET,
                              :site => 'https://login.microsoftonline.com',
                              :authorize_url => '/common/oauth2/v2.0/authorize',
                              :token_url => '/common/oauth2/v2.0/token')

  token = OAuth2::AccessToken.from_hash(client, token_hash)

  # Check if token is expired, refresh if so
  if token.expired?
    new_token = token.refresh!
    # Save new token
    session[:azure_token] = new_token.to_hash
    access_token = new_token.token
  else
    access_token = token.token
  end
endNow that we can get an access token, we're in a good position to do something with the Mail API. Let's start by creating a controller for mail operations.
rails generate controller Mail index
This is slightly different than how we generated the Auth controller. This time we passed the name of an action, index. Rails automatically adds a route for this action, and generates a view template.
Now we can modify the gettoken action one last time to redirect to the index action in the Mail controller.
def gettoken
  token = get_token_from_code params[:code]
  session[:azure_token] = token.to_hash
  session[:user_email] = get_user_email token.token
  redirect_to mail_index_url
end
Now going through the sign-in process in the app lands you at http://localhost:3000/mail/index. Of course that page doesn't do anything yet, so let's fix that.
In order to make REST calls, install the Faraday gem. This gem makes it pretty simple to send and receive requests. Open up the Gemfile file and add this line anywhere in the file:
gem 'faraday'
Save the file, run bundle install, and restart the server. Now we're ready to implement the index action on the Mail controller. Open the .\o365-tutorial\app\controllers\mail_controller.rb file and define the index action:
class MailController < ApplicationController

  include AuthHelper

  def index
    token = get_access_token
    email = session[:user_email]
    if token
      # If a token is present in the session, get messages from the inbox
      conn = Faraday.new(:url => 'https://outlook.office.com') do |faraday|
        # Outputs to the console
        faraday.response :logger
        # Uses the default Net::HTTP adapter
        faraday.adapter  Faraday.default_adapter
      end

      response = conn.get do |request|
        # Get messages from the inbox
        # Sort by ReceivedDateTime in descending orderby
        # Get the first 20 results
        request.url '/api/v2.0/Me/Messages?$orderby=ReceivedDateTime desc&$select=ReceivedDateTime,Subject,From&$top=20'
        request.headers['Authorization'] = "Bearer #{token}"
        request.headers['Accept'] = 'application/json'
        request.headers['X-AnchorMailbox'] = email
      end

      # Assign the resulting value to the @messages
      # variable to make it available to the view template.
      @messages = JSON.parse(response.body)['value']
    else
      # If no token, redirect to the root url so user
      # can sign in.
      redirect_to root_url
    end
  end
end
To summarize the code in the index action:
- It creates a connection to the Mail API endpoint, https://outlook.office.com.
- It issues a GET request to the URL for inbox messages, with the following characteristics:
- It uses the query string
?$orderby=ReceivedDateTime desc&$select=ReceivedDateTime,Subject,From&$top=20to sort the results byReceivedDateTime, request only theReceivedDateTime,Subject, andFromfields, and limit the results to the first 20. - It sets the
Authorizationheader to use the access token from Azure. - It sets the
Acceptheader to signal that we're expecting JSON. - It sets the
X-AnchorMailboxheader to the user's email address. Setting this header allows the API endpoint to route API calls to the appropriate backend mailbox server more efficiently.
- It uses the query string
- It parses the response body as JSON, and assigns the
valuehash to the@messagesvariable. This variable will be available to the view template.
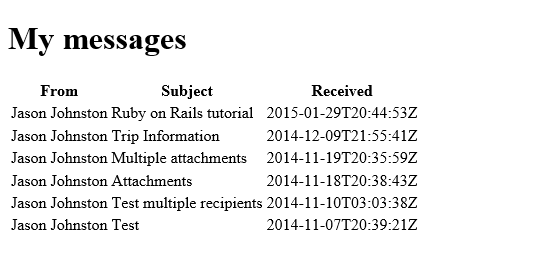
Now we need to modify the view template associated with the index action to use the @messages variable. Open the .\o365-tutorial\app\views\mail\index.html.erb file, and replace its contents with the following:
<h1>My messages</h1>
<table>
  <tr>
  <th>From</th>
  <th>Subject</th>
  <th>Received</th>
  </tr>
  <% @messages.each do |message| %>
  <tr>
    <td><%= message['From']['EmailAddress']['Name'] %></td>
    <td><%= message['Subject'] %></td>
    <td><%= message['ReceivedDateTime'] %></td>
  </tr>
  <% end %>
</table>
The template is a fairly simple HTML table. It uses embedded Ruby to iterate through the results in the @messages variable we set in the index action and create a table row for each message. The syntax to access the values of each message is straightforward. Notice the way that the display name of the message sender is extracted:
<%= message['From']['EmailAddress']['Name'] %>This mirrors the JSON structure for the From value:
"From": {
  "@odata.type": "#Microsoft.OutlookServices.Recipient",
  "EmailAddress": {
  "@odata.type": "#Microsoft.OutlookServices.EmailAddress",
  "Address": "[email protected]",
  "Name": "Jason Johnston"
  }
}
Save the changes and sign in to the app. You should now see a simple table of messages in your inbox.
Now that you've created a working sample, you may want to learn more about the capabilities of the Mail API. If your sample isn't working, and you want to compare, you can download the end result of this tutorial from GitHub.
Copyright (c) Microsoft. All rights reserved.
Connect with me on Twitter @JasonJohMSFT
Follow the Outlook/Exchange Dev Blog


