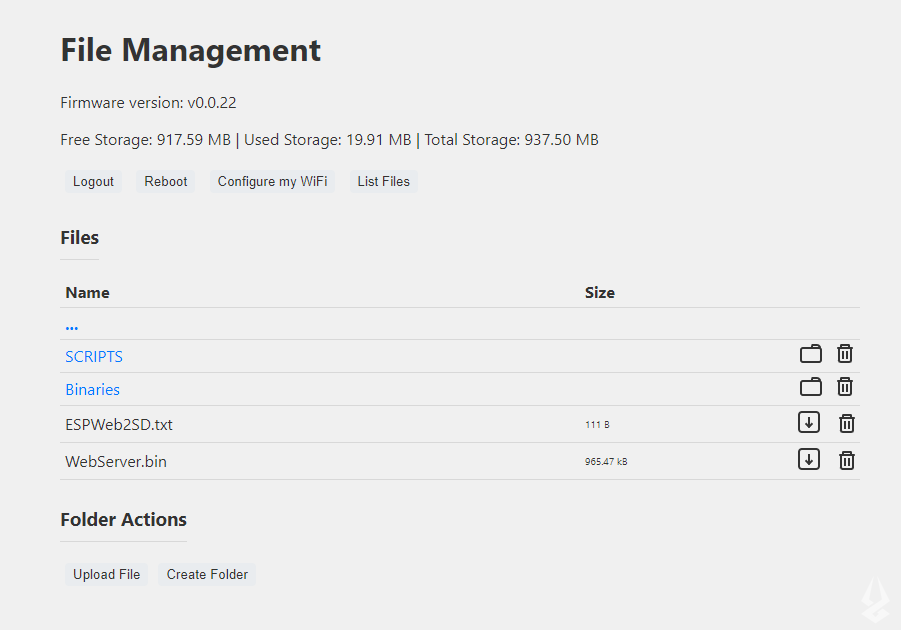
Simple Web server to manage your SD card files.

- Download the .bin file from Releases for your device.
- Use https://web.esphome.io/ or esptool.py and flash the file:
ESP_Web2Sd-Mgr_{YourDevice}_{ver}.bininto your device.
- Turn your Device on.
- Press M5 (Enter) to choose between connecting to an existing AP or creating one.
- After connecting, connect to the same network as the device.
- On the device screen, you will see the IP of the device, open it in any browser.
- Alternatively, you can connect to https://esp.local/.
- Clone this repository and open in VsCode/PlatformIO.
- Choose your Env, or add the tft configurations and SD card pins.
- Burn or Build the project.
- Use esptool to build the binaries.
- M5StickC and M5StickC Plus
esptool --chip esp32 merge_bin -o .pio/build/m5stack-cplus1_1/release.bin --flash_mode dio --flash_size 4MB 0x1000 .pio/build/m5stack-cplus1_1/bootloader.bin 0x8000 .pio/build/m5stack-cplus1_1/partitions.bin 0x10000 .pio/build/m5stack-cplus1_1/firmware.bin
- M5StickC Plus 2
esptool --chip esp32 merge_bin -o .pio/build/m5stack-cplus2/release.bin --flash_mode dio --flash_size 8MB 0x1000 .pio/build/m5stack-cplus2/bootloader.bin 0x8000 .pio/build/m5stack-cplus2/partitions.bin 0x10000 .pio/build/m5stack-cplus2/firmware.bin
- Cardputer
esptool --chip esp32s3 merge_bin -o .pio/build/m5stack-cardputer/release.bin --flash_mode dio --flash_size 8MB 0x0000 .pio/build/m5stack-cardputer/bootloader.bin 0x8000 .pio/build/m5stack-cardputer/partitions.bin 0x10000 .pio/build/m5stack-cardputer/firmware.bin
- M5StickC and M5StickC Plus
- You can edit this file using your computer or
- Launch the server as an Access Point and click "Configure my WiFi" and set SSID and Password.
- After that, you just need to restart your ESP32.
This project derivates from Example 2 of esp32-asyncwebserver-fileupload-example, but adjusted to read filles from SD Card instead of SPIFFS and added support to navigate through folders.