


With this Neoscms package it is possible to change the identity of the logged in user. It has certainly happened that an editor has called you and described an error that they themselves can not understand.
With this package you can extend your neos so that you can simply log in as this user. Completely without resetting passwords.

The package is based on a pull request from Dominique Feyer (@dfeyer). We are thankful for the basis. The customization of the Neos backend was sponsored by the VisionConnect GmbH agency. I hereby thank you very much for the financial support and for the permission to open source the whole adjustment.
composer require unikka/login-as --no-updateThe --no-update command prevents the automatic update of the dependencies. After the package was added to your theme composer.json, go back to the root of the Neos installation and run composer update. Your desired package is now installed correctly.
The package can be used in three different ways. The easiest and probably most common way is to use it in the Neos backend.
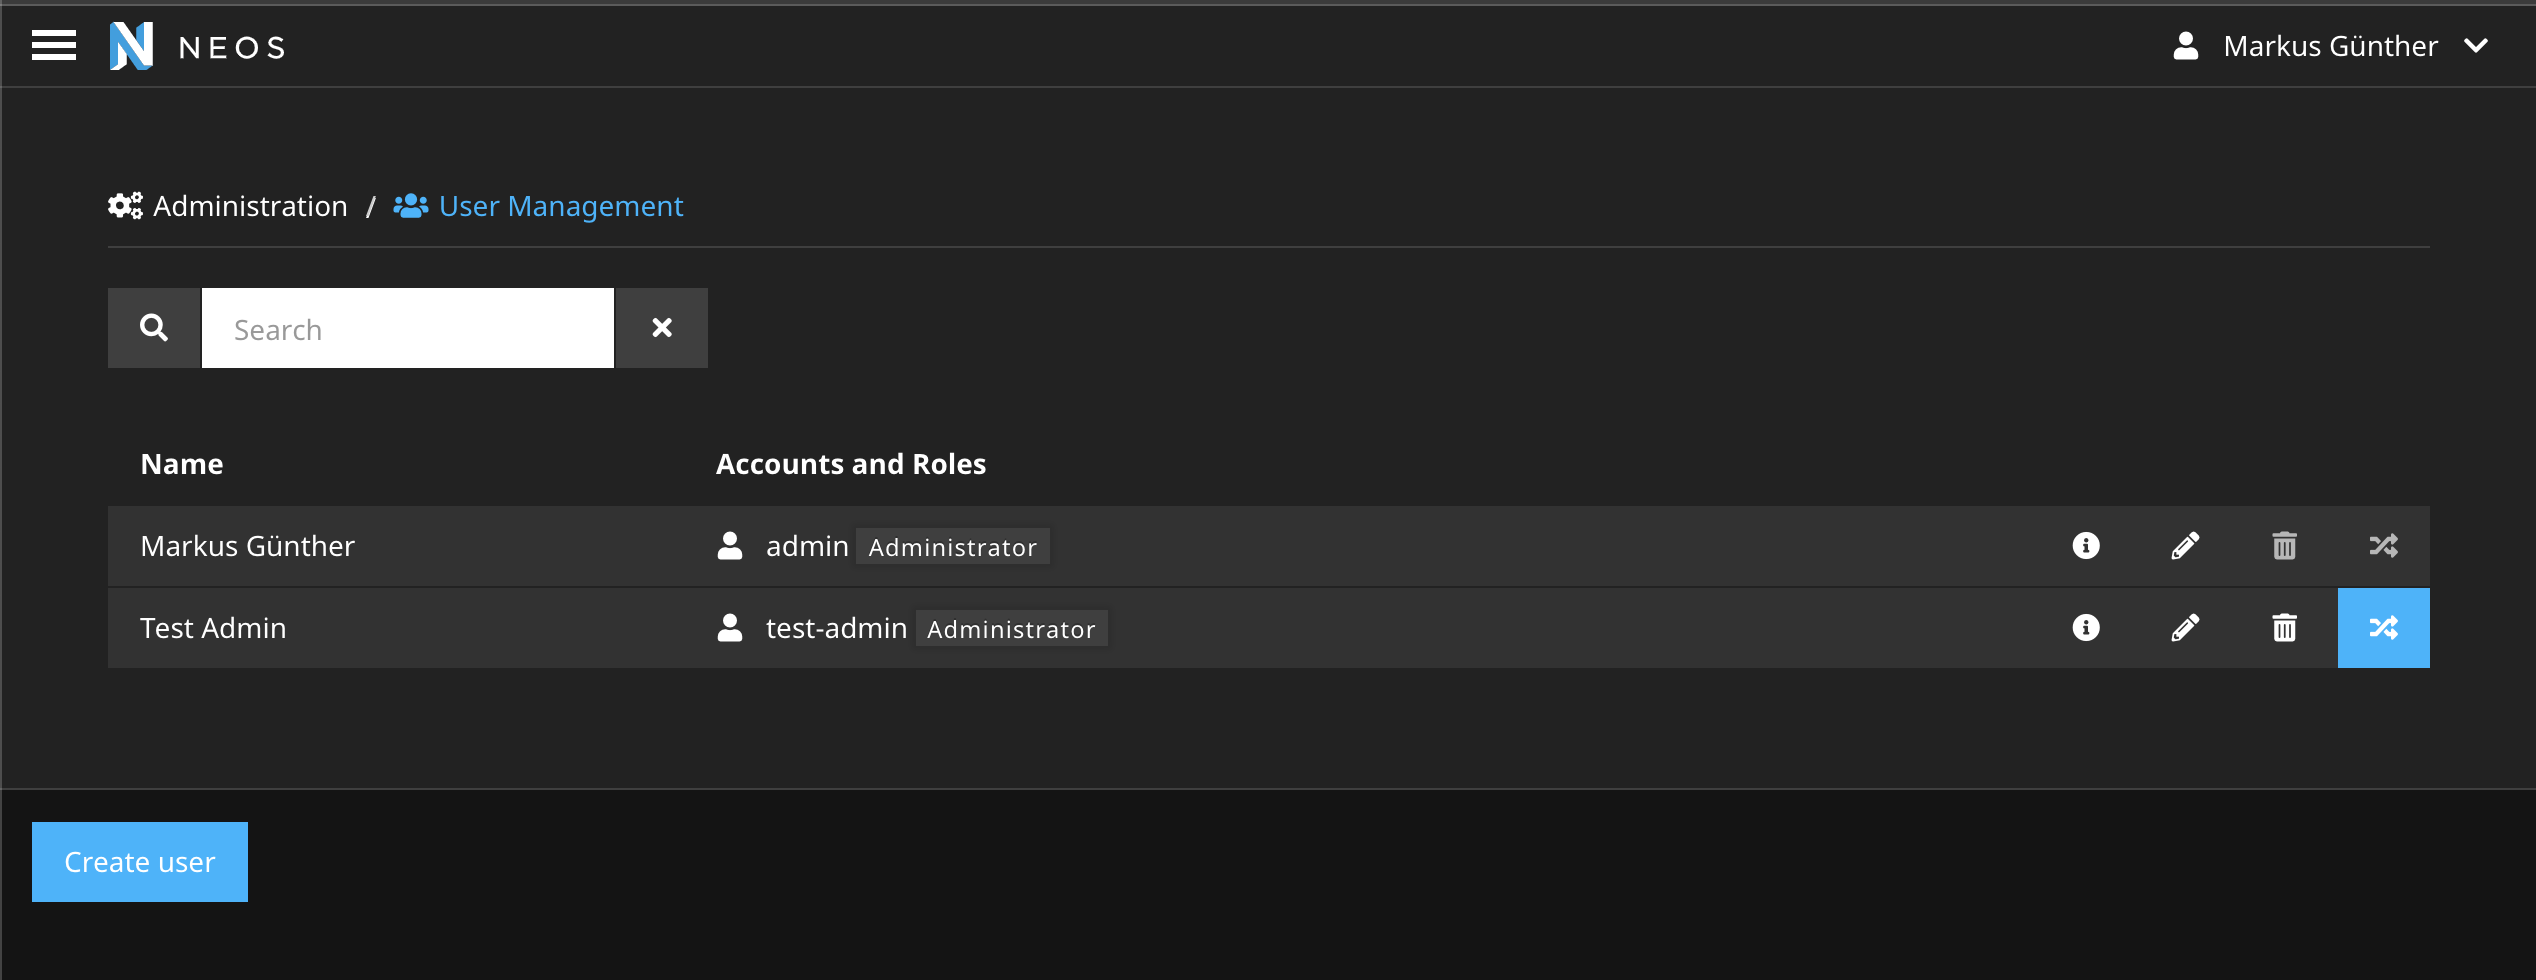
For this, you only have to log in to the Neos backend as an administrator and can then select another user in the user management. Since the users can have different permissions on modules, the page is reloaded and you are redirected to the default module of the user.
You can now act as this user. When your work is done you can open the user menu on the top right and authenticate as yourself again with the "Back to user" button.

Again, the page will reload and you will find yourself in the user's default module. It could be a possible feature in the future to have this behavior configurable.
The user menu has been extended in two places. In the content module, the new React UI is almost always used. For this, a plugin is included to extend the menu. However, in most of the backend modules, there is no React component yet. Therefore, the menu is adapted here again extra.
If you are still using the old EmberJS based UI, you will not automatically have the "Switch back" button in the content module. For this please have a look at the Troubeshot section!
Now, of course, it may be that the backend is not of interest to them at all. For example, because they have built up a community and have so-called front-end users for this. Here, too, it can sometimes be useful if you can log in as another user.
For this case we provide ControllerActions.
- impersonate: arguments
account[Account] - restore
- status
With the help of these actions you can customize your application to search for users and then pass the found account as a parameter to the impersonateAction.
In the third variant, you can use the function provided from the backend. The backend uses routes that are provided by the package.
These routes provide API endpoints and can be used with a small JavaScript package.
If you are not in the backend you have to define your own routes. You may also need to adjust the policies for the impersonate action (if you don't use an administrator). For the routes it could look like this.
-
  name: 'Impersonate User status'
  uriPattern: 'mypackage/impersonate/status'
  defaults:
    '@package': 'Unikka.LoginAs'
    '@controller': 'Impersonate'
    '@action': 'status'
    '@format': 'json'
  httpMethods: ['GET']
If everything is configured correctly, you should receive a JSON response for the status endpoint, for example.
{
  "status": true,
  "user": {
    "accountIdentifier": "test-admin",
    "fullName": "Test Admin"
  },
  "origin": {
    "accountIdentifier": "admin",
    "fullName": "Markus Günther"
  }
}
To make things a bit easier in the JavaScript application you can use the API services from the backend. For this you can install the following package.
yarn add @unikka/loginas-apiIn your own application you only have to import the ApiService and pass the appropriate base-uri and a CSFR token to the service.
import ApiService from '@unikka/loginas-api'

const { csrfToken } = document.getElementById('some-container').dataset
new ApiService('mypackage/impersonate/', csrfToken)
    .callStatus()
    .then((data) => {
        const { status } = data
        console.log(status)
})If you use Variant 2 with the predefined controller actions, you can configure where you want to be forwarded after a change of the user. You can define redirections in case a user is logged in or restored.
Unikka:
  LoginAs:
    redirectOptions:
      restore:
        action: 'myAction'
        controller: 'myController'
        package: 'mypackage'
      impersonate:
        action: 'myAction'
        controller: 'myController'
        package: 'mypackage'
This does not work for the other options yet!
If you are still using the EmberJS based Neos Ui, the content module is currently not automatically extended with the new button. If you log in as an editor who only has permissions for the content module, you can only get back to your user by logging out and logging in again.
We provide in the package a patch file to adjust the template of Neos/Neos so that you also get this button rendered.
This patch could be installed automatically using the package cweagans/composer-patches.
For more information visit usage of composer-patches
You can find the patch for the EmberJS based UI in at Patches/adjustContentModuleMarkupForLoginAs.patch
We'd love you to contribute to LoginAs. We try to make it as easy as possible. We are using semantic versioning to have more time to concentrate on important stuff instead of struggling in the dependency or release hell.
Therefore the first rule is to follow the eslint commit message guideline.
It is really easy if you always commit via yarn commit. Commitizen will guide you.
All PRs will be merged into the master branch. Travis and semantic release will check the commit messages and start building a new release when the analysis of the latest commits will trigger that.
If you have questions just ping us on Twitter or Github.
The GNU GENERAL PUBLIC LICENSE. Please see License File for more information.


