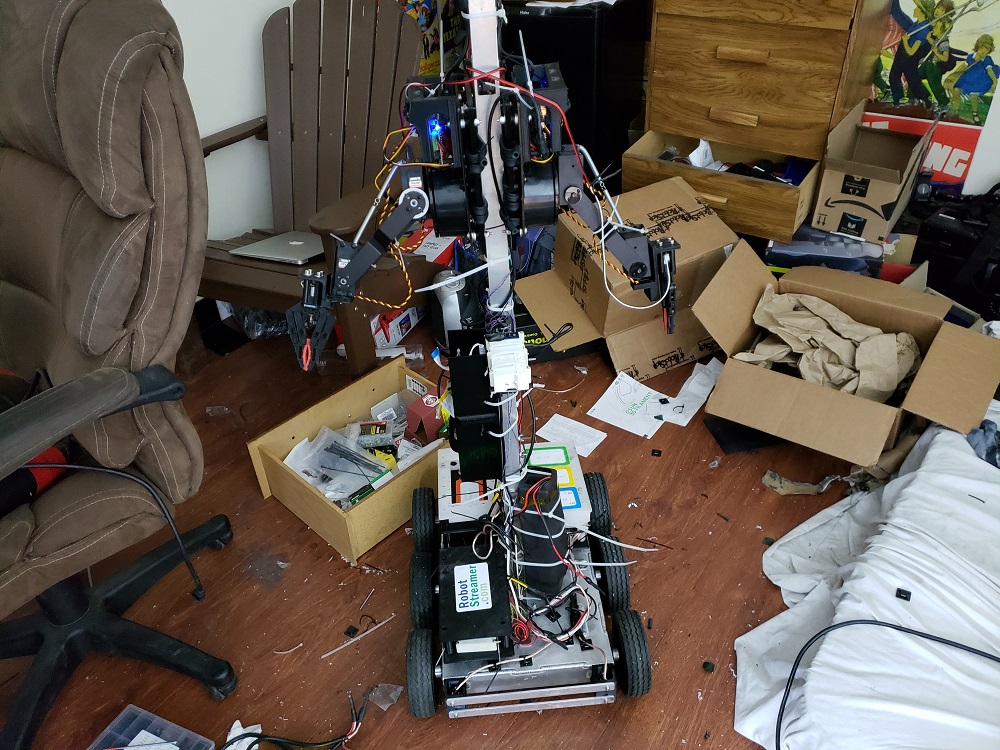
RobotStreamer is a low latency live streaming platform. Stream from you desktop. Connect your movable cameras with TTS (robots) to RobotStreamer.com. We're a new project but already have interest from top live streamers like Ice Poseidon for robot camera control with massive numbers of users.
Broadcasters make the rules for their channels. Unlike most platforms, RobotStreamer is open to just about any content. Edgy stuff is welcome here. It is the internet after all. Just maintain basic ethical decency, keep it legal, and keep it entertaining. For language, it's up to the broadcaster to decide how they want to moderate if at all.
You can create streams with Robots (movable cameras with TTS), that's our specialty, and you can also create tradional live IRL streams or game streams from the desktop. We currently use a different protocol than most live streaming platforms for lower latency.
We have a system called funbits that lets the streamers monetize their streams.
Making your own live stream or robot? We'd like to hear from you. Join our discord and let us know what you are interested in doing. https://discord.gg/n6B7ymy
There are two ways to stream from your Desktop to RobotStreamer:
On desktop, you can stream using OBS and ffmpeg, follow instructions here:
Win:
https://github.com/robotstreamer/robotstreamer_win_obs
Mac:
https://github.com/robotstreamer/robotstreamer_mac_obs
You can also stream directly using just ffmpeg although you may have issues with quality. Use instructions below but send_video_windows.py rather than just send_video.
Note that you'll want to visit the discord for questions and such. Streaming from Desktop is still a beta feature. https://discord.gg/n6B7ymy
RobotStreamer runs some software on your robot to connect to the server and send audio/video streams. If you'd like to order a robot, contact rick at [email protected] or you can make your own.
Some information about typical robots on this system: http://www.robotstreamer.com/robots.html
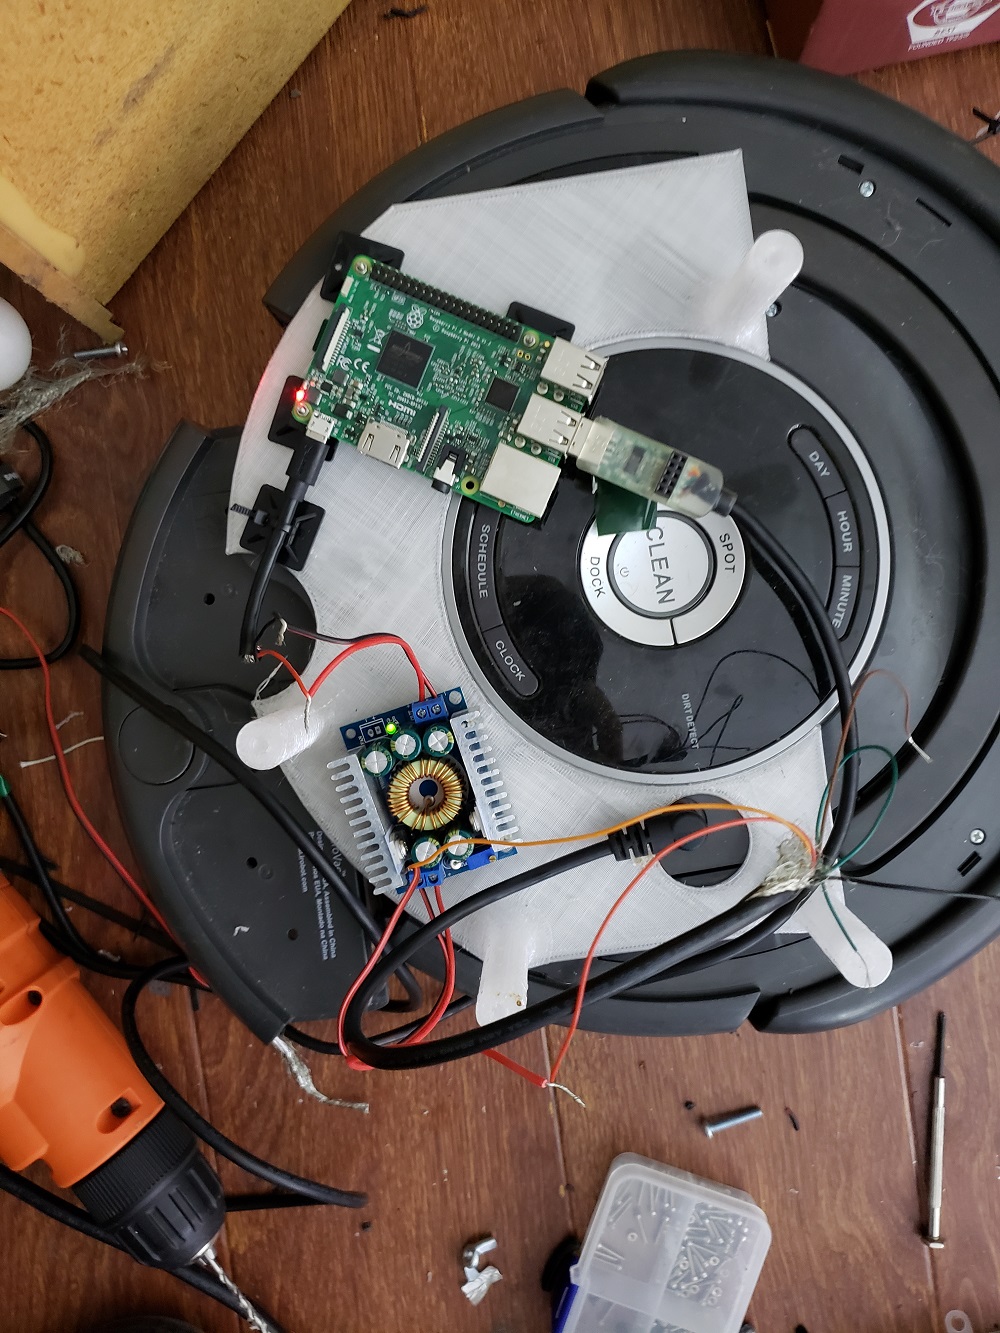
We typically test with Raspberry Pi on Raspian but you can use other hardware and OS's also if you know what you are doing.
Installation:
Copy this into the terminal, and follow the instructions. This script has been tested on a Raspberry Pi 3, with a fresh flash of raspian stretch.
For Raspian Stretch:
sudo wget https://raw.githubusercontent.com/robotstreamer/robotstreamer/master/scripts/install.sh -O /tmp/install.sh && bash /tmp/install.sh
For Ubuntu 17.10 or later:
sudo wget https://raw.githubusercontent.com/robotstreamer/robotstreamer/master/scripts/install_ubuntu.sh -O /tmp/install_ubuntu.sh && bash /tmp/install_ubuntu.sh
To install your need your id's and keys to connect to robotstreamer.com. After logging in to website (and registering if needed), create your robot entry by going here. Fill in robot name and submit. The result will tell you your robot id, camera id, and stream key. http://www.robotstreamer.com/new_stream.html
During installation, you will be prompted for a robot id and camera id.
After installaction, you need to set the --stream-key parameter for send_video.py and for controller.py in the file "/home/pi/start_robot"
For example:
python controller.py --stream-key YOURKEYHERE ...
python send_video.py --stream-key YOURKEYHERE ...
To edit your start_robot file, put this into the terminal.
sudo nano /home/pi/start_robot
The RasPi will need the following things install so it can talk to your motor and talk to the internet.
(1) Install motor HAT software:
(2) Install python serial, gnutls, python-dev, espeak, and python-smbus:
apt-get install python-serial python-dev libgnutls28-dev espeak python-smbus python-pip git
(3) Install socket.io client for python:
pip install socketIO-client
(4) Install FFmpeg sudo apt-get install ffmpeg
Start by cloning the robotstreamer repository
cd ~
git clone https://github.com/robotstreamer/robotstreamer
cd robostreamer
Go to new robot page to create a robot. If you already have one, got to manage robots. There you'll find your Robot ID and Camera ID.
These two scripts need to be running in the background to bring your robot to life: controller.py, send_video.py. Here are instructions about how to start them.
Copy the 'start_robot' Script from robotstreamer/Scripts to the pi home folder
cp ~/robotstreamer/scripts/start_robot ~/
Edit the script so you can adjust some settings for controller.py and send_video.py:
nano ~/start_robot
Edit the YOURROBOTID to your robot ID.
Edit the YOURCAMERAID to your camera ID.
You are getting both IDs when you are creating a new bot on the website.
The second parameter on send_video.py 0 is assuming you have one camera plugged into your Pi and you are using it, which is usually the case.
There are more parameter possible for controller.py:
robot_id
Your Robot ID. Required
--env prod | dev
Environment for example dev or prod | default='prod'
--type motor_hat | serial | l298n | motozero
What type of motor controller should be used | default='motor_hat'
--serial-device /dev/ttyACM0
Serial device | default='/dev/ttyACM0'
--male
Use TTS with a male voice
--female
Use TTS with a female voice
--voice-number 1
What voice should be used | default=1
--led max7219
What LEDs should be used (if any) | default=none
--ledrotate 180
Rotates the LED matrix | default=none
Example start_robot:
cd /home/pi/robotstreamer
nohup scripts/repeat_start python controller.py YOURROBOTID --type motor_hat --male --voice-number 1 --led max7219 --ledrotate 180 &> /dev/null &
nohup scripts/repeat_start python send_video.py YOURCAMERAID 0 &> /dev/null &
crontab -e
insert following line and save:
@reboot /bin/bash /home/pi/start_robot
That's it!
Adafruit Motor Hat
Serial Port based commands
GoPiGo
Missing something?, you can add it, open source!
For GoPiGo3, you will need to install the gopigo3 python module (which is different than older versions). It will need to be installed with the installation script from Dexter. Also, PYTHONPATH needs to be set to "/home/pi/Dexter/GoPiGo3/Software/Python"
Refer to this: https://github.com/DexterInd/GoPiGo3
sudo git clone http://www.github.com/DexterInd/GoPiGo3.git /home/pi/Dexter/GoPiGo3
sudo bash /home/pi/Dexter/GoPiGo3/Install/install.sh
sudo reboot
If you need to update the firmware:
cd Dexter/GoPiGo3/Firmware
chmod +x gopigo3_flash_firmware.sh
./gopigo3_flash_firmware.sh
Reference:
The robot communicates with our control server via websockets. It communicates with our audio and video stream servers via http stream. Users connect to our servers.
The robot client connects via websockets to the API service to retrieve configuration information, to the chat to receive chat messages, the video/audio relays to send its camera and microphone capture, and to the control service to receive user commands.
Control server via websockets Chat server via websockets Sends video stream via websockets Sends audio stream via websockets Capturing Audio and Video Relays commands to robot hardware Text to Speech Supports remote login for diagnostics and updates Configuration updates from the web client (partially implemented) The robot client connects to four external services: API Service, Chat Service, Video/Audio Service, and the Control Service. Provides information about which host and port to connect to for the chat service, video/audio service, and control service Relays chat messages sent from the web clients to the robot The robot client streams ffmpeg output to the video/audio service Relays control messages sent from the web clients to the robot

