👋 Hello, I am Momose Hiyori, a Live2D VTuber from Japan. My parents are Cubsim and Unity, my teachers are OpenCV and Deep Learning. I am really good at mimicking faces including poses and expressions, it is a pleasure to meet you all and look forward to being good friends~ ❤️🧡💗🥰💕

- Head: 6 degrees of freedom.
- Eyes: opening, half-opening, glare, closing, blinking, eyeballs rotation.
- Eyebrows: raising.
- Mouth: opening and closing, grinning and pouting.
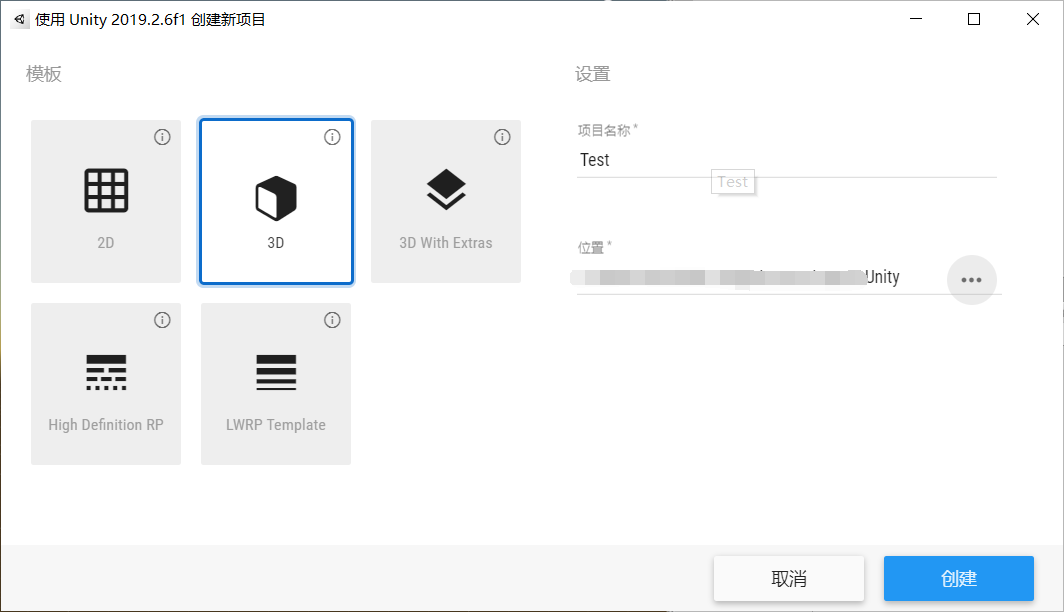
- Development Environment
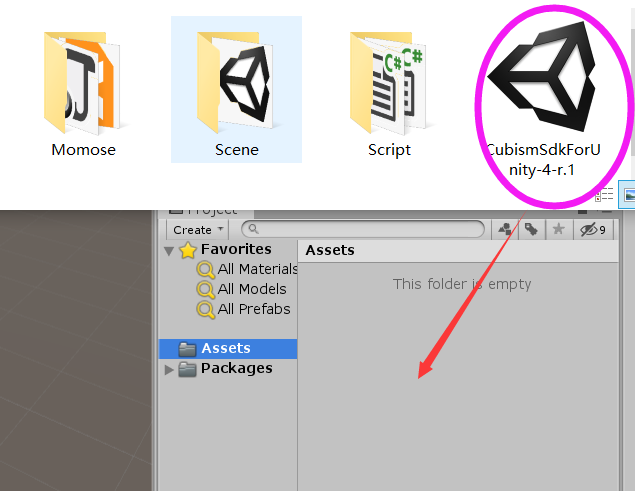
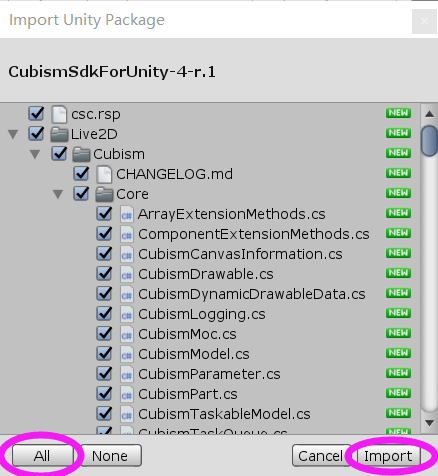
- Install
- Usage
- File/Folder Description
- Calibration Algorithms
- References
- Releases
- Maintainers
- Contributing
- License
| System | Windows 10 x64 |
| Language | Python 3.8 (algorithm), C# (Unity script) |
| IDE | Visual Studio Code 1.83.1 (algorithm), Live2D Cubism Editor 4.0 (Live2D model), Unity 2022.3.12f1 LTS (Engine) |
-
Install Python 3.8 (recommend to use Anaconda), Unity (recommend to use UnityHub).
-
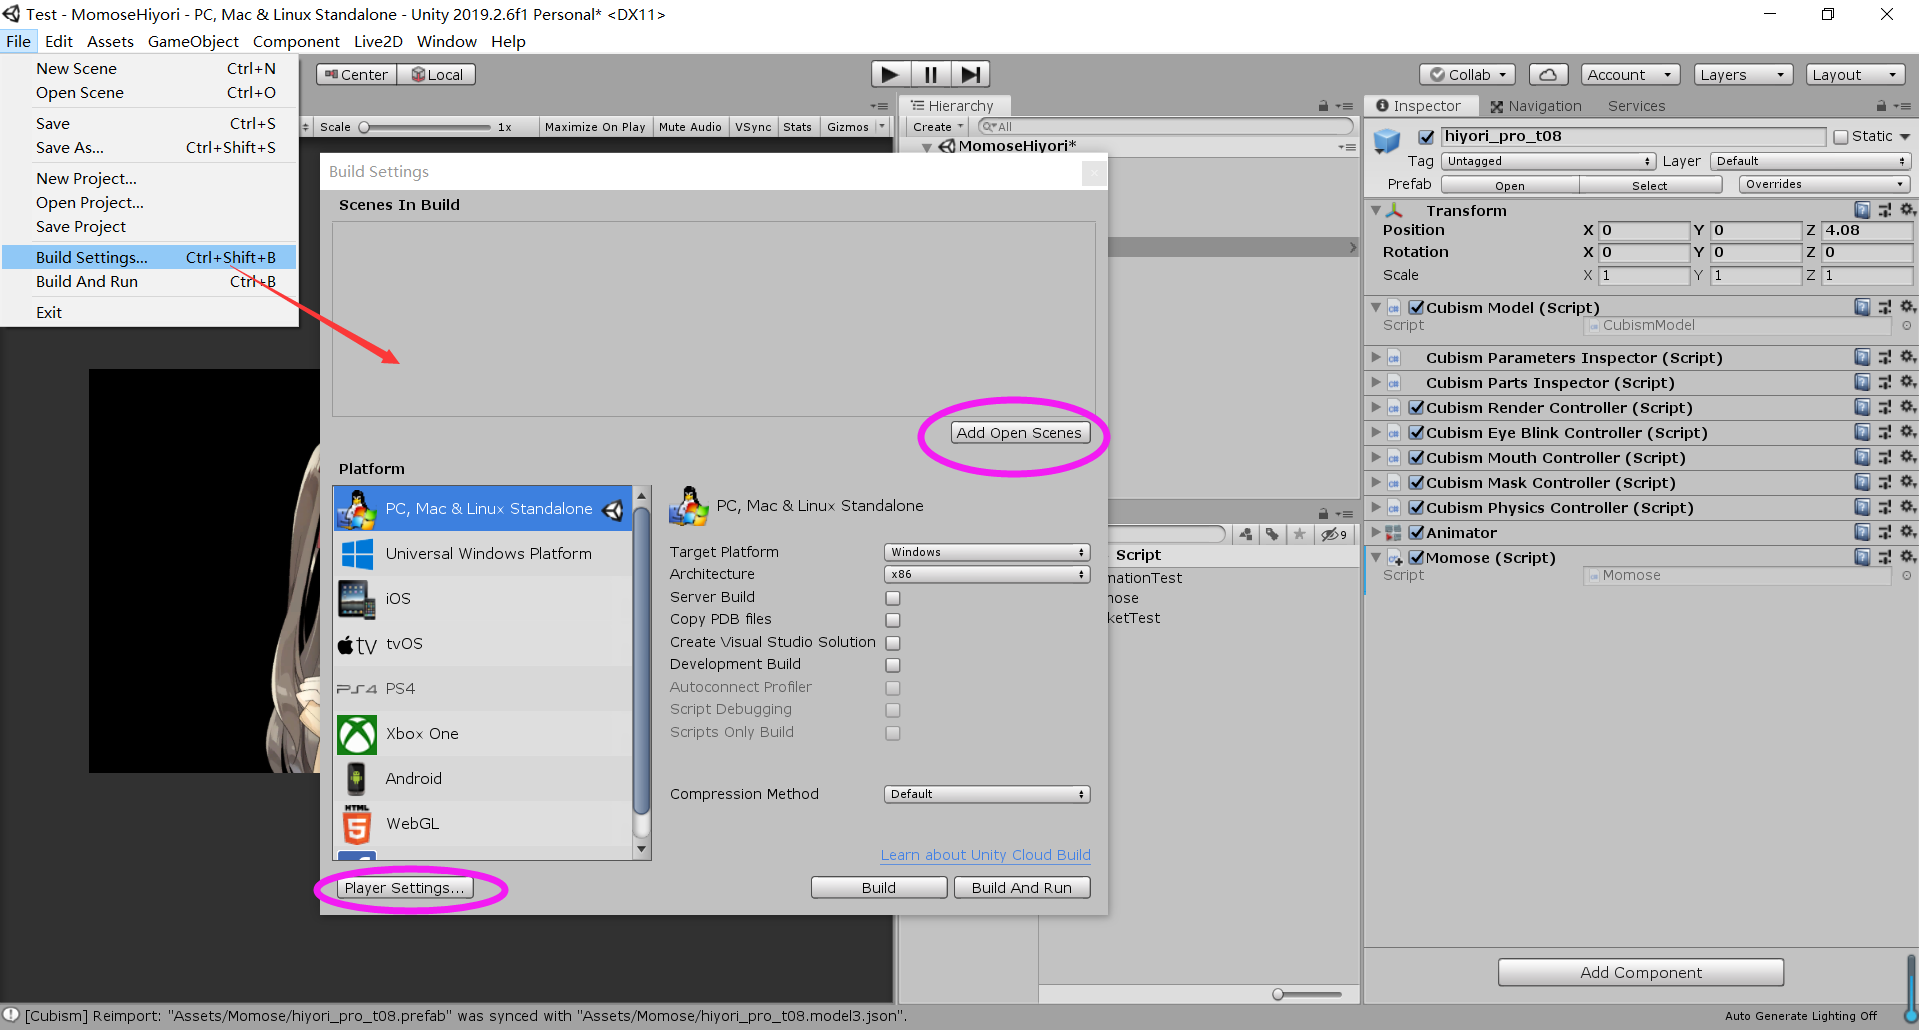
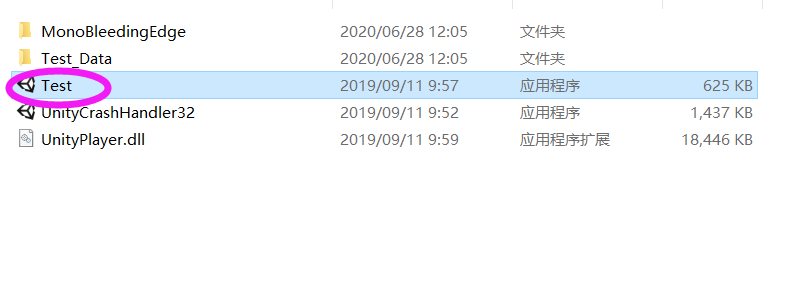
Download the executable file from the latest release.
-
Environment configuration.
git clone https://github.com/KennardWang/VTuber-MomoseHiyori.git cd VTuber-MomoseHiyori conda env create -f environment.yml -
Activate environment and install dependencies.
conda activate l2d-vtb pip install -r requirements.txt -
There are 2 types of running environments, please choose the env based on your condition.
-
CPU env
-
Install dlib, my version is v19.24.2.
conda install -c conda-forge dlib
-
-
GPU env
-
Install scipy with version > 0.16, using
condais faster thanpip.conda install scipy -
Windows
-
Install CUDA v10.2 & CUDNN v8.3.1.
-
Install Pytorch.
pip install torch==1.10.2+cu102 torchvision==0.11.3+cu102 torchaudio===0.10.2+cu102 -f https://download.pytorch.org/whl/cu102/torch_stable.html
-
-
MacOS (X86-64) with Intel
-
Install Pytorch.
conda install pytorch torchvision torchaudio -c pytorch
-
-
MacOS (ARM64) with Apple M1
-
Install Pytorch.
conda install pytorch torchvision torchaudio -c pytorch-nightly
-
-
(Optional) Download models in ckpts, unzip and place it at
face_alignment/ckpts. If not, it will automatically download from the site.
-
-
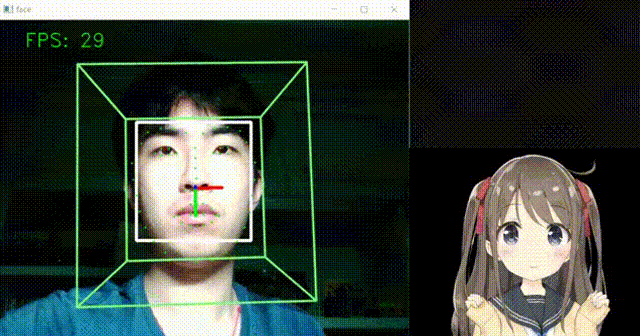
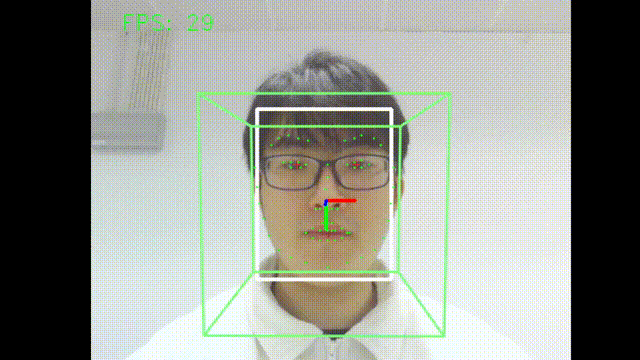
Step 1 : Test camera
If it runs normally, you can see your face, and press q to quit.
-
CPU env
python main.py --debug -
GPU env
python main.py --debug --gpu
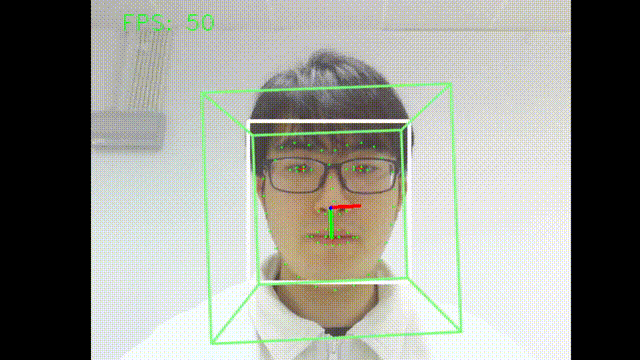
CPU env (left) has higher FPS that may perform better in VTuber, but lower robustness that cannot recognize well if some parts of the face are covered.
GPU env (right) has higher robustness, better fluency and consecutiveness but lower FPS because of busier data IO.
Step 2 : Connect Unity
- Run the Unity executable file.
- Run the command according to your env.
-
CPU env
python main.py --debug --connect -
GPU env
python main.py --debug --gpu --connect
-
Optional : Set Parameters
There are some parameters you can change. The default port number is 14514, you could set another port number via --port=PORT_NUMBER, but keep it the same as that in the Unity client. Moreover, you can set the camera via --cam=CAM_INDEX if you have more than one camera, the default camera index is 0. Please check the guidance of all parameters by using python main.py --help.
Tips : Improve Performance
- Use spotlight: Try to make your face look brighter, the spotlight probably shows a better effect than the natural light.
- Adjust face position: The debug mode of the camera may help you to know the position of your face. Try to put your face in a central position, and let the frame extend but not reach the boundary.
- No glasses: Wearing glasses may influence the accuracy of recognition on eyes.
- Show forehead: If your hair is so long that covers your eyes, it may also cause side effects on the recognition of eyes.
| File / Folder | Description |
|---|---|
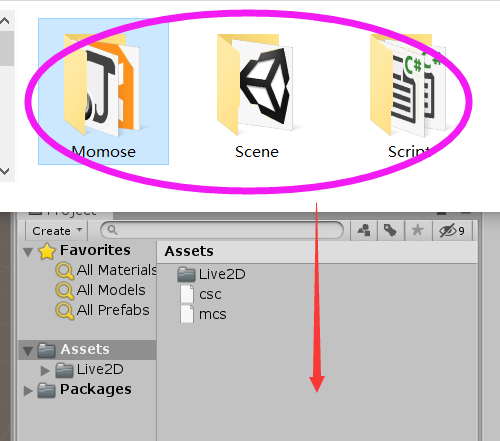
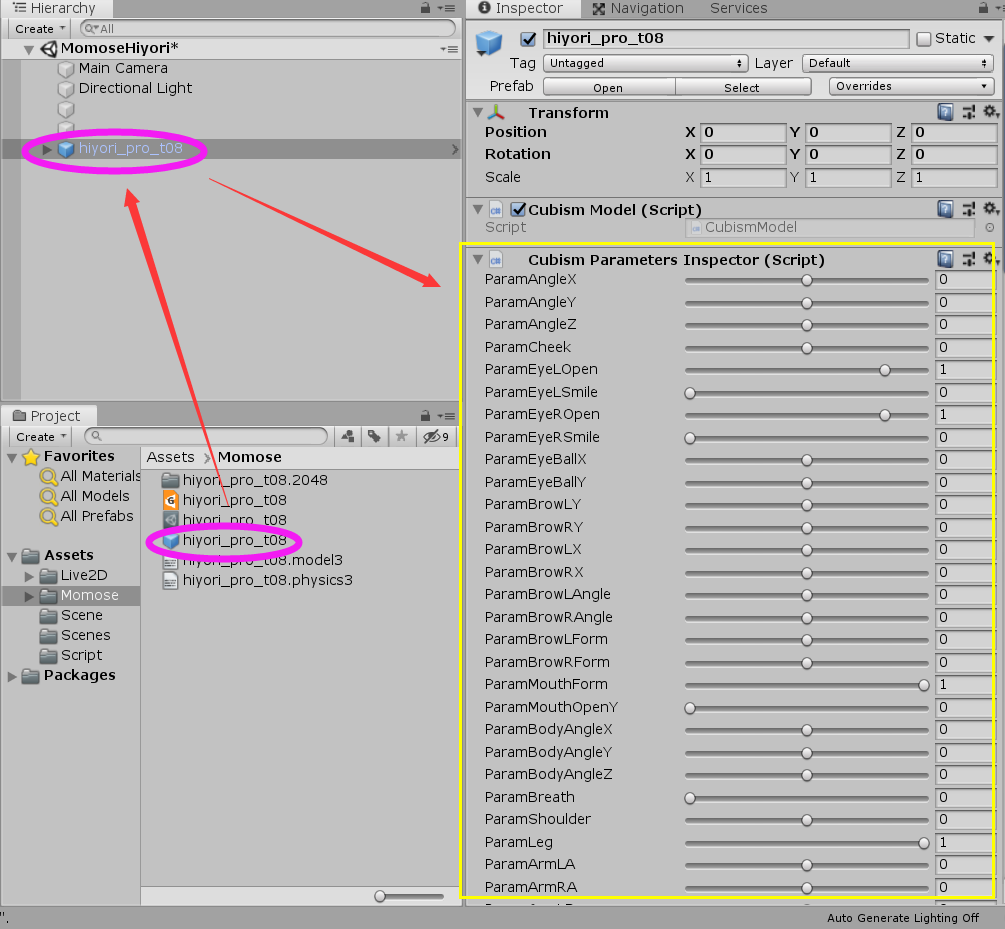
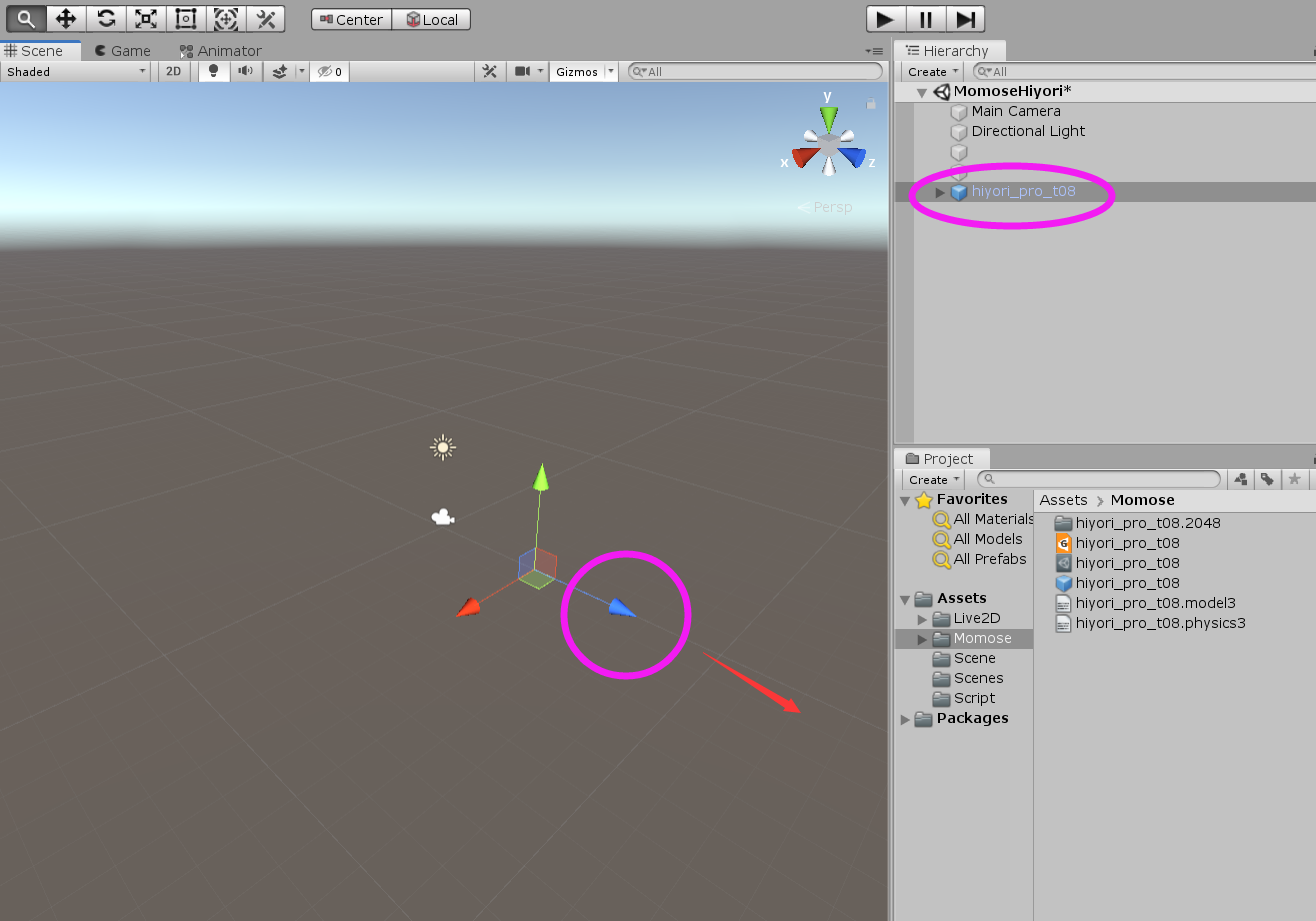
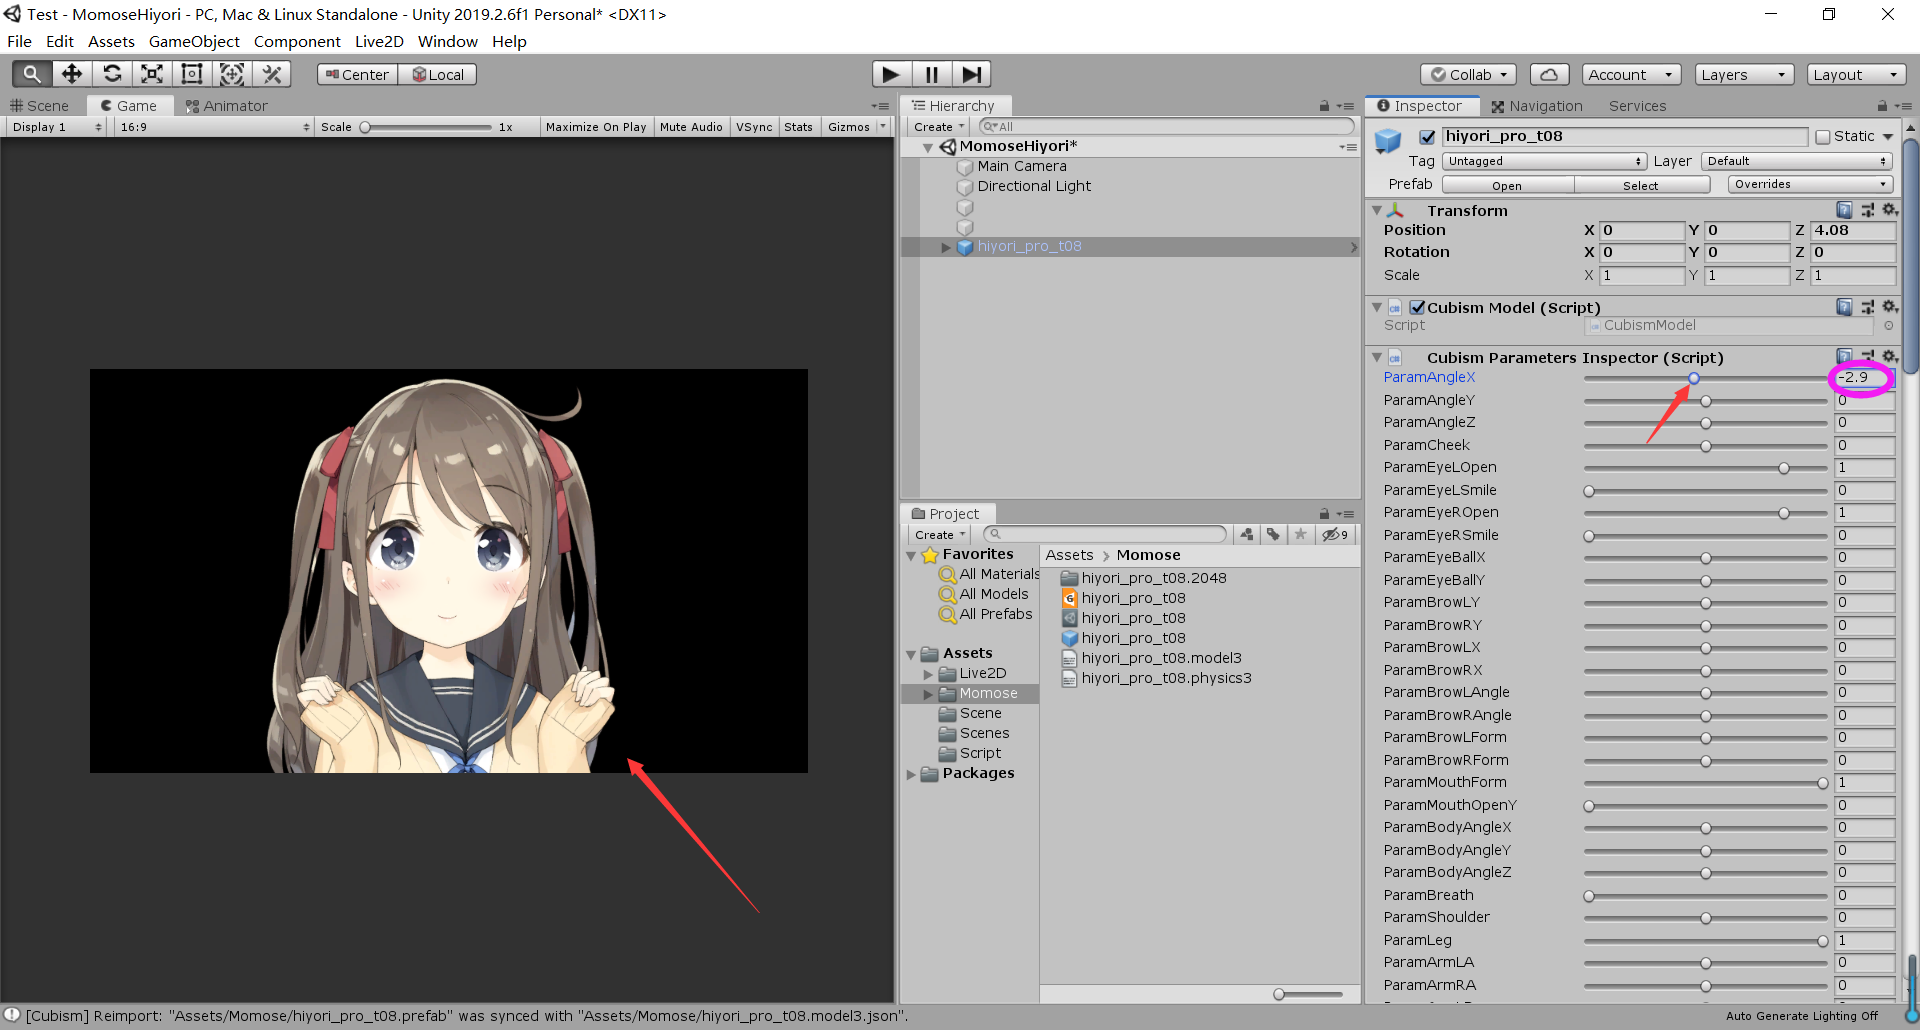
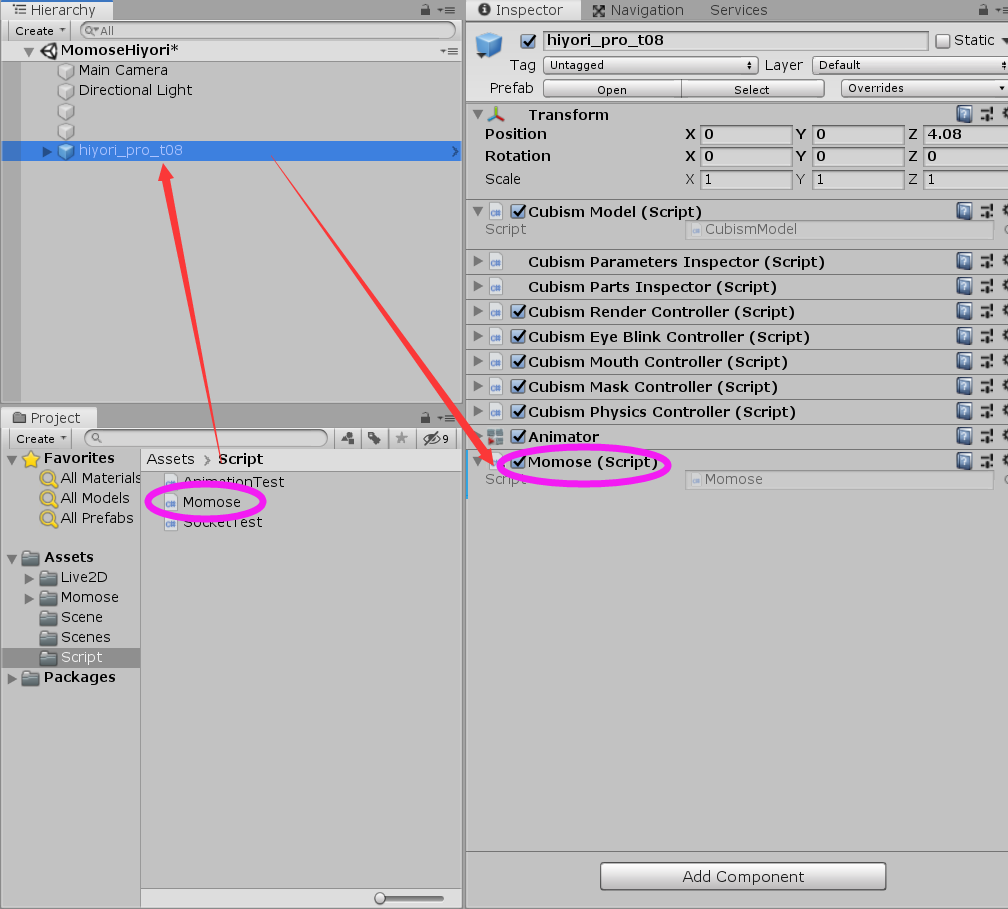
| UnityAssets | Unity materials for those who want to make Live2D VTuber by themselves, see tutorial. |
| face_alignment | Module for face detection and landmarks by a powerful face alignment network (FAN), recommend to use under GPU env. |
| face_pose | Module for face pose detection, contains the pose estimator and stabilizer. |
| tests | Test folder for GitHub Actions. |
| main.py | Main program. |
| sock.py | File with Socket class. |
| utils.py | File with utility functions. |
Obviously, the position of landmarks is meaningless. In most cases, we focus on the ratio (or aspect ratio) which could describe the degree, because in Unity, we use a scrolling bar to control actions or events. However, the ratio is mostly not perfect correspondence with the bar value. An interesting question is how to calibrate and map the ratio to the bar value. There are some feasible methods I implement in this project:
# Copyright 2023 © Yuyang (Kennard) Wang.

# For some values with distinct boundaries, e.g., eyeballs, we can use linear transformation.
def calibrate_param1(param1):
    """Calibrate parameter1"""
    return (param1 + a) * b


# For some values with overlapping boundaries but main body has significant differences,
# e.g., eyeOpen, eyebrow, we can set return as discrete values instead of continuous values.
def calibrate_param2(param2, last_state_value):
    """Calibrate parameter2"""
    flag = False  # jump out of current state

    # values of state 1, 2, ..., N are from small to large
    if last_state_value == state1_value:
        if param2 > jump_threshold1:
            flag = True
    elif last_state_value == state2_value:
        if abs(param2 - central_point) > jump_threshold2:
            flag = True
    elif ... :
        if ... :
            flag = True
    else:
        if param2 < jump_thresholdn:
            flag = True

    if flag:
        # state_threshold1 is between state1 and state2, less than jump_threshold1
        if param2 <= state_threshold1:
            current_state_value = state1_value
        # state_threshold2 is between state2 and state3
        elif param2 > state_threshold1 and param2 <= state_threshold2:
            current_state_value = state2_value
        elif ... :
            current_state_value = state..._value
        else:
            current_state_value = stateN_value
    else:
        current_state_value = last_state_value

    return current_state_value


# If you want a smooth effect, you can use a piecewise function to replace discrete states, e.g., mouthWidth
def calibrate_param3(param3):
    """Calibrate parameter3"""
    if param3 <= threshold1:
        bar_value = bar_value_min
    elif param3 > threshold1 and param3 <= threshold2:
        bar_value = k * param3 + b
    elif ... :
        bar_value = ...
    else:
        bar_value = bar_value_max

return bar_value- Head pose estimation by Yin Guobing.
- Face alignment by Adrian Bulat.
- Gaze tracking by Antoine Lamé.
- VTuber Unity project by AI葵.
- Live2D model by kani_biimu.
- How to update parameters of Live2D model in Unity.
- TCP socket in C#.
- How to create a display window.
Feel free to open an issue or submit PRs. Be careful that the submitted code needs to pass format tests and pytests by GitHub Actions, please self-check before pulling requests.
-
flake8 format test (Windows, MacOS and Linux)

flake8 --exclude=face_alignment,face_pose --ignore=E501 . -
pytest (Windows, MacOS and Linux)

pytest tests/test_win.py
pytest tests/test_mac.py
pytest tests/test_linux.py

![dependabot[bot] avatar](https://avatars.githubusercontent.com/in/29110?v=4 "dependabot[bot]")