Poll Party is a full stack web application that allows logged in users to create public polls where other logged in users of the website are able to cast their votes. Poll Party was created as a solution for audience engagement, interactive meetings, and scaled feedback. Use Poll Party for fun quizzes, collect thoughts and opinions, and to show your audience you are listening by allowing them to ask questions and receive answers from other users.
- View the Poll Party App Live
| Table of Contents |
|---|
| 1. Features and Site Walkthrough |
| 2. Installation |
| 3. Future Features |
| 4. Contact |
| 5. Special Thanks |
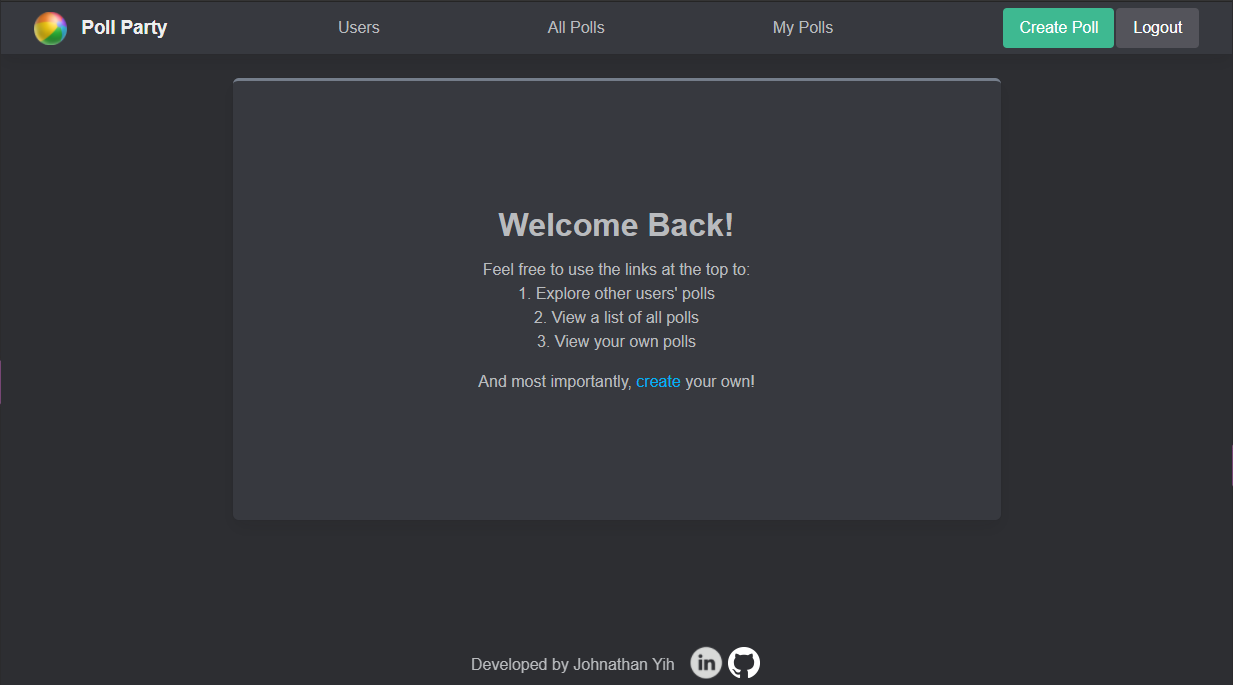
The landing page allows users to access login, sign up, or use a Demo account to check out the app and includes a quick breakdown of the app's main features:
- Create poll questions
- Add custom voting options
- Vote on each other's polls
Once logged in, users can explore the user's own polls, other users and their polls, and create new polls via the navigation bar.
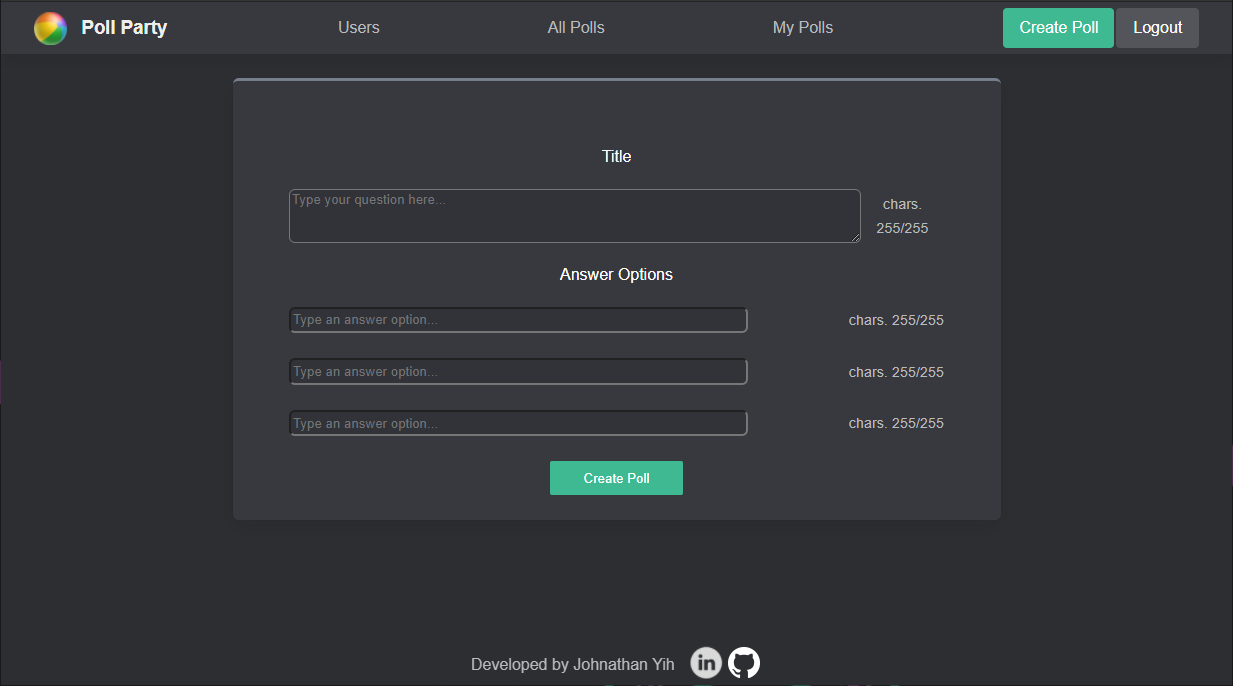
Poll creation is quick and straightforward. Only a question and at least two answer options are needed. Users can enter as many answer options as they'd like.
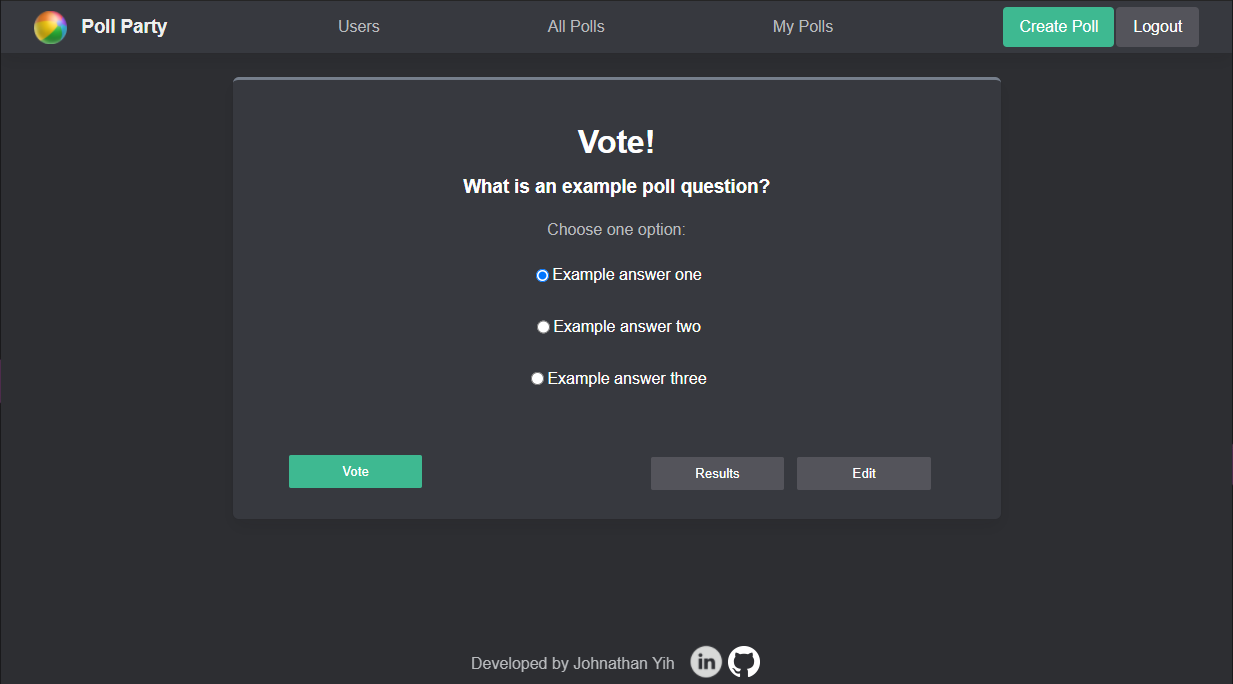
After creating a poll or clicking a poll link, users are directed to the voting page where they may select one option to vote on or proceed directly to the results page. If the poll belongs to the user, the user is presented an option to edit the poll.
If the user has previously voted on the poll, then the voting form is populated with the user's previous selection. Users may also return to this page to change their vote.
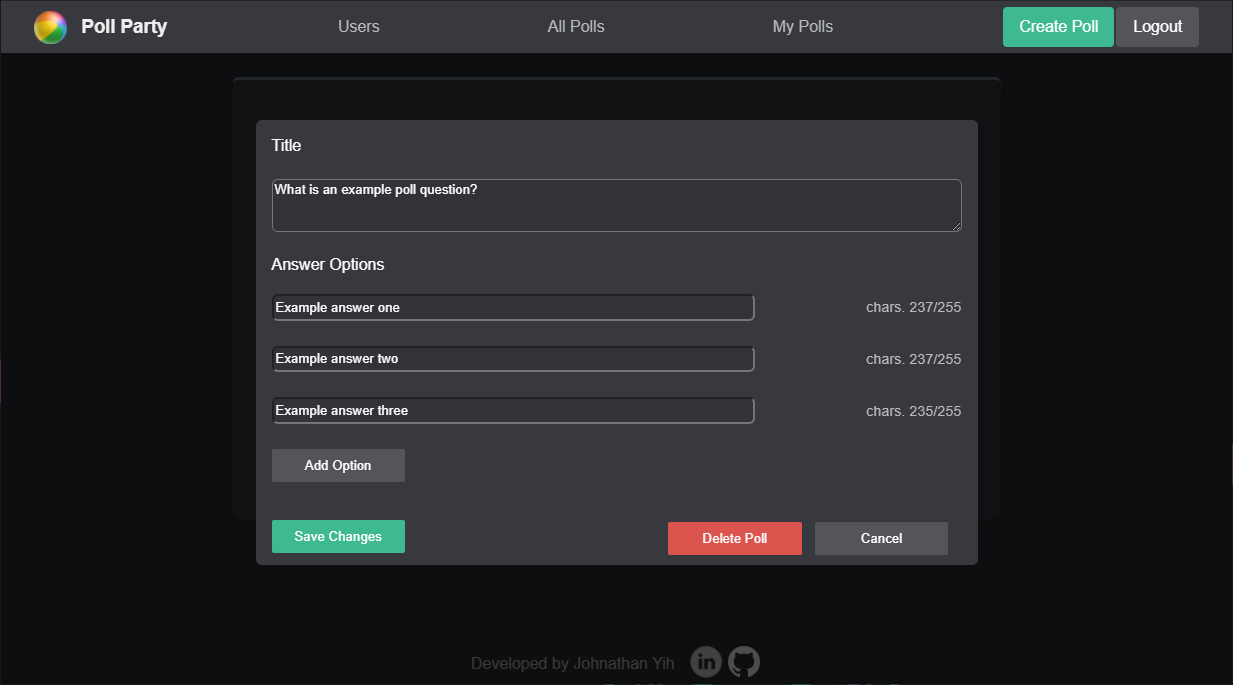
The edit button opens the poll editing form where users can edit the poll title and answer options. Users may also add additional options or delete the poll entirely.
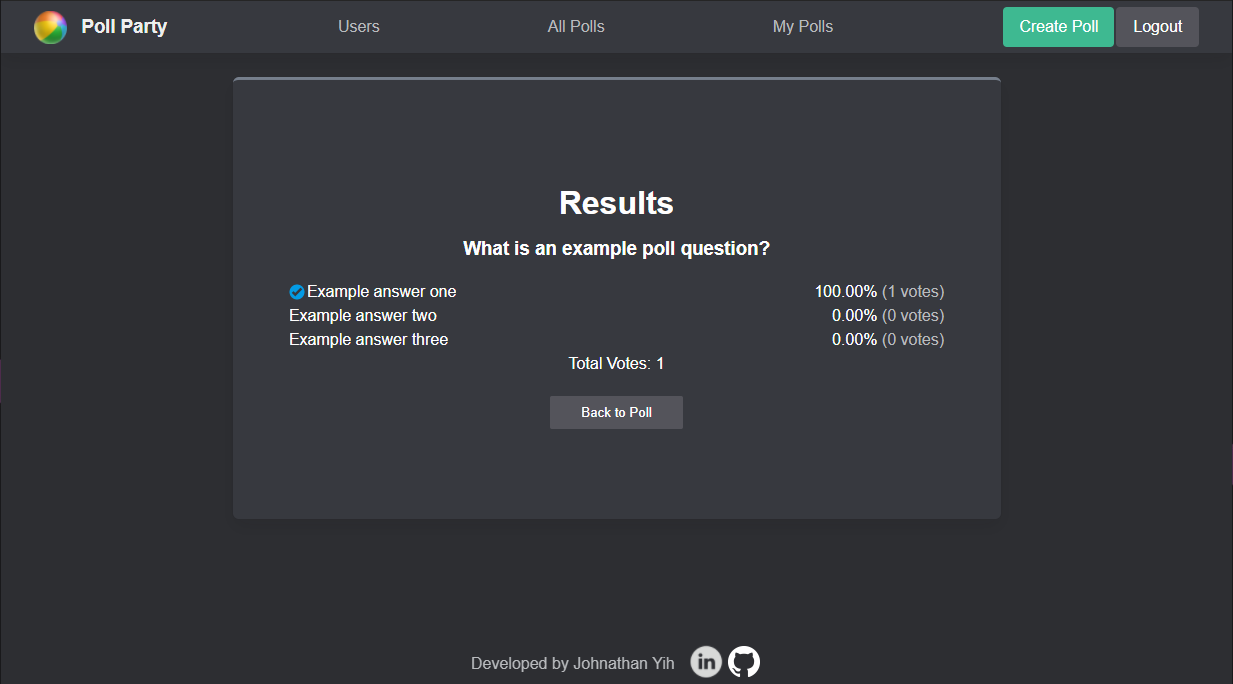
The results page displays the vote % and count for each answer option. If the user has previously voted on the poll, then a blue check will mark the user's selection.
To build/run project locally, please follow these steps:
- Clone this repository
git clone https://github.com/jyih/poll-party.git- Install Pipfile dependencies and create the virtual environment
pipenv install- Install npm dependencies for the
/react-app
cd react-app
npm install-
In the
/root directory, create a.envbased on the.env.examplewith proper settings -
Setup your PostgreSQL user, password and database and ensure it matches your
.envfile -
Before running any flask commands, confirm you are in the pipenv virtual env. If not, run the command:
pipenv shell- If needed, in the root folder, generate an updated migration for the database by running in the terminal:
flask db migrate -m "<enter migration message>"- Apply the latest migration to the database by running in the terminal:
flask db upgrade- In the root folder, seed the database by running in the terminal:
flask seed all- Start the flask backend in the
/root directory
flask run- Start the frontend in the
/react-appdirectory
npm start-
Search - search by poll title
-
Vote Results Graph - bar chart representation of vote %


