ESP32 Packet Monitor + SD card!
This is an enhanced version for the ESP32 of my previous ESP8266 PacketMonitor.
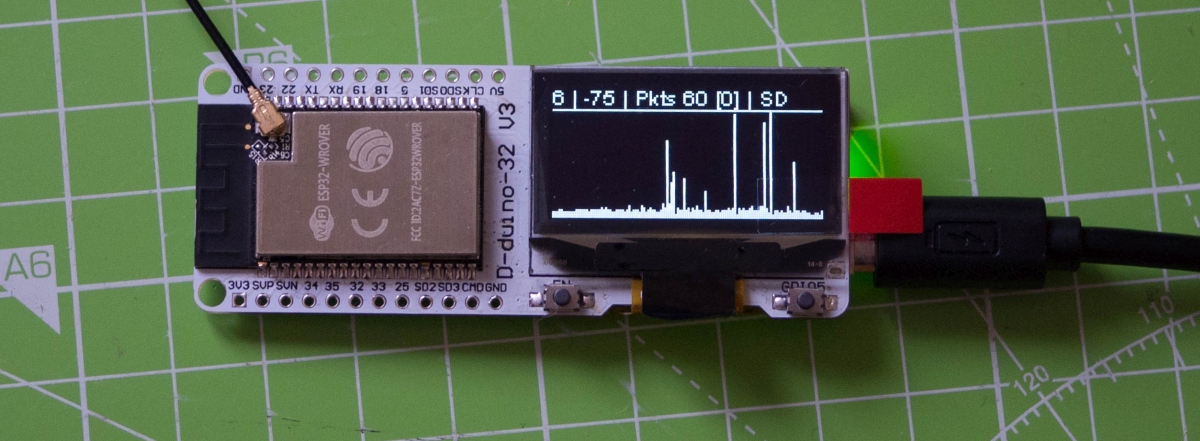
It shows you the traffic of all nearby devices on the selected WiFi channel.
- SD card support to capture traffic
- better performance due to the powerful ESP32
- shows average RSSI
Tindie: https://goo.gl/kZmVug
AliExpress: https://goo.gl/hCCKMJ
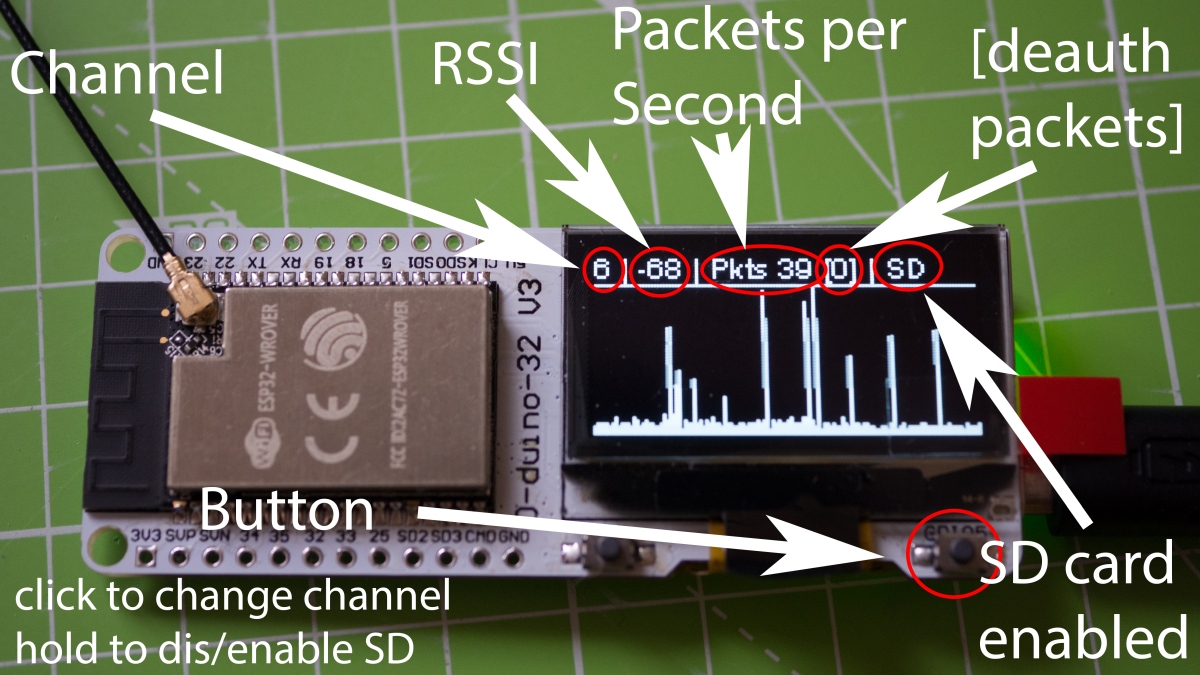
PacketMonitor32 Interface Explaination
The interface is pretty simple. With clicking the button you change the WiFi channel it's monitoring (1-14).
Hold the button for 2 seconds to enable or disable the micro SD card.
To caputre the WiFi traffic, you need to connect a micro SD card. The faster the card is, the better.
It will not delete any files when you connect it, but I recommend strongly using an empty card to prevent any chance of data loss!
It must be formatted to FAT32!
I recommend formatting it again before using it, just to be sure.
If you want to remove the card and keep the board running, hold the button for 2 seconds again until the "SD" disappears from the display.
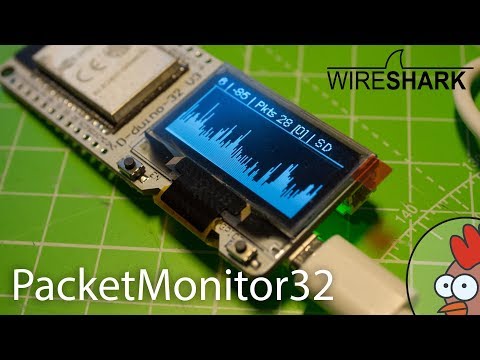
Every start of the board will create a new .pcap file in the root folder of the SD. You can open these files with Wireshark.
Note:
Sometimes the device can get into a restart loop, because it crashes everytime when it's trying to write to the SD card. If that happens, make sure the card works and try to format it again.
Also please be aware that not every packet can be saved all the time! If more packets come in that can be saved, they will be dropped.
(0. Download and install Arduino)
1. Install the Arduino core for the ESP32: https://github.com/espressif/arduino-esp32#installation-instructions
2. Install this ESP8266/ESP32 OLED library: https://github.com/squix78/esp8266-oled-ssd1306
3. Download and unzip the repository
4. Open PacketMonitor32.ino with Arduino
5. Select ESP32 Dev Module as Board
6. Connect your board, select the correct COM port and click upload
If you ran into upload problems, try setting the flash frequency to 40MHz and the upload speed 115200.
If you want to use your own hardware, you may want to edit the settings in lines 22 - 32.
This project is licensed under the MIT License - see the license file for details.

