Developed by Abdul Dakkak and Carl Pearson
Welcome to the Accelerated Computing Teaching Kit Lab/solution repository. The kit and associated labs are produced jointly by NVIDIA and University of Illinois (UIUC). All material is available under the Creative Commons Attribution-NonCommercial License.
You must use an NVIDIA CUDA-enabled GPU to use the compiled binaries.
Don't have access to GPUs? The GPU Teaching Kit comes with codes worth up to $125 of Amazon Web Services (AWS) GPU compute credit for each student in your course, as well as $200 for yourself as the instructor, to provide a GPU compute platform to work on the open-ended labs. Learn how to run these labs on AWS GPUs in the cloud using the NVIDIA-Docker instructions.
The labs in the Teaching Kit require a CUDA supported operating system, C compiler, and the CUDA 8 Toolkit. The CUDA 8 Toolkit can be downloaded from the CUDA Download page. Instructions on how to install the CUDA Toolkit are available in the Quick Start page. Installation guides and the list of supported C compilers for Windows, Linux, and OSX are also found in the CUDA Toolkit Documentation Page.
Aside from a C compiler and the CUDA Toolkit, CMake 2.8 or later is required to generate build scripts for your target IDE and compiler.
The usage of OpenACC directives for the Module 21 labs requires access to the PGI OpenACC compiler. Please follow the instructions here in this Bitbucket repository to download the tools, generate the license file and install the license.
The next section describes the process of compiling and running a lab.
In this section we describe how to setup your machine to compile the labs. First, regardless of the platform compiling the labs the CUDA Toolkit and CMake must be installed.
Now, checkout the the GPU Teaching Kit -- Accelerated Computing Labs from this Bitbucket repository.
Since, the project depends on an external libwb repository 
libwb repository).
git clone --recursive [email protected]:hwuligans/gputeachingkit-labs.git
In the next section we will show how to compile and run the labs on Linux, OSX, and Windows.
We will show how to compile the labs on both Linux and OSX using Makefiles. First, create the target build directory
mkdir build-dir
cd build-dir
We will use ccmake
ccmake /path/to/gpu-kit-git-checkout
You will see the following screen
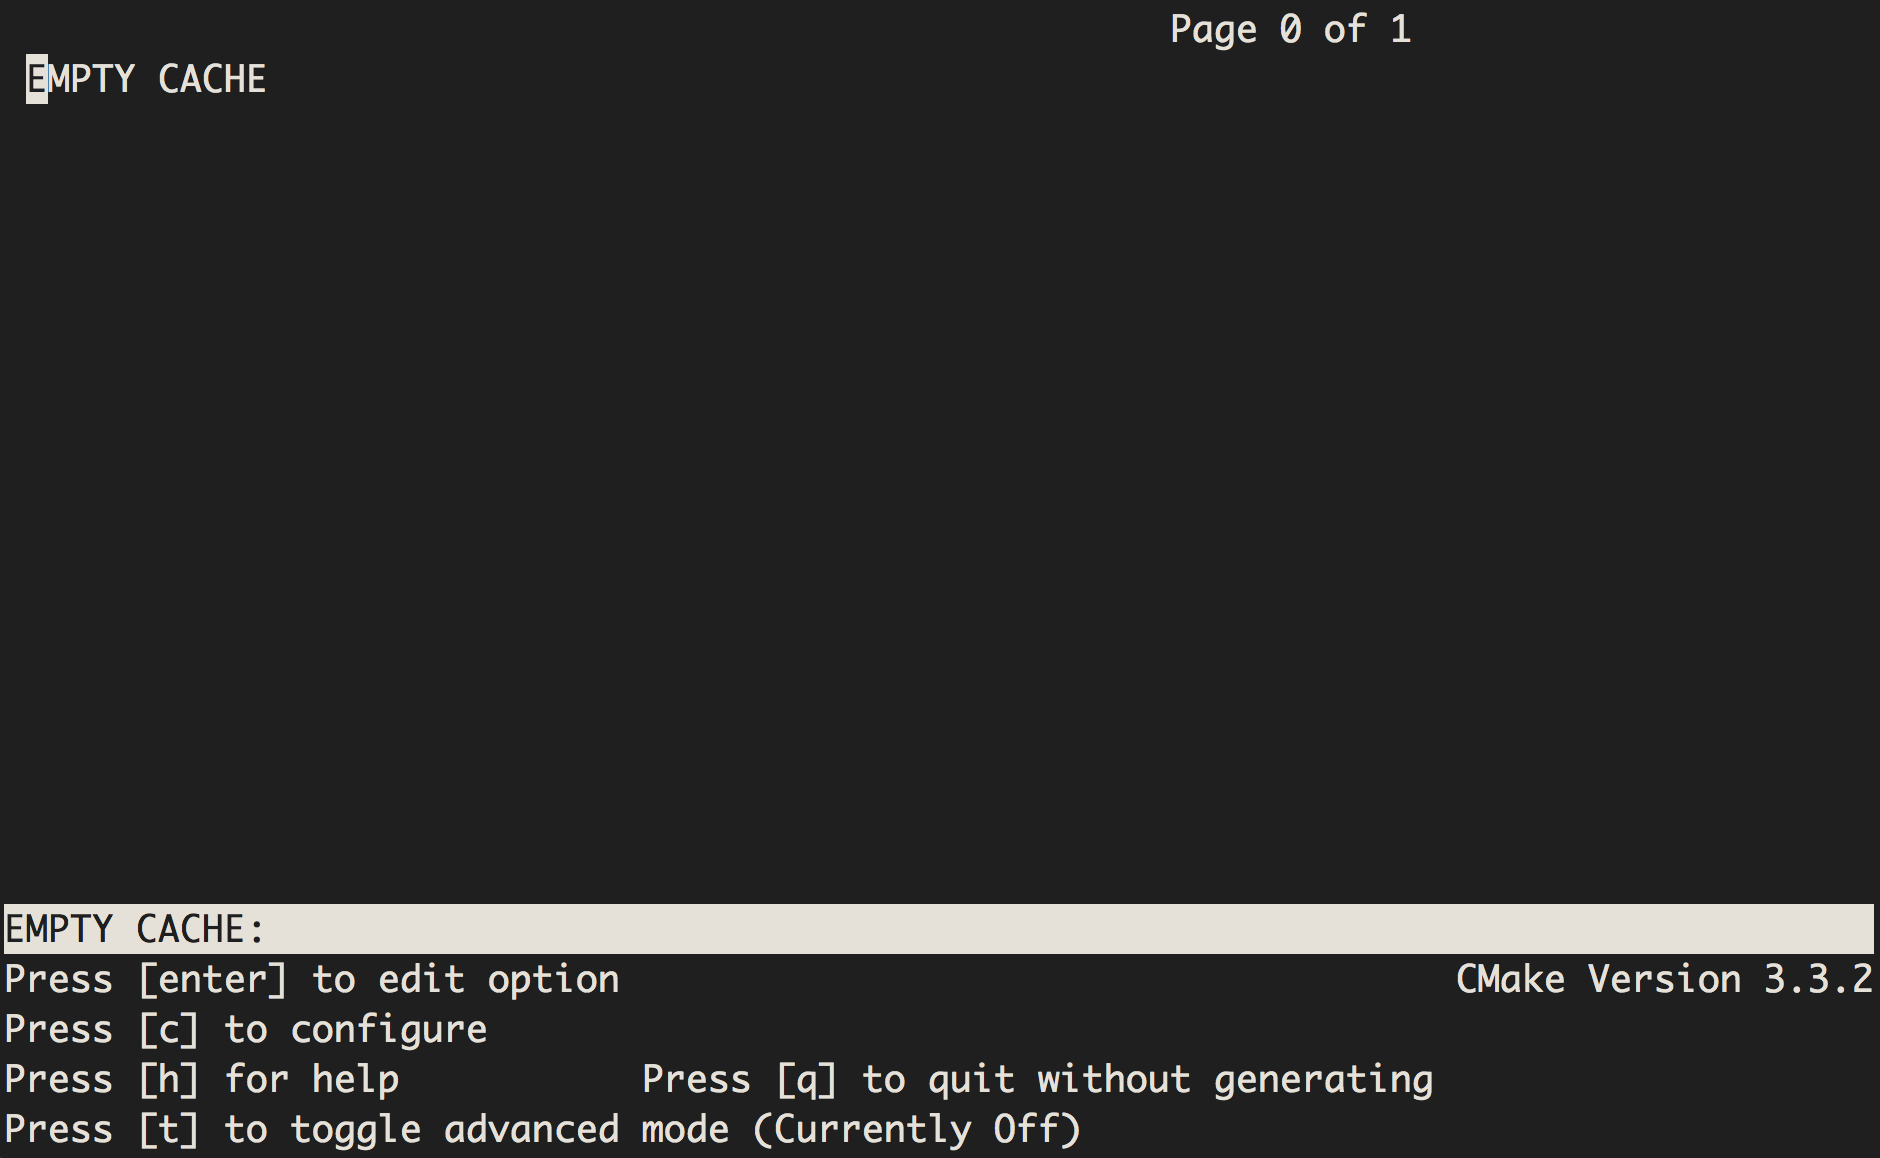
Pressing c would configure the build to your system (in the process detecting
the compiler, the CUDA Toolkit location, etc...).

Note the options available to you, specifically:
BUILD_DESCRIPTION               *OFF
BUILD_DATASET_GENERATOR         *ON
BUILD_LIBWB_LIBRARY             *ON
BUILD_SOLUTION                  *ON
BUILD_TEMPLATE                  *OFF
BUILD_DESCRIPTION-- option toggles whether to regeneratepdfanddocxlab output (this requires a python, latex, and pandoc installation)BUILD_DATASET_GENERATOR-- option toggles whether to build the dataset generator scripts as part of the build processBUILD_LIBWB_LIBRARY-- option toggles whether to build thelibwb(the support library) as part of the build processBUILD_TEMPLATE-- option toggles whether to build the code templates as part of the build process (the templates are missing critical code that makes them uncompilable).
Templates are meant to be used as starting code for students whereas the solution is meant for instructor use.
IMPORTANT NOTE: The lab code output format was originally json, by default, as this was necessary for UIUC's WebGPU tool. The early goal of the Teaching Kit was to provide educators the option to use this tool, but that is no longer recommended. Text output is now the default, but you can switch back to json output by adding “-DJSON_OUTPUT” to CMAKE_CXX_FLAGS. You need to use “t” to show the advanced mode that includes CMAKE_CXX_FLAGS.
If you have modified the above, then you should type g to regenerate the Makefile and then q to quit out of ccmake.
You can then use the make command to build the labs.
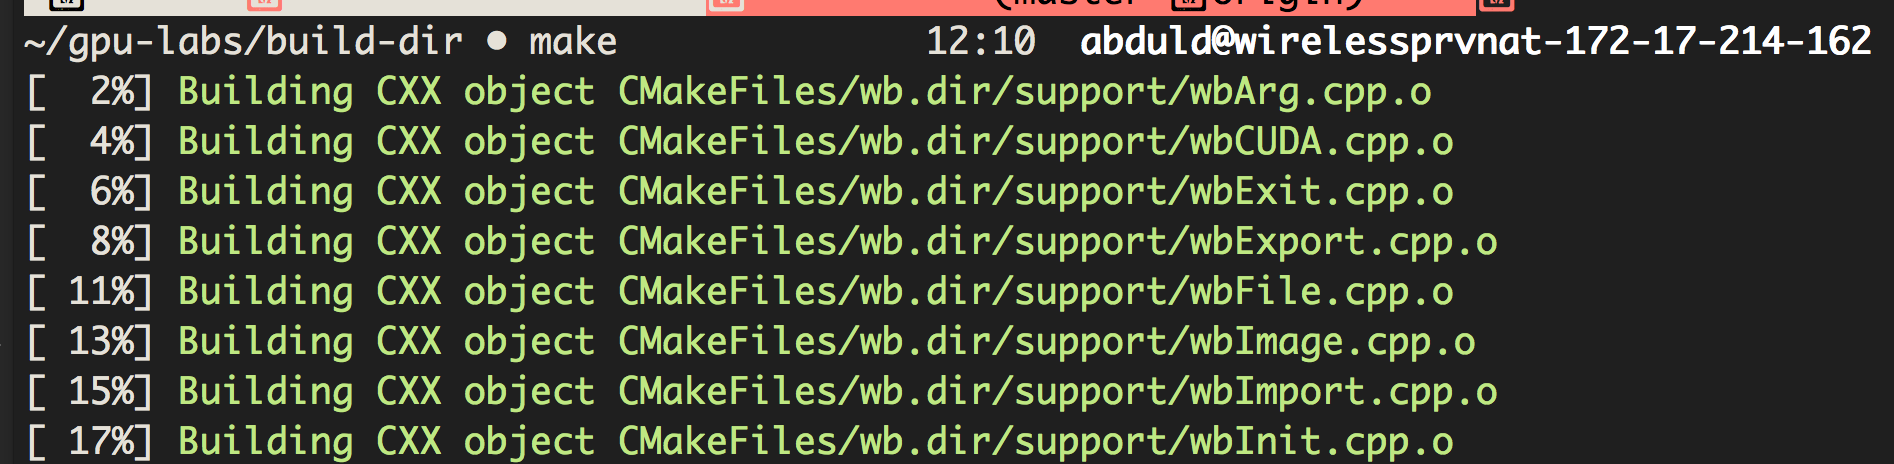
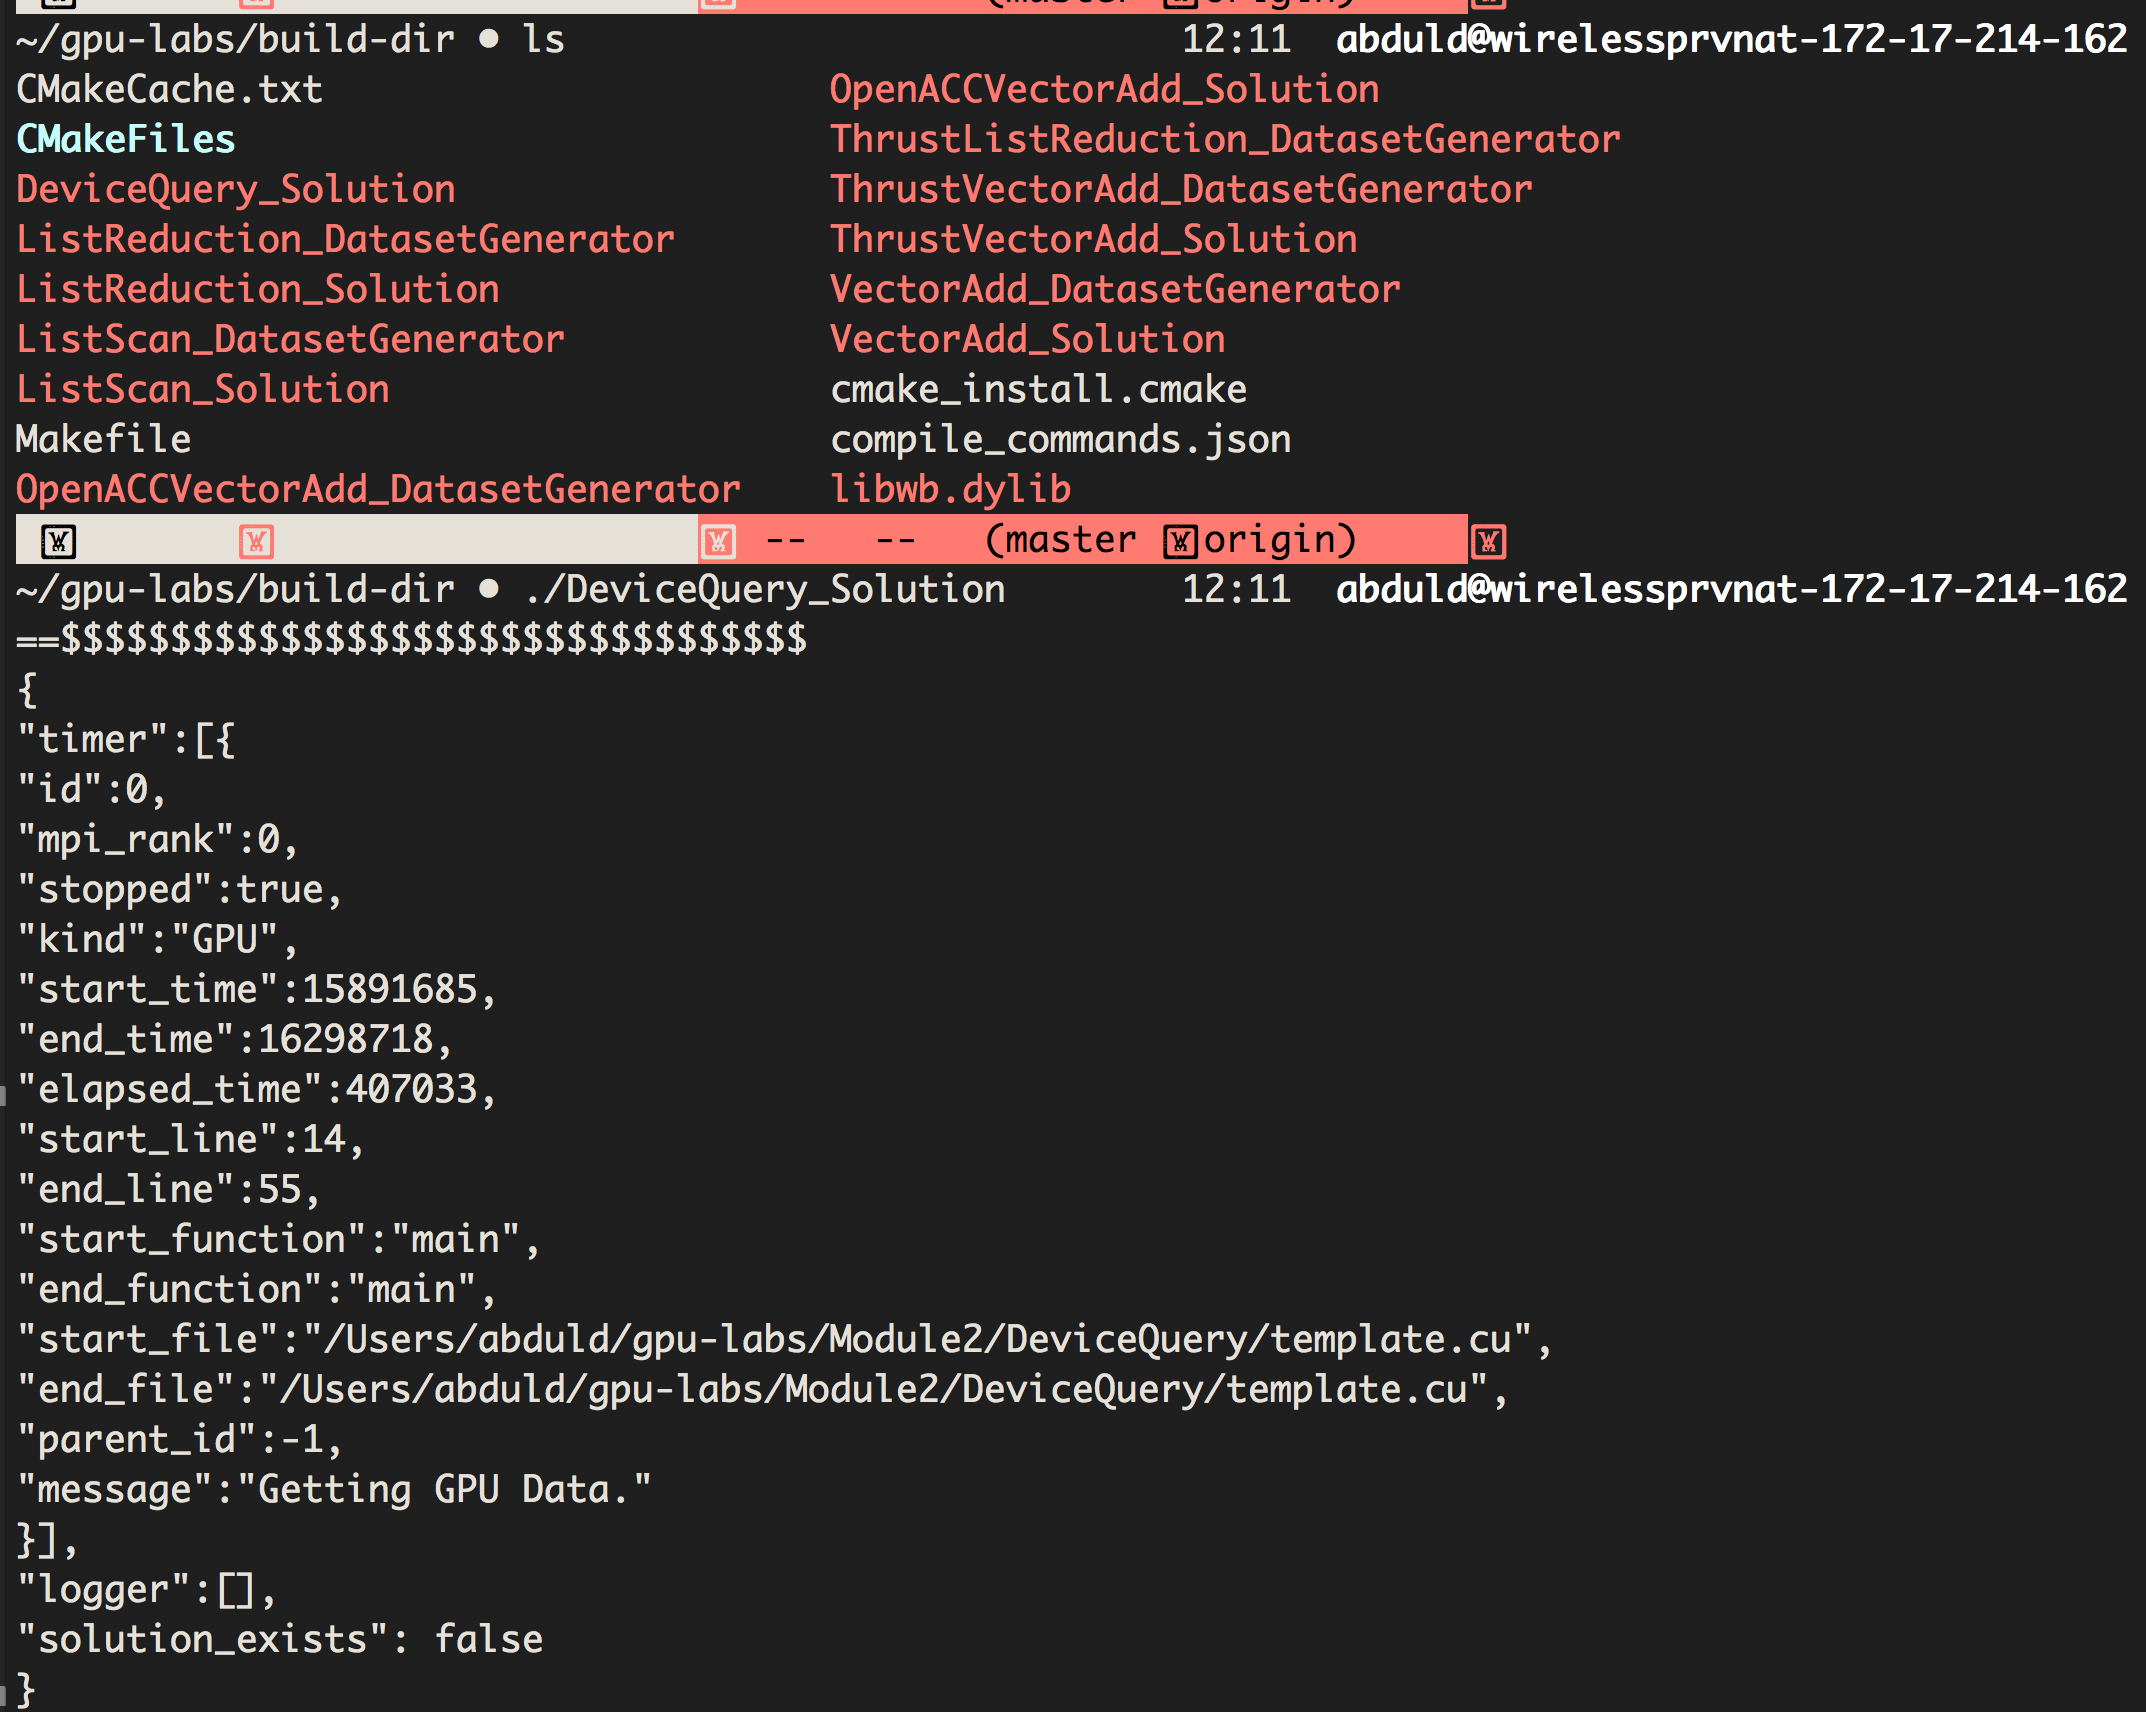
The make scripts builds the executables which can be run using the command template
provided in the lab's description. Here we run the DeviceQuery lab.
The usage of CMake on windows is the same as that on linux, except for windows we will using the GUI version (one can still use the command line version however).
First, launch the CMake gui application and set your source directory (the checkout directory) and the build directory (where you want the labs to be built).

Clicking configure gives you an option to select which compiler to use to compile the labs. The compiler must be installed on the system and support by the CUDA toolkit

The CMake system then searches the system and populates the proper options in your configuration. As a user you can override these options if needed

Clicking Generate button, the CMake system creates the build scripts in the previously specified build directory. Since we selected Visual Studio, a Visual Studio solution is generated.

Opening the Visual Studio solution, you can edit and compile all the labs

The labs are built like any Visual Studio project using the build button

Once the lab is built, it can be run. Here we run the device query lab

Included with the Teaching Kit is a Docker build file. This file can be used to build and launch a container which contains the Teaching Kit labs along with all the software required to run them. Using a GPU within Docker is only supported on Linux, and we recommend using NVIDIA-Docker to run the Docker image. To build the Docker container:
docker build . -t gputeachingkit
Once built, the gputeachingkit image will be listed by the docker images command. Launching the Docker container locally with GPU support is best accomplished using NVIDIA-Docker.
Launching the Docker container on AWS and other GPUs in the cloud is also supported by NVIDIA-Docker and you can refer to their wiki for details.
For an overview of NVIDIA-Docker, please see their blog post.
By default, docker volumes are not persistent. To preserve your code across docker sessions, a volume must be shared between the host system and the container. The following command mounts $HOME/teachingkit_src on the host system to /opt/teachingkit/src in the container.
nvidia-docker run -v $HOME/teachingkit_src:/opt/teachingkit/src -it gputeachingkit
The Docker documentation has more details on how to manage docker volumes.
The NVIDIA Accelerated Computing Teaching Kit includes access to free online DLI courses – a value of up to $90 per person per course
The NVIDIA Deep Learning Institute (DLI) offers hands-on training for developers, datascientists, and researchers looking to solve challenging problems with deep learning and accelerated computing. Through built-in assessments, students can earn certifications thatprove subject matter competency and can be leveraged for professional career growth.
In addition to online, self-paced courses, DLI offers all fundamentals and industry-specific courses as in-person workshops led by DLI-certified instructors. View upcoming workshops near you at www.nvidia.com/dli.
Want to schedule training for your school? Request an onsite workshop at your university at www.nvidia.com/requestdli.
