update The Kegerator died and I have yet to replace it. It was purchased in 2007, so is 10 or 11 years a good run? I don't know. In looking at the last data I collected I did not find any instances of cycling on/off. I've always been told by a mechanic friend of mine that A/C compressors in vehicles have a short life span in part because they are started/stopped so frequently. We're all guilty of that in Arizona - quick run to the store or stop for gas and you force your compressor to run again without cooling off... I'll chalk it up to age and see about getting a new one. Thankfully I didn't have a batch in the chamber! I'll update this again soon when the replacement arrives.
This project turns a seldom used kegerator into a wine fermentation chamber! I will progressively improve this project from a minimum viable product (MVP) stage through to something hopefully fairly elegant and resilient.
I needed a controlled environment for the fermentation process. Living in Arizona doesn't always enable maintaining temperatures consistently for 2+ months. The wine kit instructions (for the Malbec I'm making now) say it is critical to maintain temperatures between 22-24 degrees Centigrade (72-75 degree Fahrenheit).
Initial approach: Poll a temperature sensor once per minute and send an off or on signal to the remote outlet switch to either start up the kegerator or shut it down.
- Make no modifications to the kegerator that would prevent its use as originally intended. (There may still be a reason to buy a keg!)
- No modifications to the standard winemaking equipment.
- Close enough is good enough: The instructions (for the Malbec) specify a temperature range of 22 - 24 degrees Celsius, and I assume the kegerator can maintain that enough of the time with the exceptions being during cooling cycles. The placement of the temperature sensor in the vertical middle in combination with the polling frequency will result in some over-cooling of the liquid but will not be detrimental to the fermentation process.
- The remote outlet switch will supply clean power and not negatively impact the kegerator. Or to put it another way, the switching process will not introduce any unwanted power conditions to the kegerator such as phase interruptions or brownout conditions.
- Wine Kit: I'm using a Malbec kit from winexpert.com
- Working kegerator - I have a Vissani from Home Depot
- Winemaking equipment (bucket, carboy, thief, etc)
- Raspberry Pi
- 2-DHT11 sensors
- SMAKN® 433Mhz Rf Transmitter and Receiver Link Kit for Arduino/Arm/McU
- Etekcity ZAP 5LX Remote outlet switches
- My brewing supply store: What Ales Ya
- Inspiration for remote control: Tim Leland
- Raspberry Pi Zero W pinouts: sparkfun
- Sensor and electronics supplier: adafruit
- Data collection: io.adafruit.com
Documentation and pictures coming soon. I bought a pack of 5 Etekcity switches and it's smart to find the on/off codes AND THE PULSE for all the switches and mark them accordingly. (Learn from my mistake!) The Tim Leland site above is helpful and I chose to call his codesend program to implement the Rf transmitter function. It was easier to do than I anticipated.
Testing is an important part of every project, as had I not tested, I would not have known that I was NOT reading the sensor inside my infinite loop! I would have easily destroyed 6L of promising wine and wasted money.
Note: You won't see any code testing here until later in the project, as I started writing this after my hacking started. I do think I will be adding additional sensors in the chamber (external to the fermenter) as well as a sensor for inside the fermenter. I may also be adding an external display (a paperwhite one would work wonderfully for power consumption!) and should also consider adding functionality to log the fermentation stage activities. So as I hack along there will be software tests (I'm still trying to adapt to test driven development) and those will be included as I go.
As the interior environment stabilizes and the primary fermenter (bucket) gets within range I expect longer periods of time at stable temperatures.
- My first test was with a cup of boiling water and it made me realize that I end up with about a 4 degree overcooling. I set my cutoff at 22 and temps hit a low of 18 from the cooling cycle. The kegerator kicked on for 3 minutes before shutting off so I will adjust the code to look for < 24 so I can be closer to the range.
- My next test is to fill the primary fermenter with water to 6 liters, and place it in the kegerator with the lid and airlock as I will at the end of the first stage of production. I suspect the difference of mass between a cup of water and 6 liters of water will give me different results but I will post them tomorrow (12/31) UPDATE The data from the test is in (added to the project as TemperatureTrial.xslx) and shows that once the mass reaches temperature it'll maintain it easily. I also had one of those paper fermometers typically included in the starter kits that showed the bucket temerature as 74 degrees when I checked it at the end of the trial. While this still does not provide the most accurate reading of the liquid itself it should be sufficient. Immersible temperature probes and food grade shrinkwrap is available which would require modifications to the lid of the primary fermenter and carboy. New constraint: No modifications to the winemaking equipment.
Test #2 above is worth repeating in July when temps here in Phoenix are consistently closer to 110 F. but for now that's all the temperature testing to be done.
- Pi pin position 2 (5v) to DHT11 VCC
- Pi pin position 4 (5v) to Rf VCC
- Pi pin position 9 (GND) to Rf GND
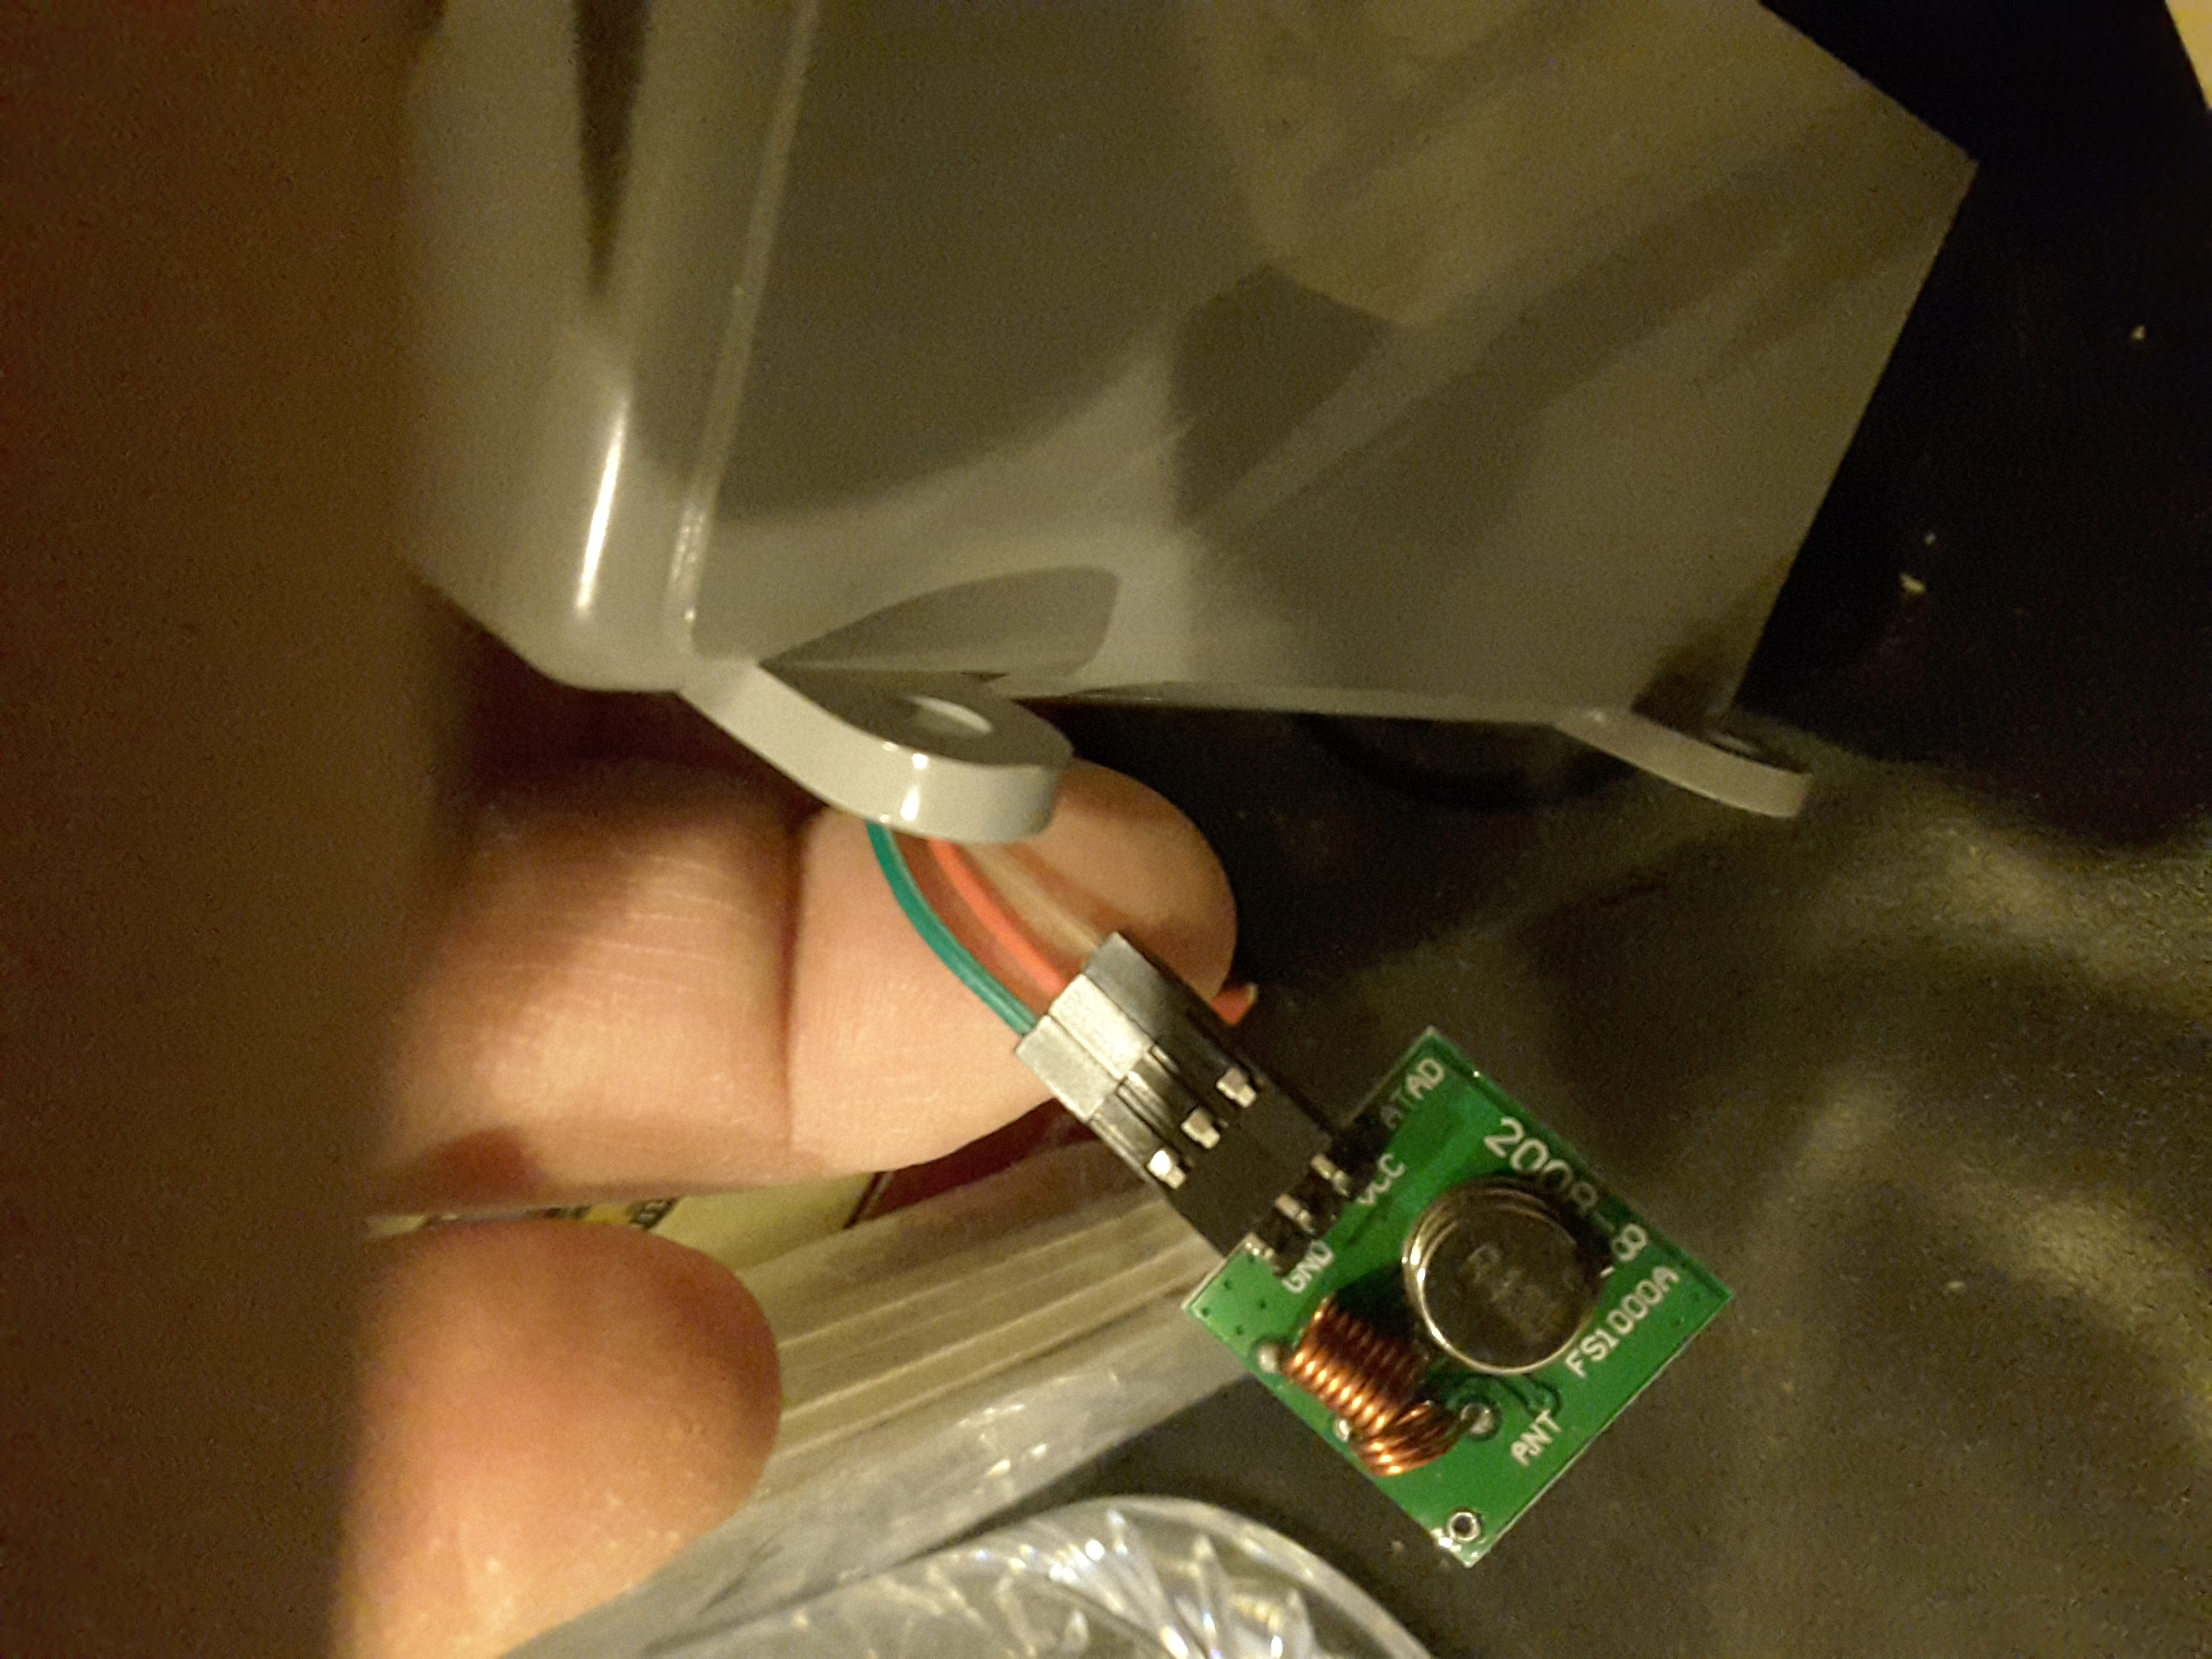
- Pi pin position 11 (GPIO 17) to Rf "ATAD" -> hahaha... as printed - see photo
- Pi pin position 15 (GPIO 22) to DHT11 DAT
- Pi pin position 39 (GND) to DHT11 GND
Kegerator:
Kegerator/Wine Fermentation Chamber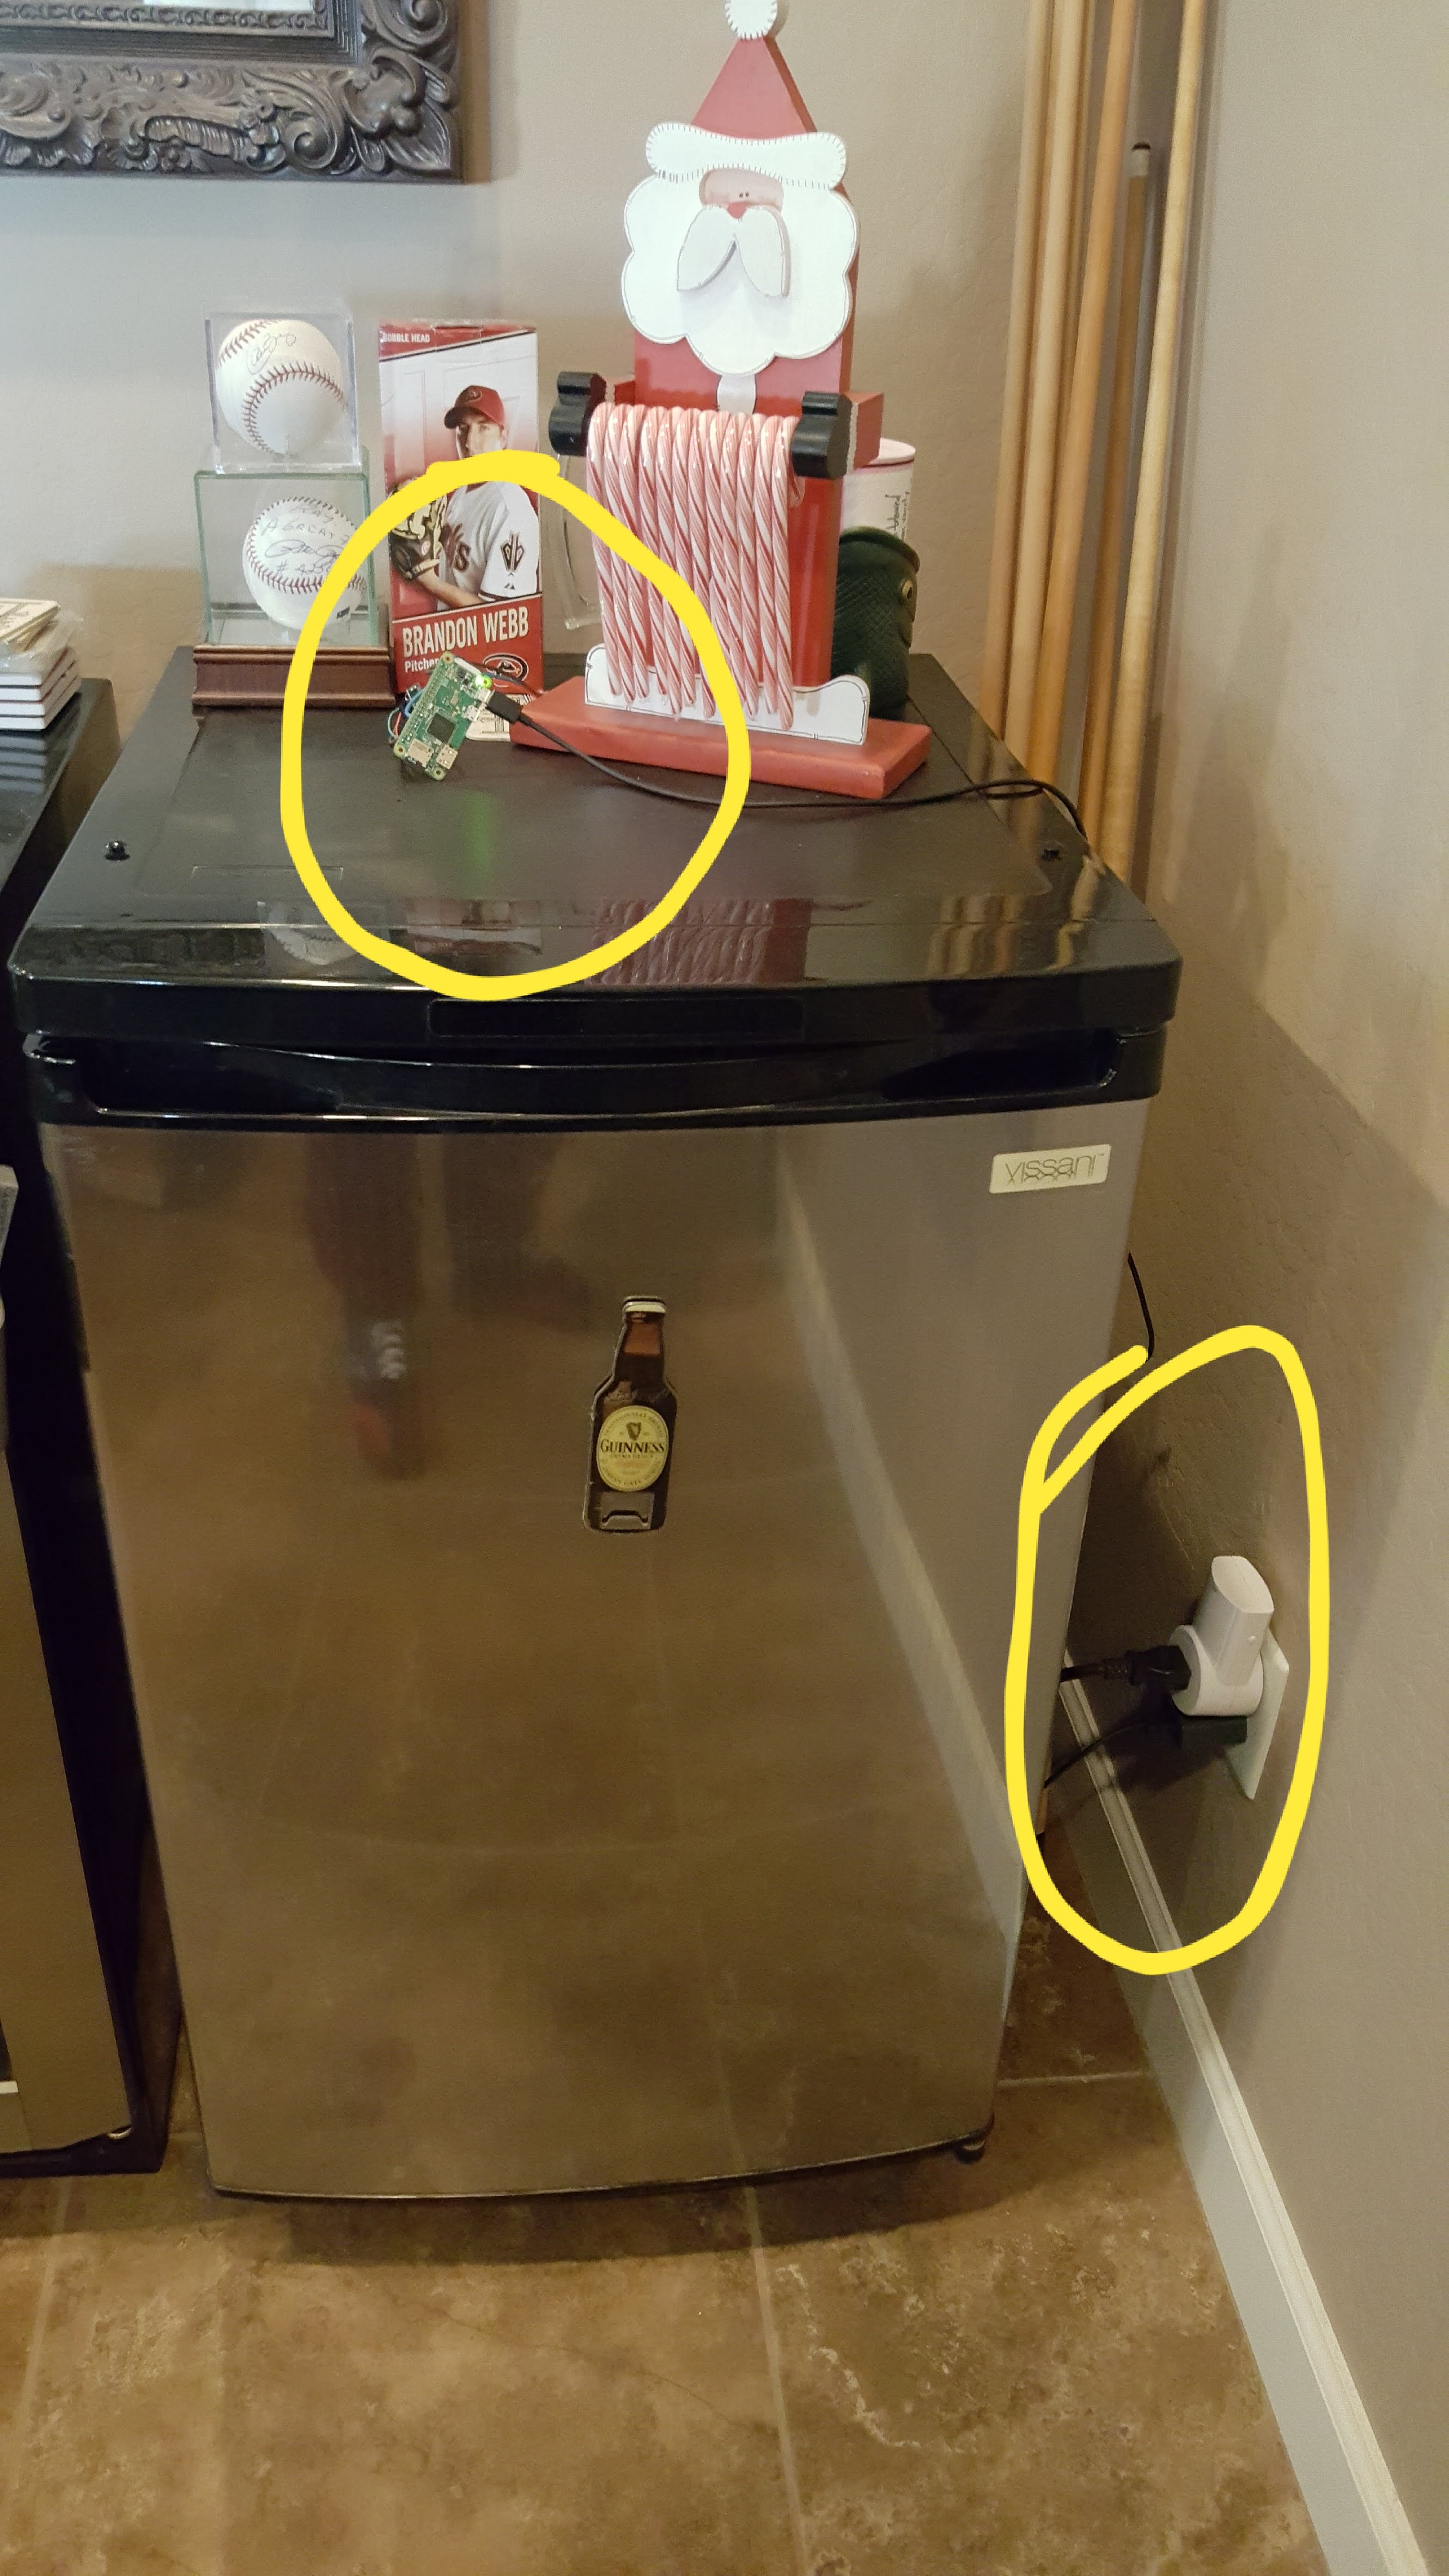
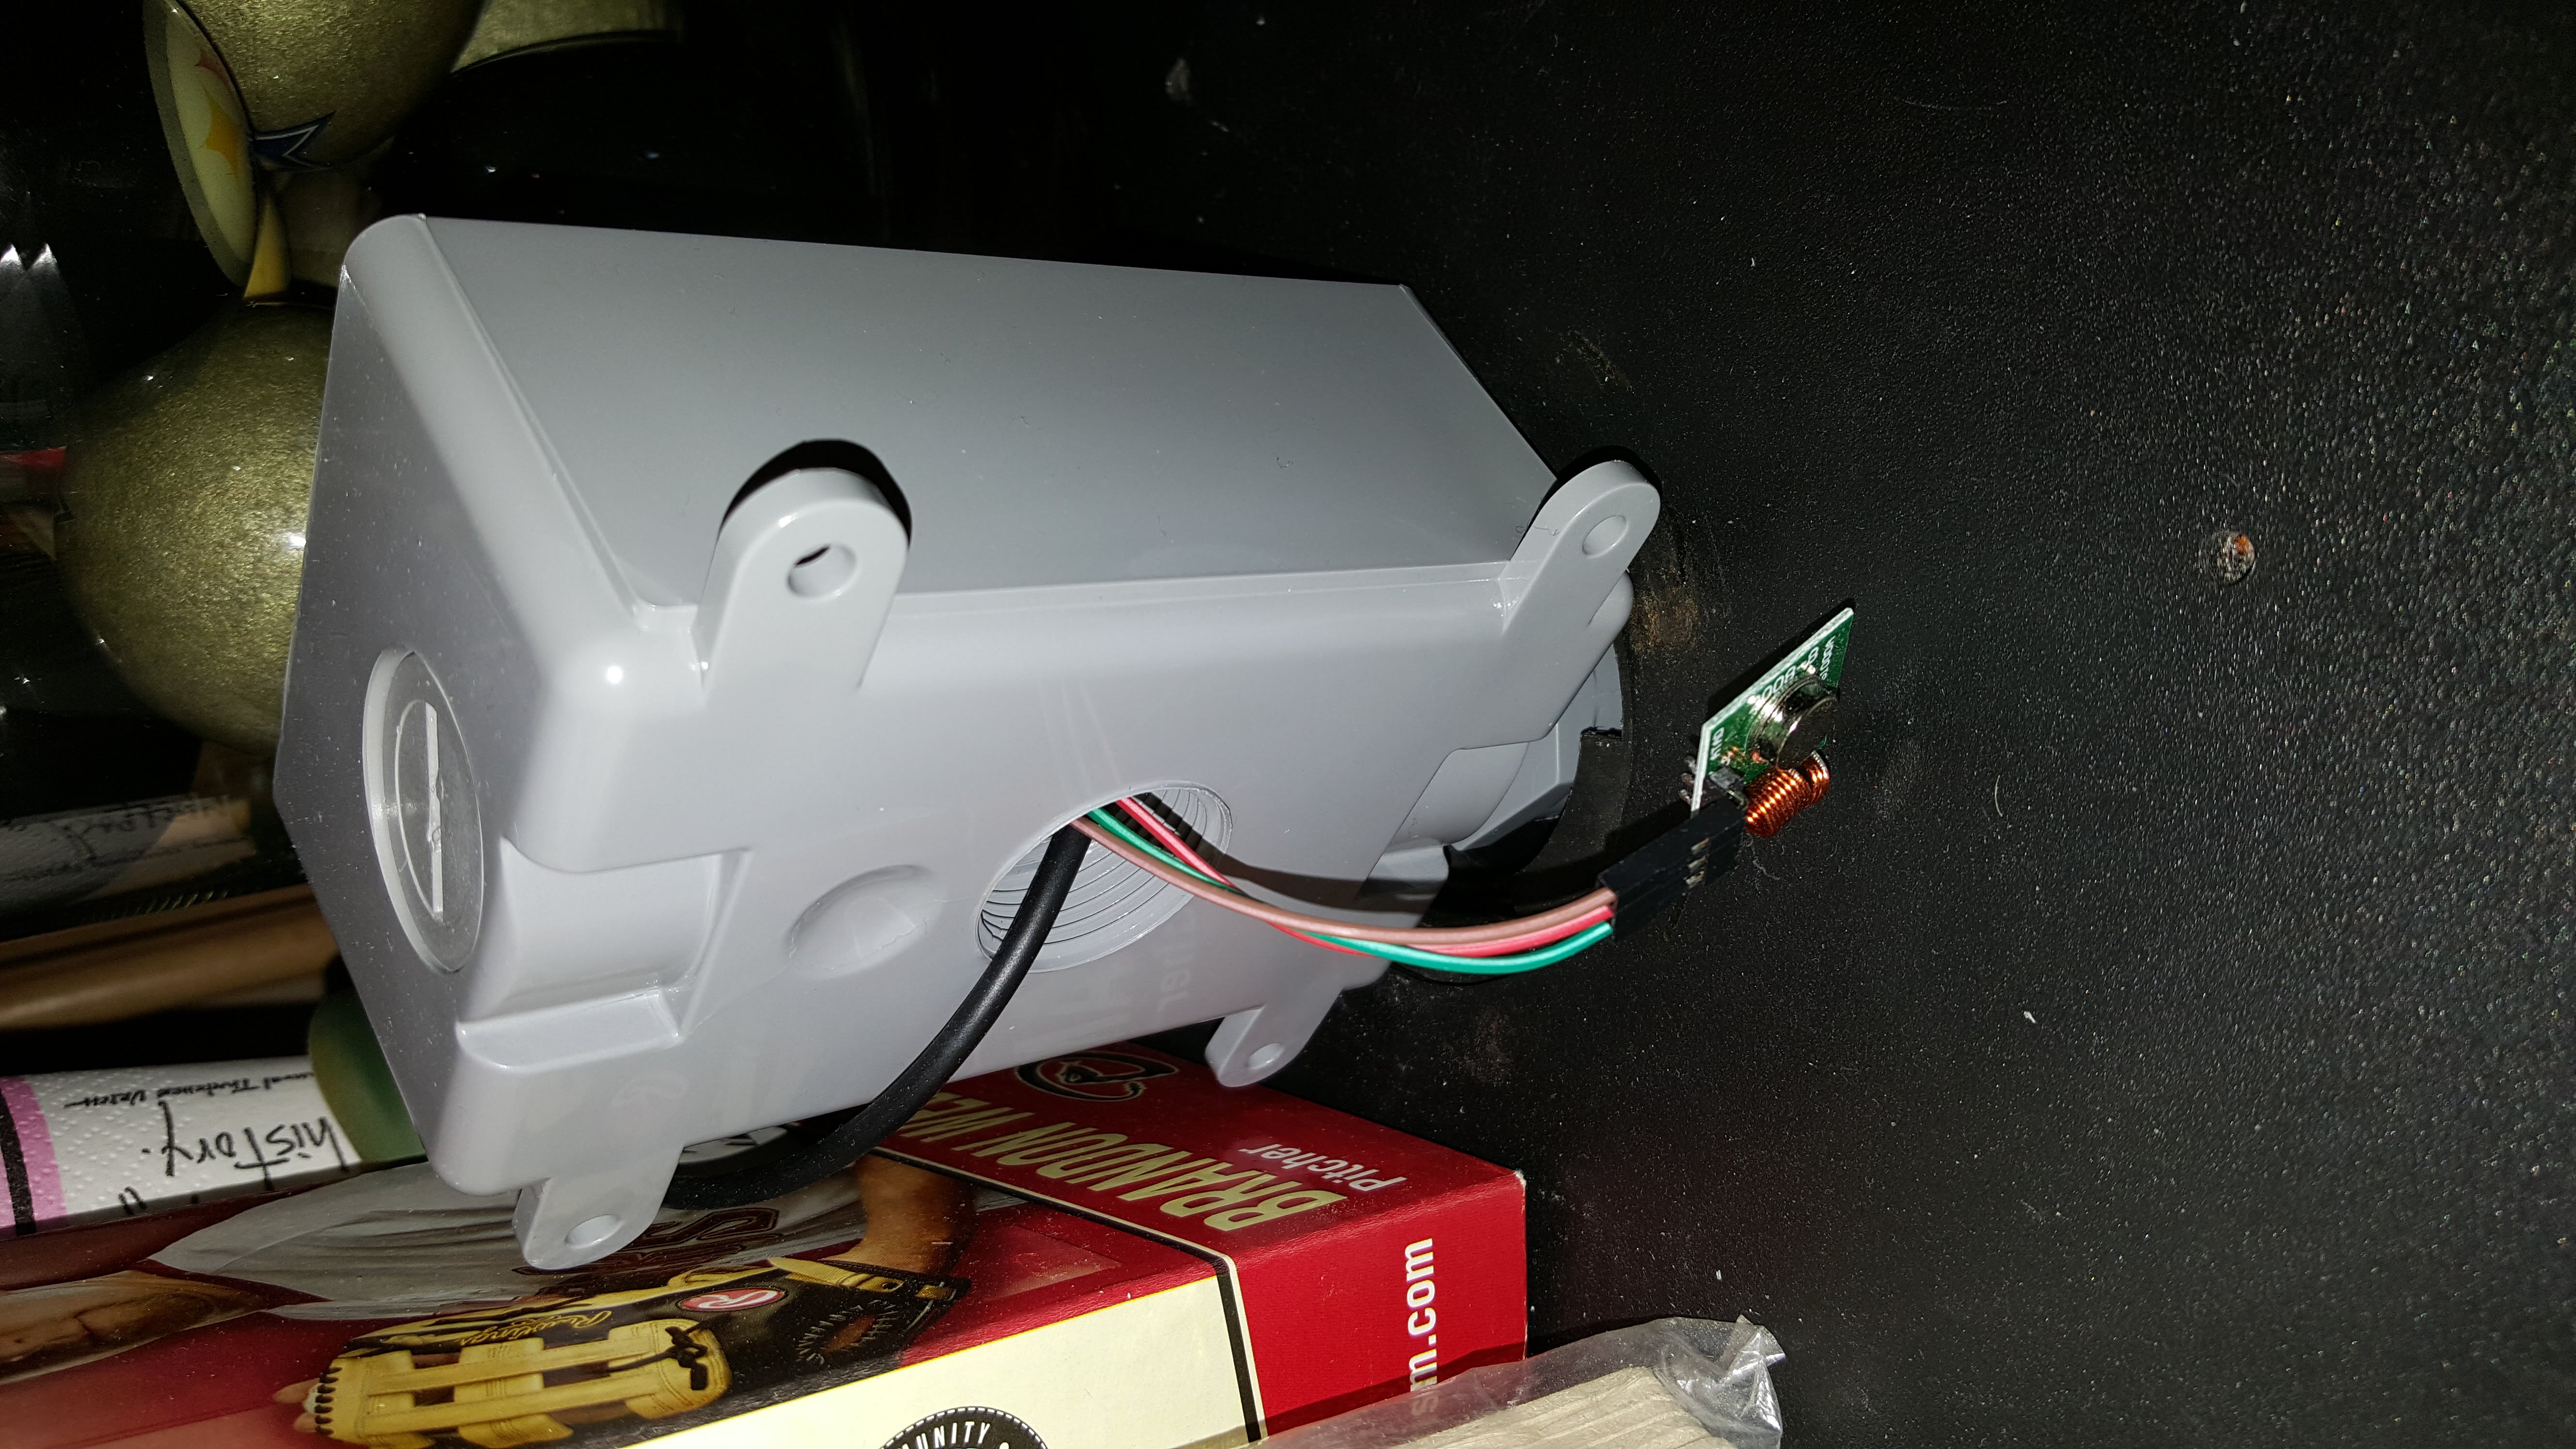
Since the Kegerator Beer Tower was removable it is ideal for the access point for the temperature sensor. A fitting for a PVC single gang box provides some stability for the box and should limit the amount of cooling loss by blocking the opening. It will also provide the base needed for whatever future improvements I make to the overall setup.
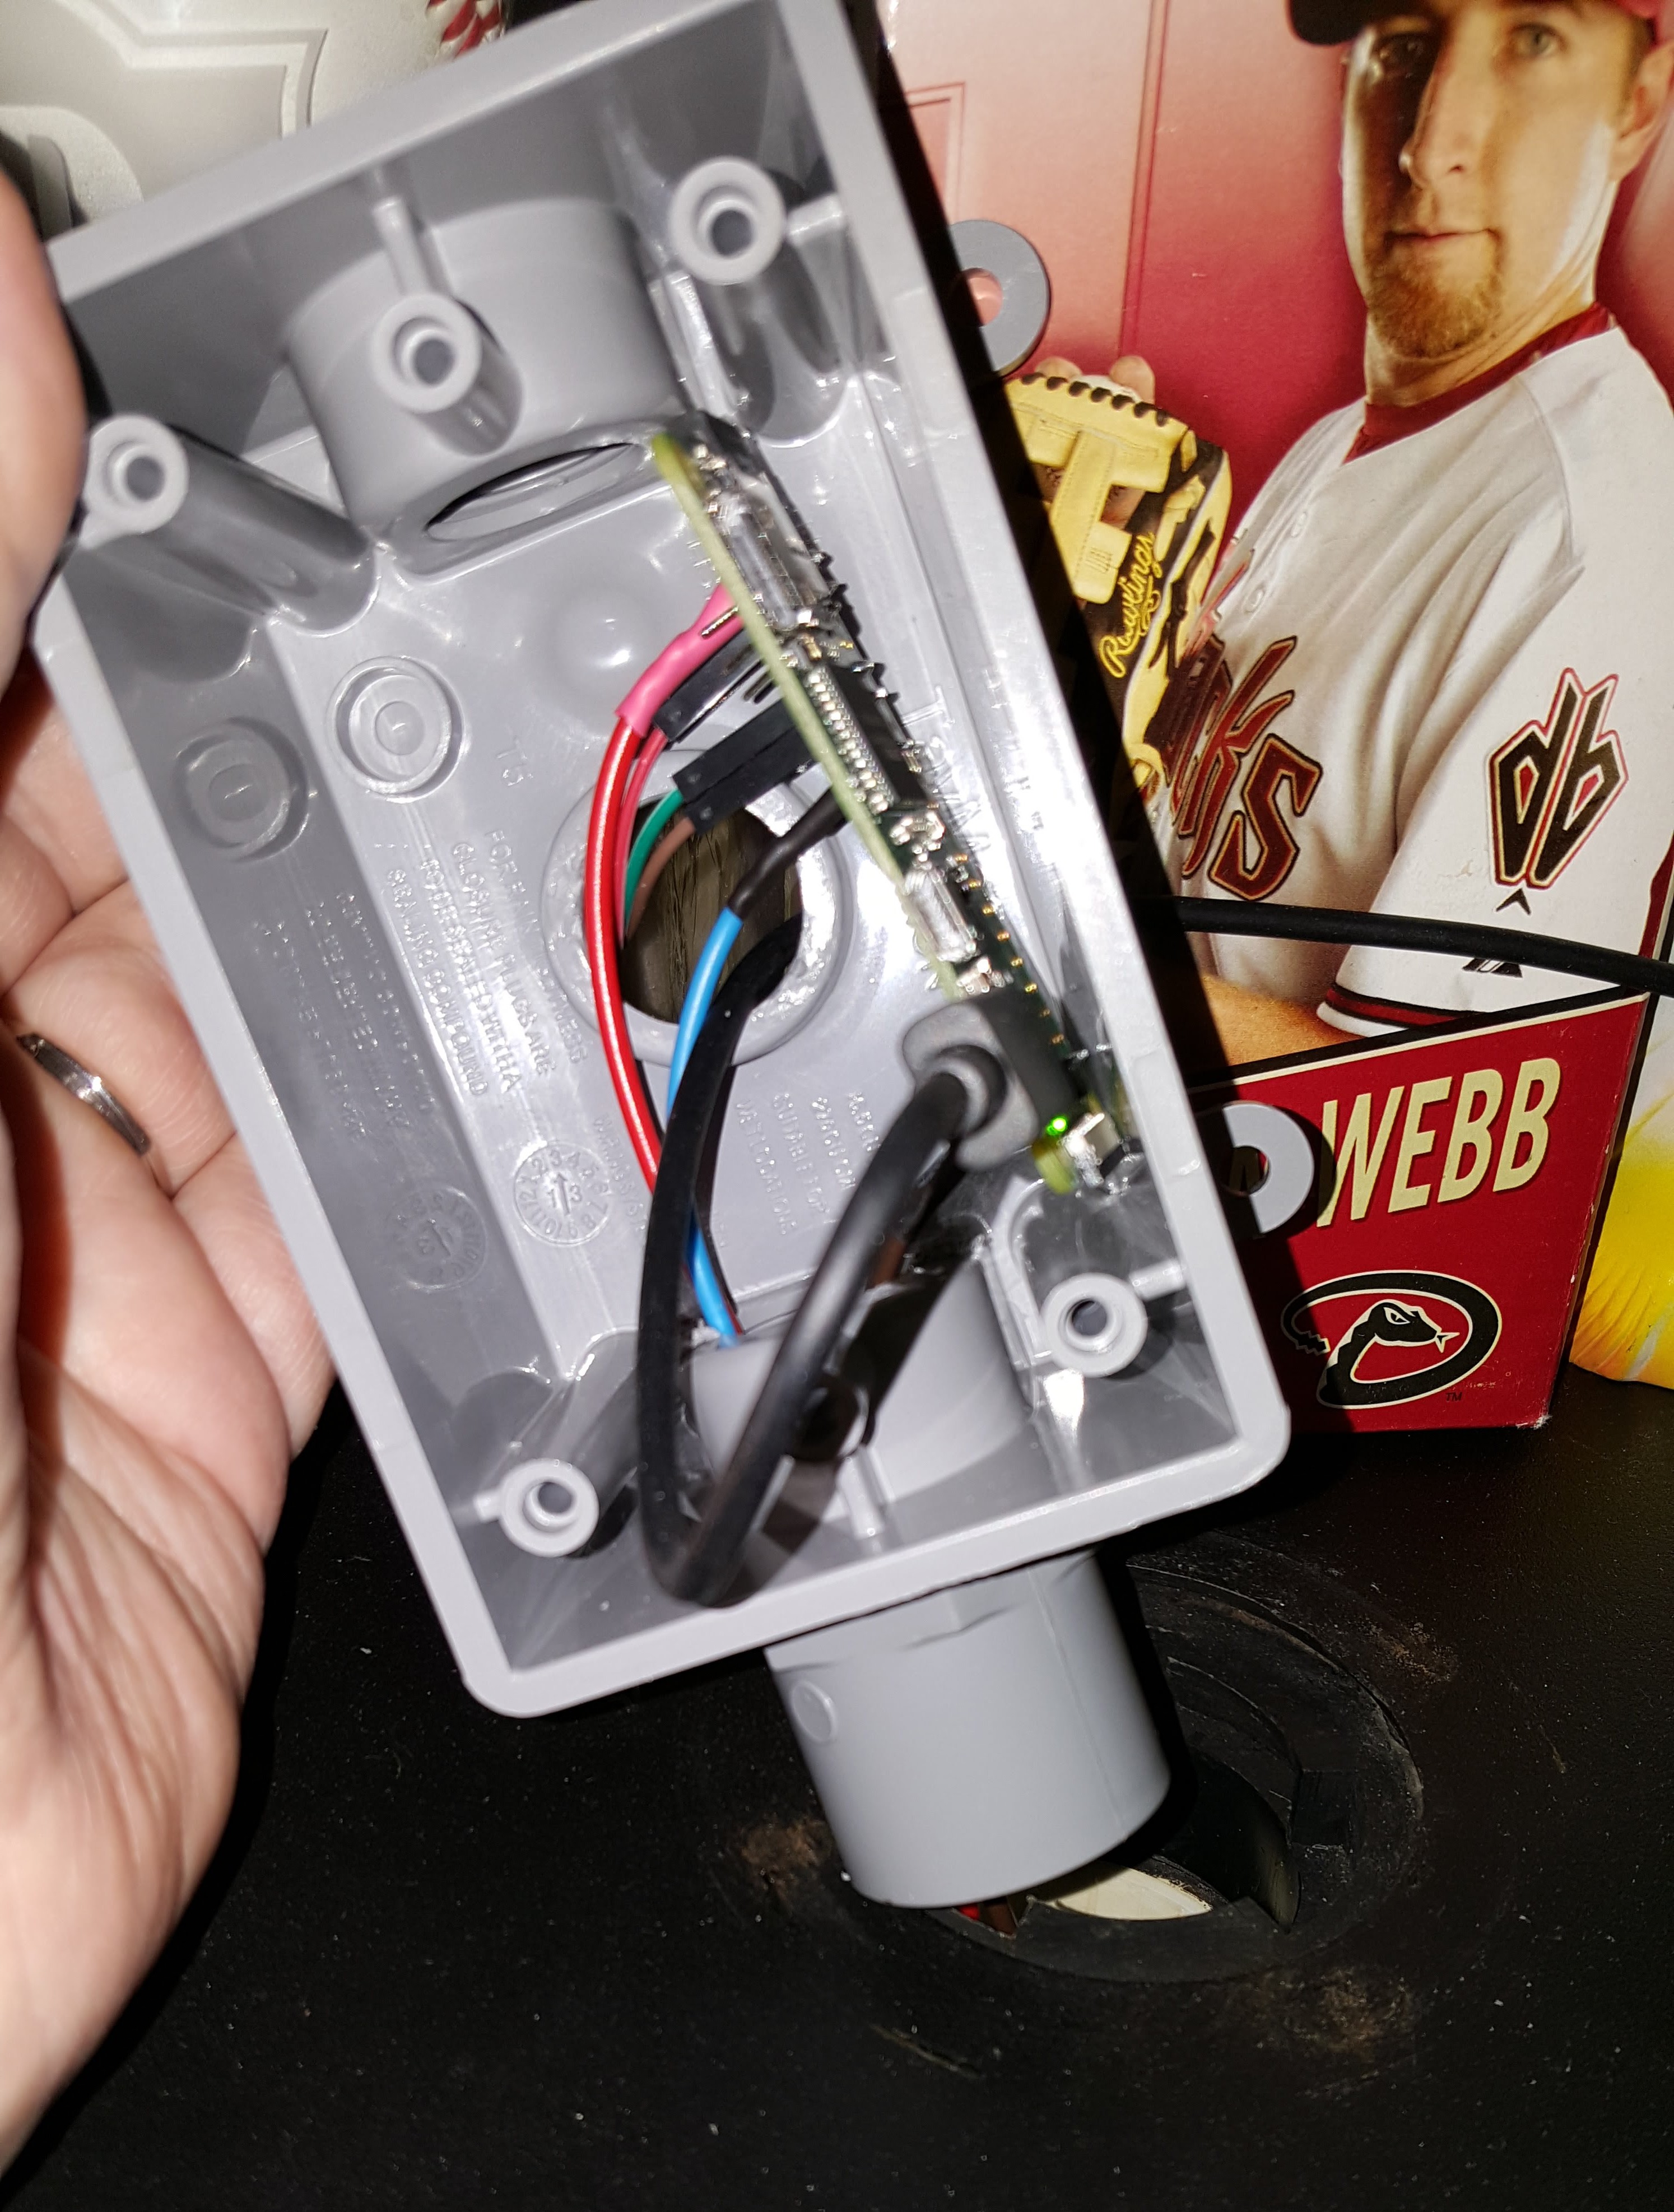
The PVC single gang box also had a rear access point perfect for the Rf transmitter and power cable.
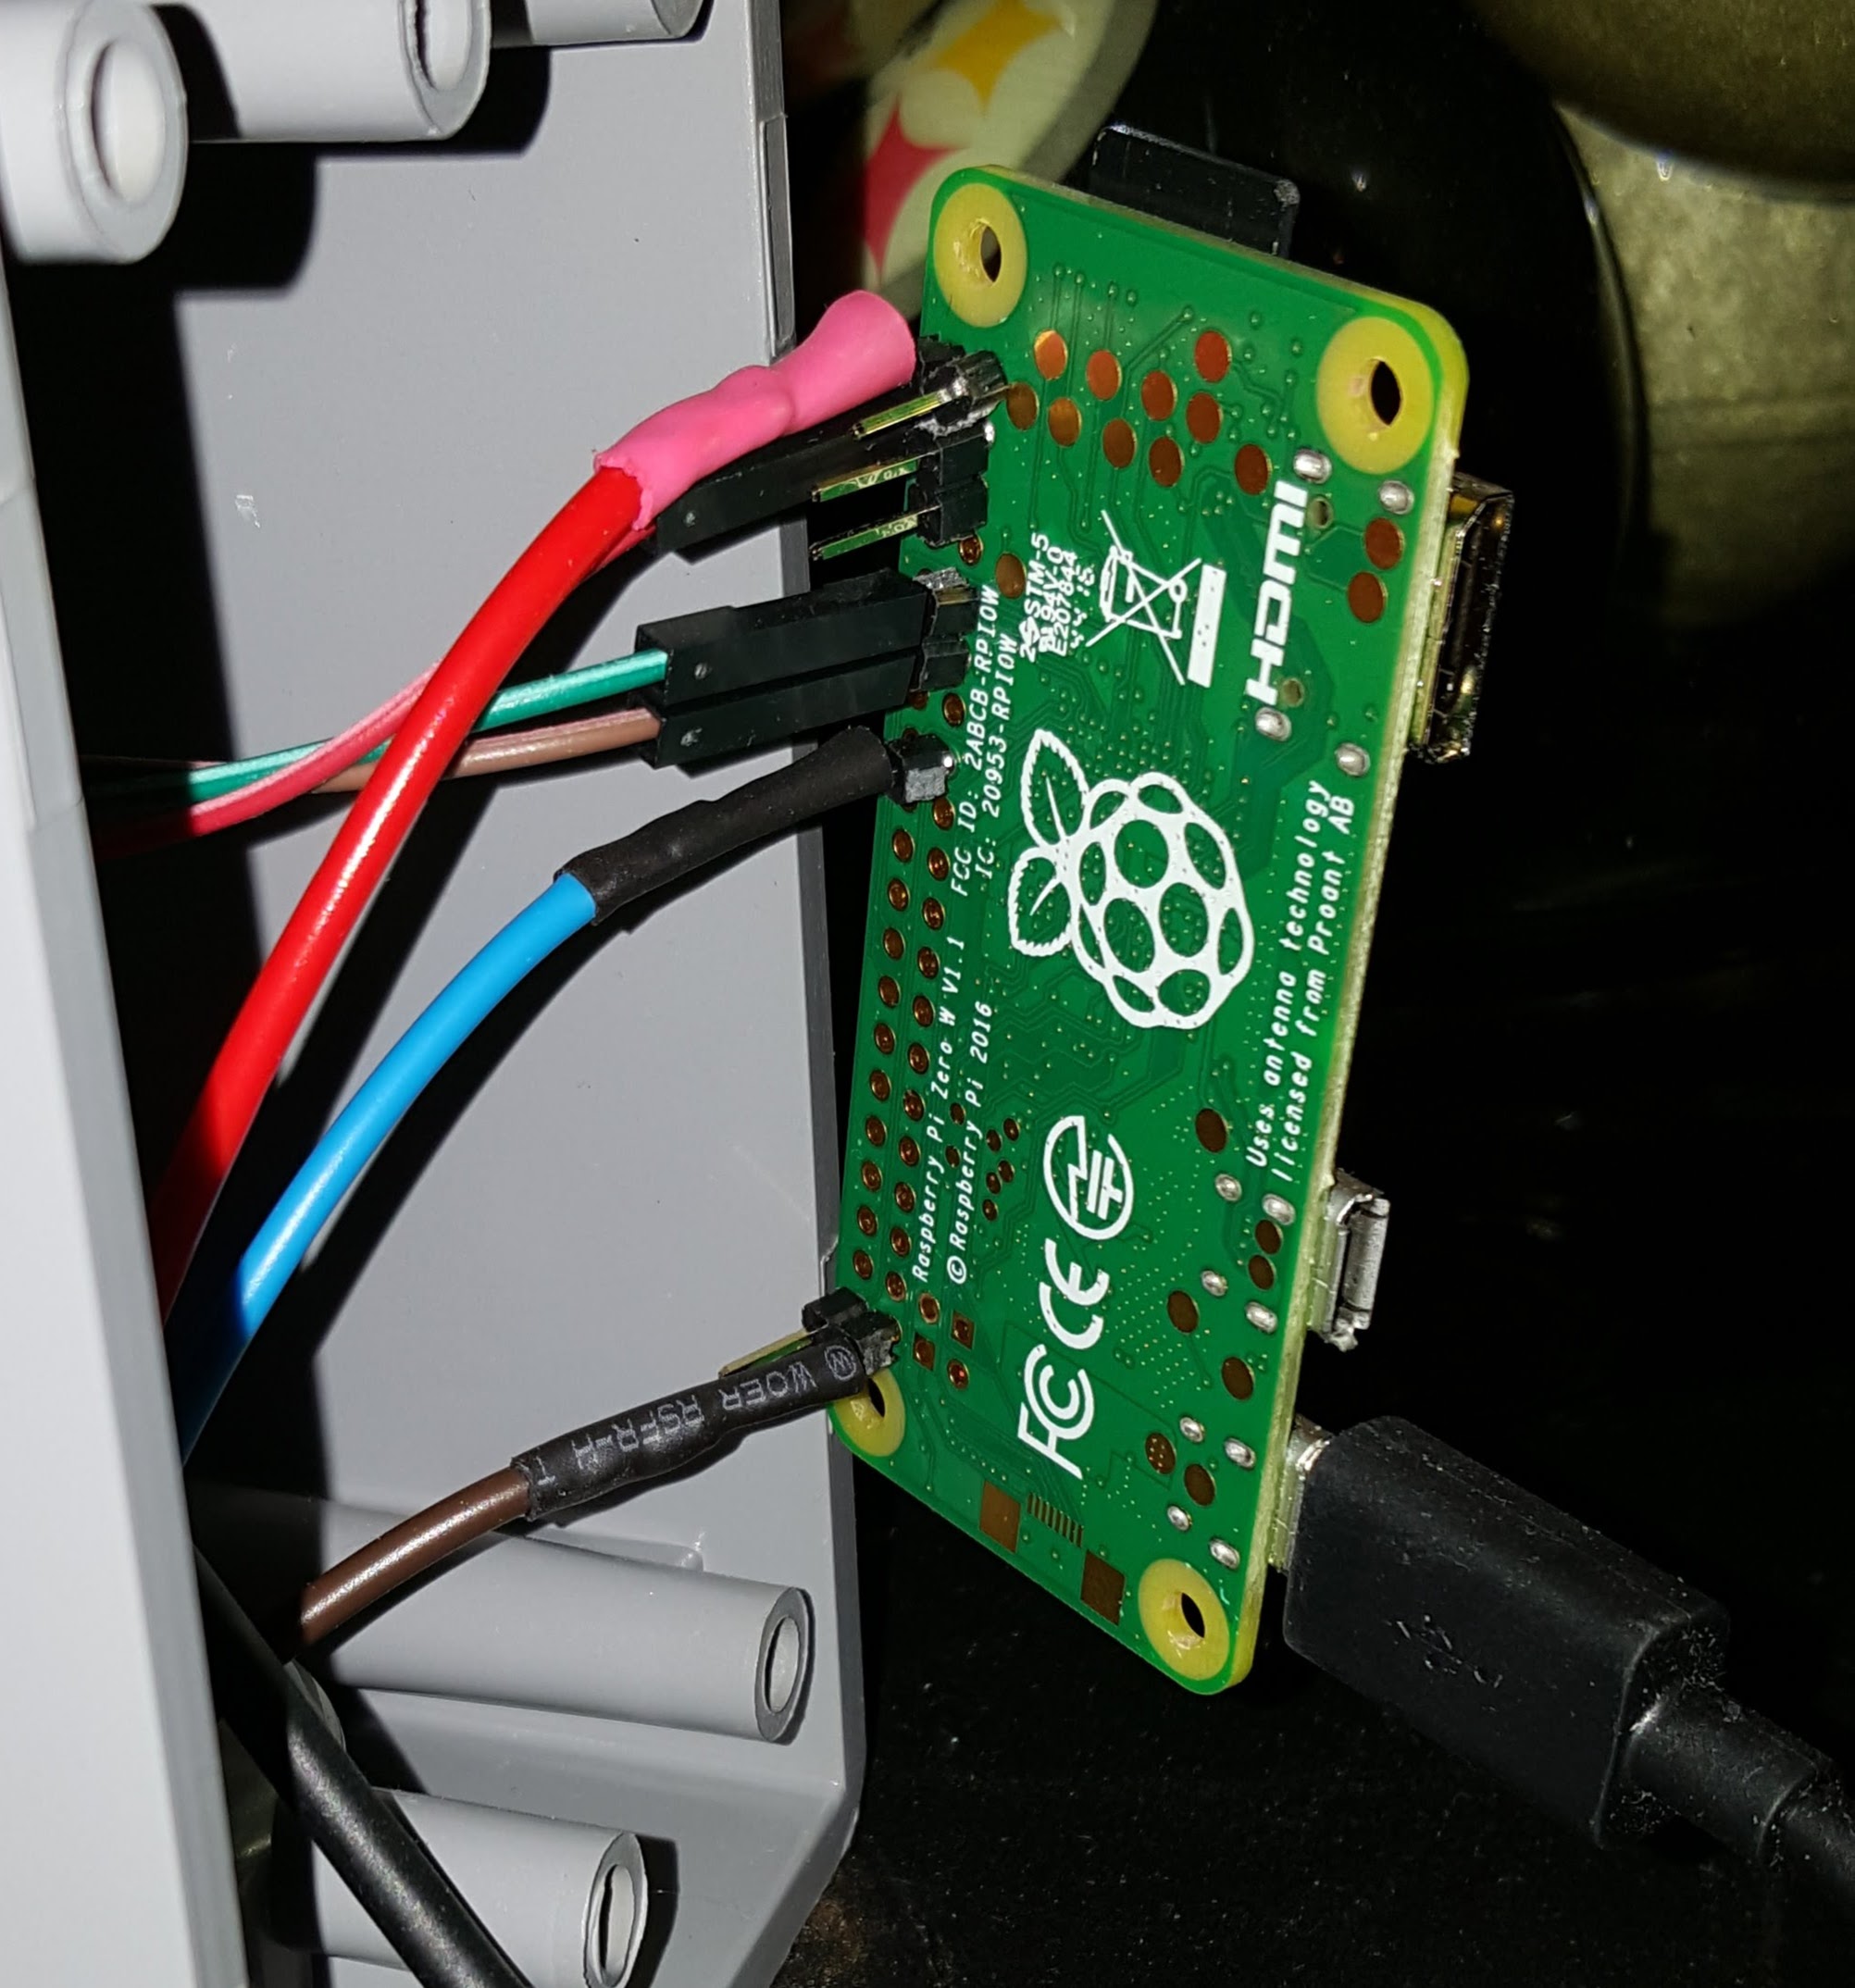
 The Pi Zero W
 The Rf Transmitter (note "ATAD" printed on board hahaha...)
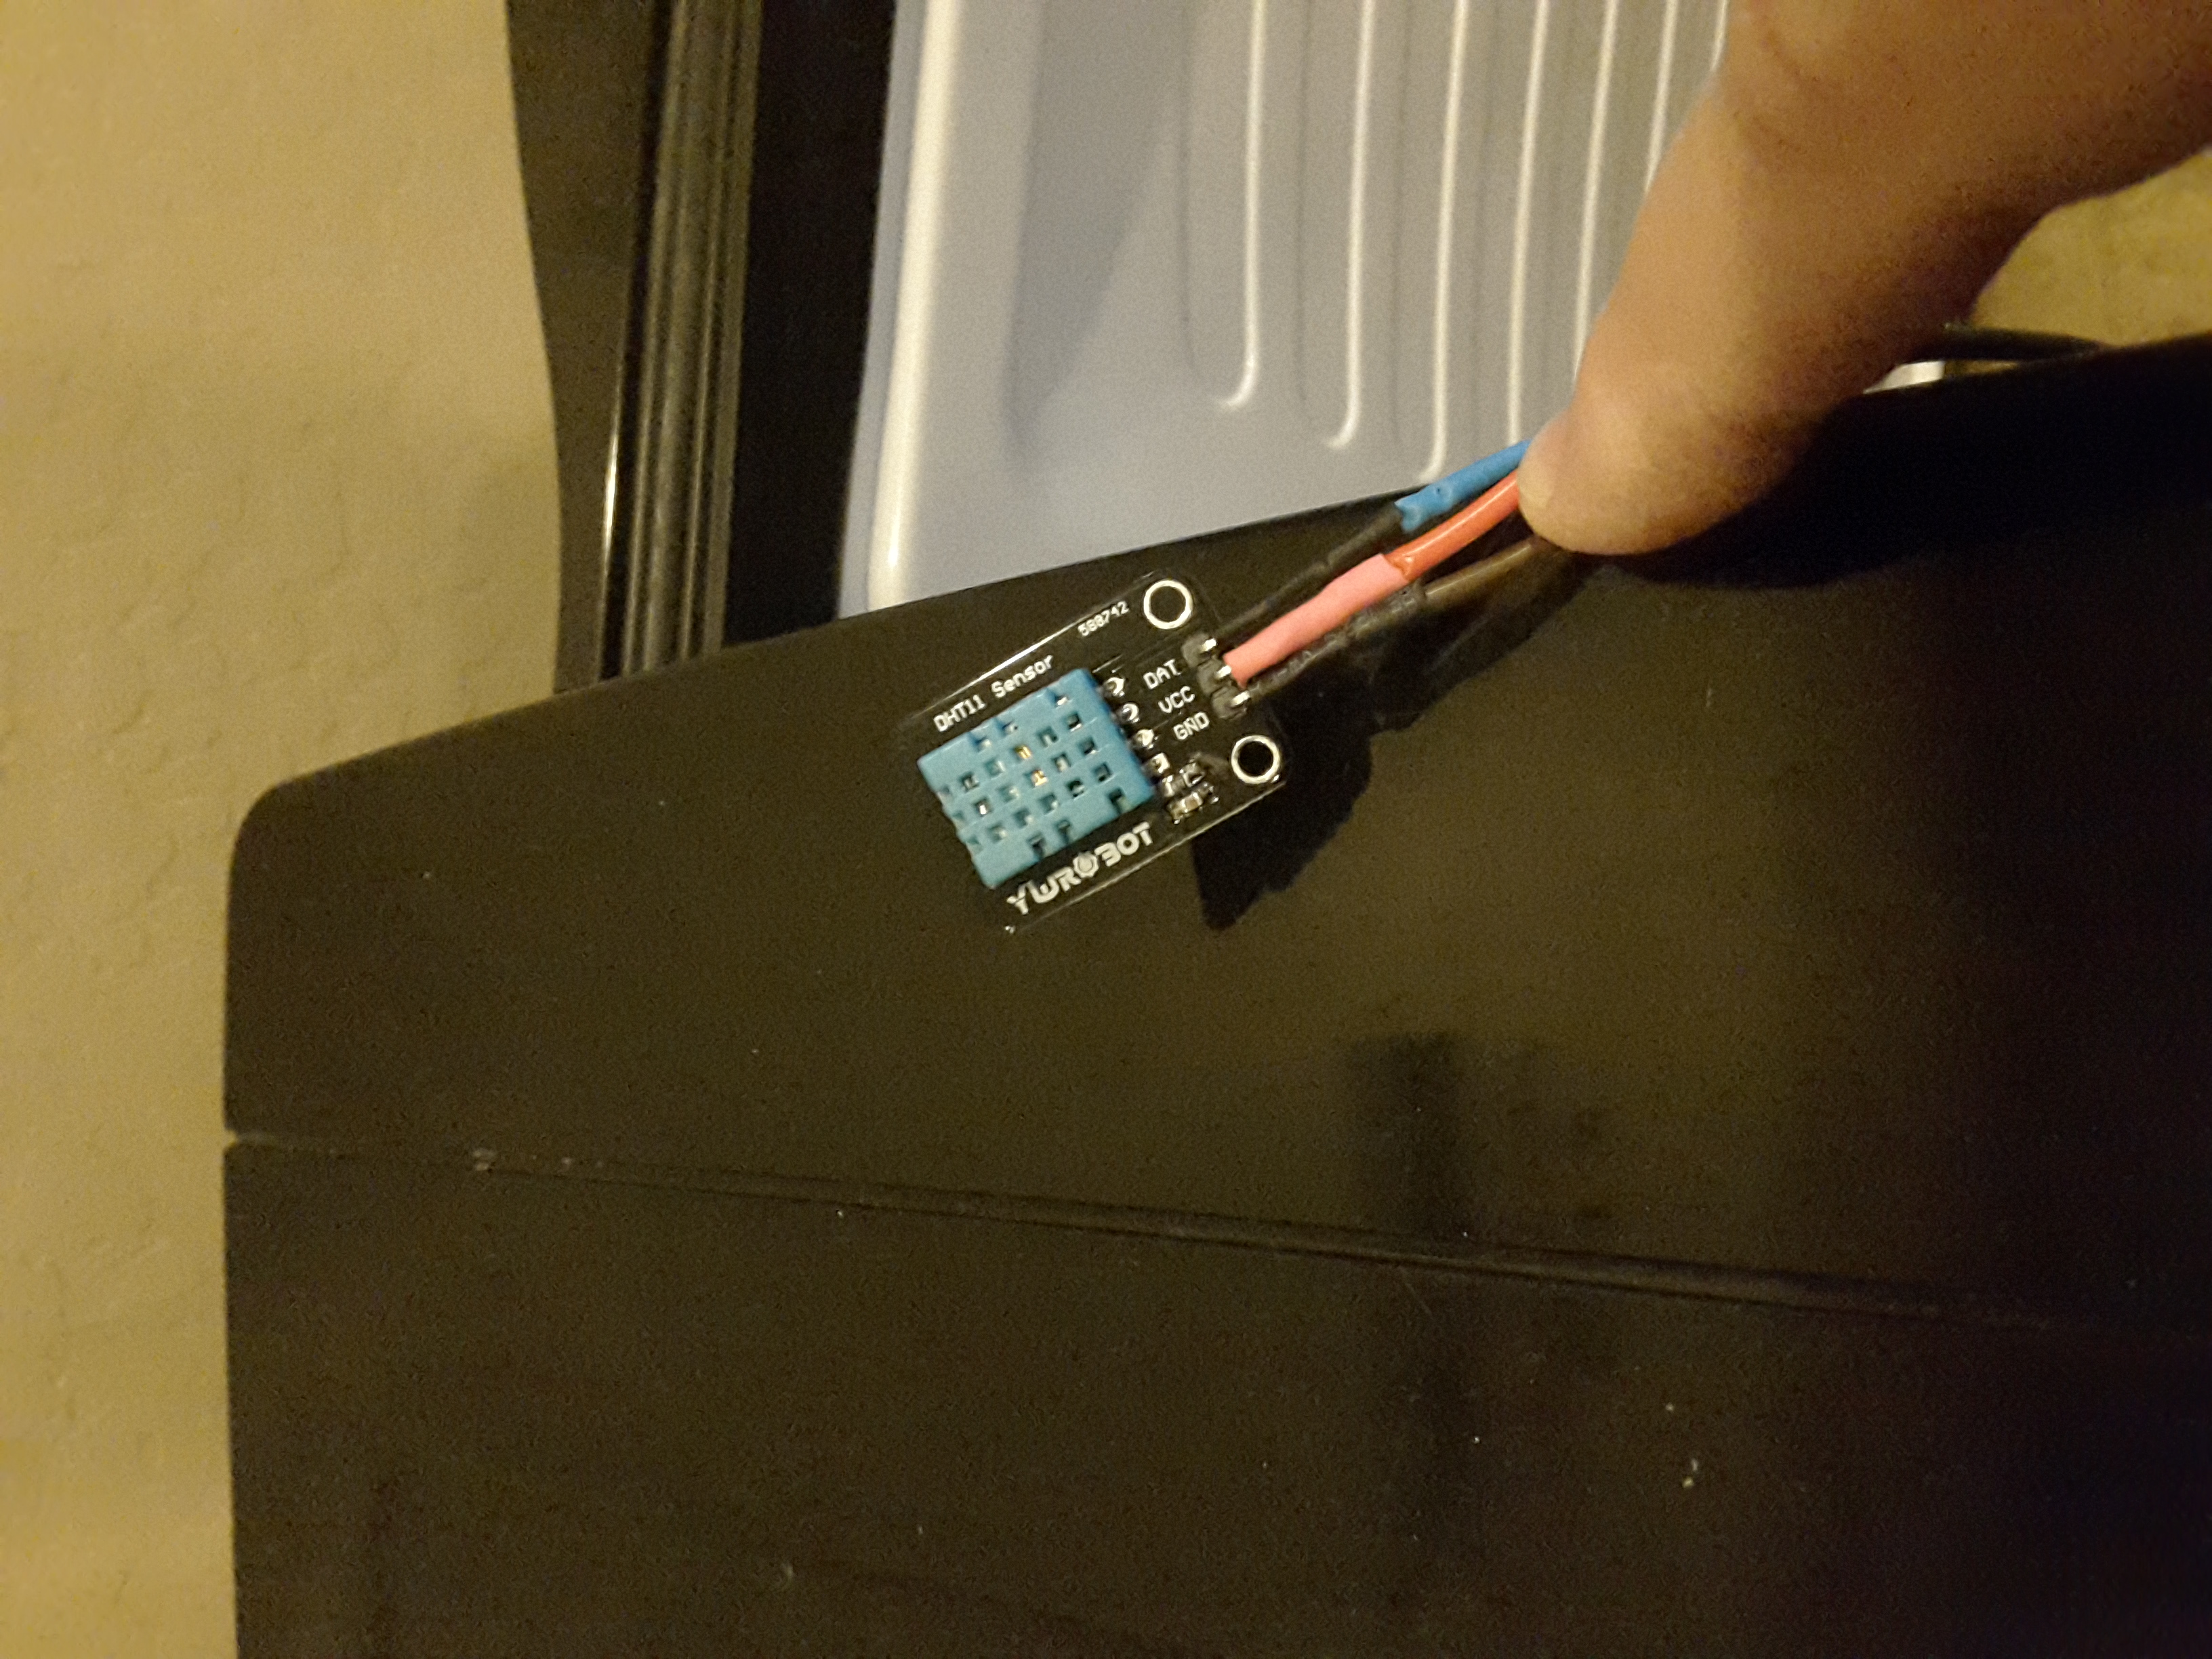
 The DHT11