Made for Atmanirbhar Bharat Hackathon
This was a project intended to make the life of Warehouse owners easy by providing them with a Dashboard with clean UI and simple interface where Warehouse owner can keep a track of all their current stocks present in the Warehouse and soon the option for normal user to find near vacant Warehouses to store stuff. We intend to include features like Graphical representation of stocks present and activity charts based on previous activities of stock addition and removal. As this a Web Based Application so warehouse owners can have all their data synced across their devices.
Made on MERN Stack
- MongoDB (https://www.mongodb.com/)
- Express (http://expressjs.com/)
- React (https://reactjs.org/)
- Node.js (https://nodejs.org/en/)
This app is deployed to Heroku.
Stock Management

Home Page

Login Page

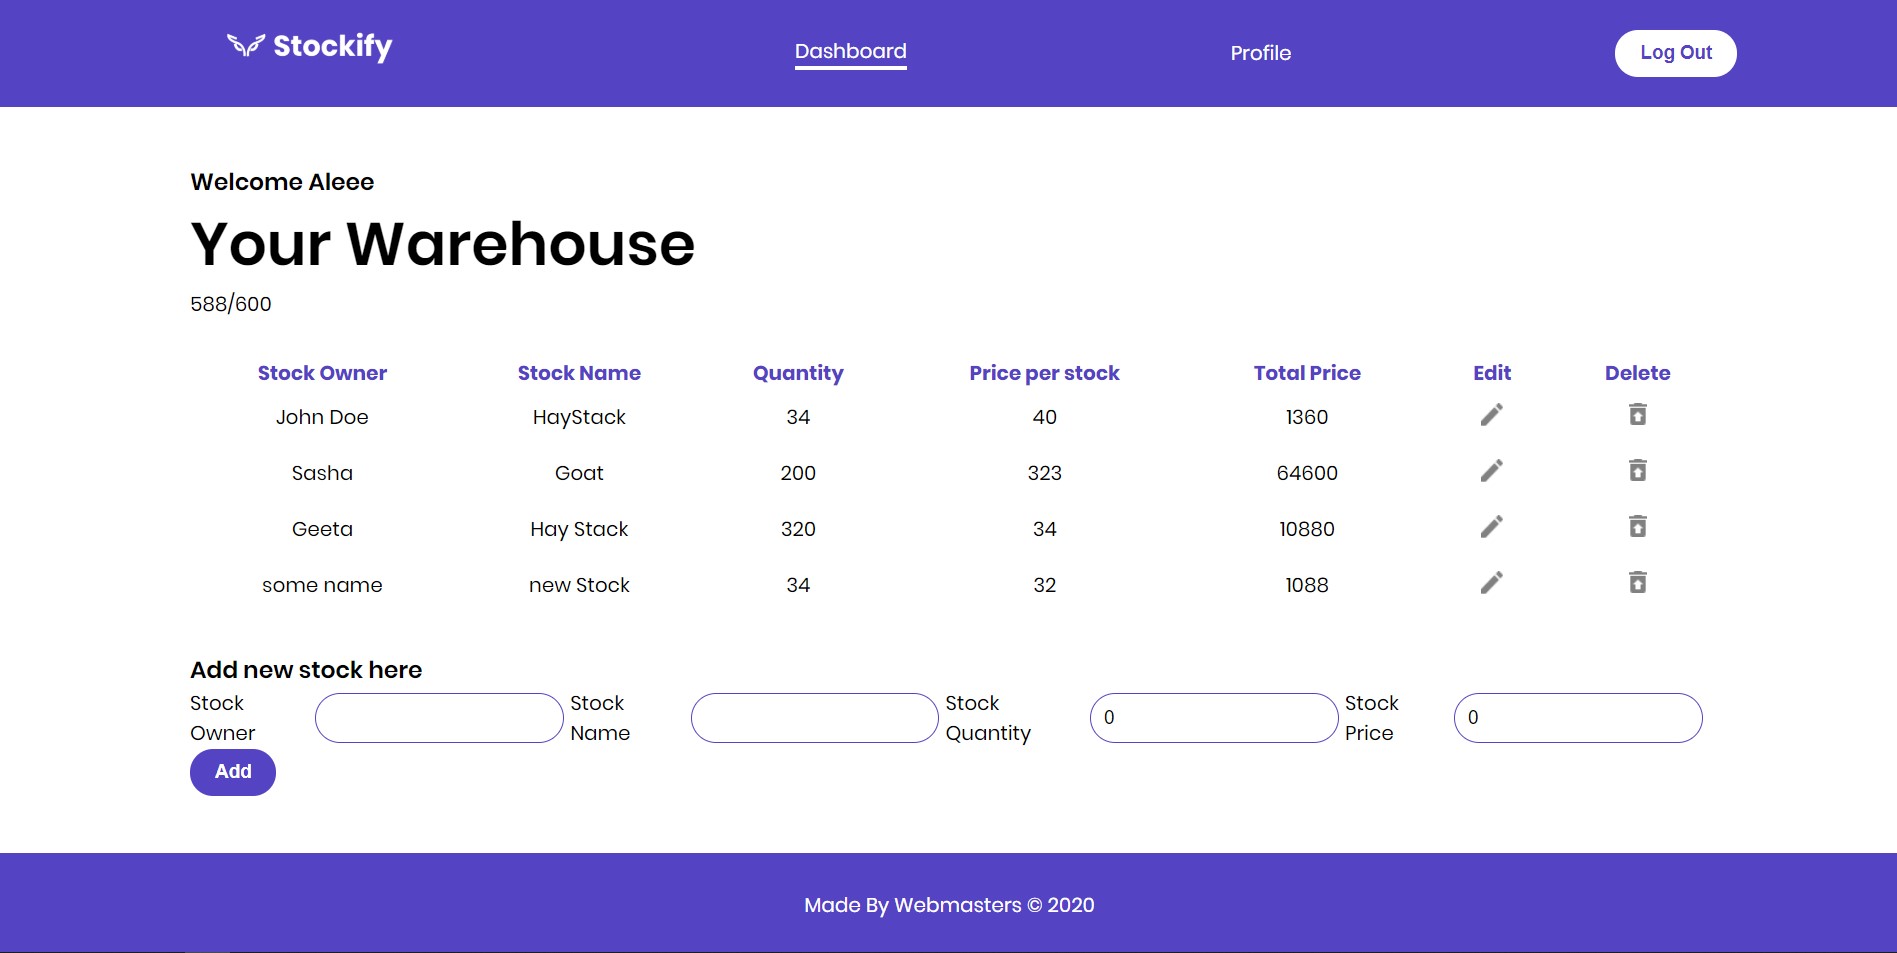
Your Warehouse
User Profile

Local installation guide:
The following section will take you through the steps of setting up this app and getting it running locally on your computer.
The first step is to clone the project repository to a local directory on your computer. To clone the repository, run the following command:
git clone https://github.com/amanjagdev/stockify.git
If you don't already have Node.js installed on your computer, you can install the latest version here.
To be able to install the dependencies and start the application locally, you will need to install yarn. Yarn is a package manager like npm. To install yarn, run the following command:
npm install -g yarn
For more information about yarn and other installation options, see the yarn documentation: https://yarnpkg.com/en/.
Version information for each of these packages is available in the package.json file in the project root directory and in the client directory.
After you clone the repository to a local directory, change directory to the project root directory and run the following command to install the required packages:
yarn install
Sign in here https://www.mongodb.com/cloud to generate your connection string.
Get your connection string from MongoDB Atlas by following these steps:
- In the Clusters view, click the Connect button for the cluster to which you want to connect.
- Choose Connect your application from the dialog box.
- Choose your driver as Nodejs and driver version as 3.6 or later.
- Copy the generated connection string. This is what you’ll need further.
- Replace the by your own password.
- Don't forget to whitelist your IP address.
You can always refer to the docs for help: https://docs.atlas.mongodb.com/connect-to-cluster/
- Now, make a new file ".env" in the project folder and then define the database URI you generated earlier, like this:
DATABASE = "Your generated mongoDB URI"
After performing all of the setup steps in the Getting started section, navigate to the project root directory and run the following command to start the Express server and React development server.
yarn start
After the development server has started, a Chrome browser window should open, and you should see the login screen for the application. If the browser does not automatically open after the server starts, you can verify that the application is working locally on your computer by opening Chrome and going to http://localhost:8000.
1. Fork the project repository: Fork this repository by clicking on the fork button on the top of this page. This will create a copy of this repository in your account.
2. Clone your fork: Now clone the forked repository to your machine. Go to your GitHub account, open the forked repository, click on the code button and then click the copy to clipboard icon.
Open a terminal and run the following git command:
git clone "place here the url you just copied"
3. Create a new branch: Change to the repository directory on your computer (if you are not already there):
cd first-contributions Now create a branch using the git checkout command:
git checkout -b your-new-branch-name
Make changes in your local repository
4. Commit your Changes: If you go to the project directory and execute the command git status, you'll see there are changes.
Add those changes to the branch you just created using the git add command:
git add .
Now commit those changes using the git commit command:
git commit -m "a meaningful message"
5. Push your changes to Github: Push your changes using the command git push:
git push origin add-your-branch-name
replacing "add-your-branch-name" with the name of the branch you created earlier.
6. Submit changes for review: If you go to your repository on GitHub, you'll see a Compare & pull request button. Click on that button and submit the Pull request. Comment about your pull request.
Soon I'll be merging all your changes into the master branch of this project. (delete your branch from your fork after pull request gets accepted)
If you find an issue while using the app or have a request, log the issue. These issues will be addressed in a future code update.

![dependabot[bot] avatar](https://avatars.githubusercontent.com/in/29110?v=4 "dependabot[bot]")